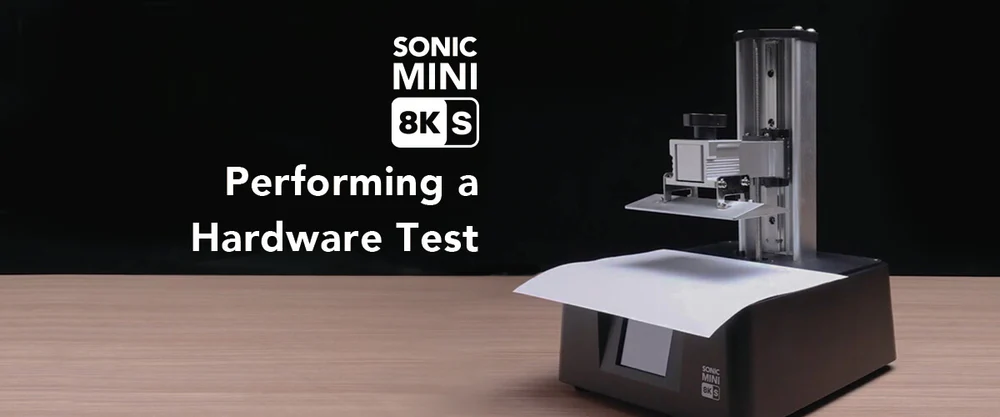
After setting up your Sonic Mini 8K S, it is important to check the status of the LCD screen on your Sonic Mini 8K S before printing. This will ensure that both the UV lights and the 7.1" Mono-LCD screen are functioning correctly. In this article, we will guide you through the steps of performing an hardware test and interpreting the results:
Please note that it is crucial to avoid looking directly into the UV light, as improper exposure can cause painful eye and skin injuries.
Step 1: LCD TEST
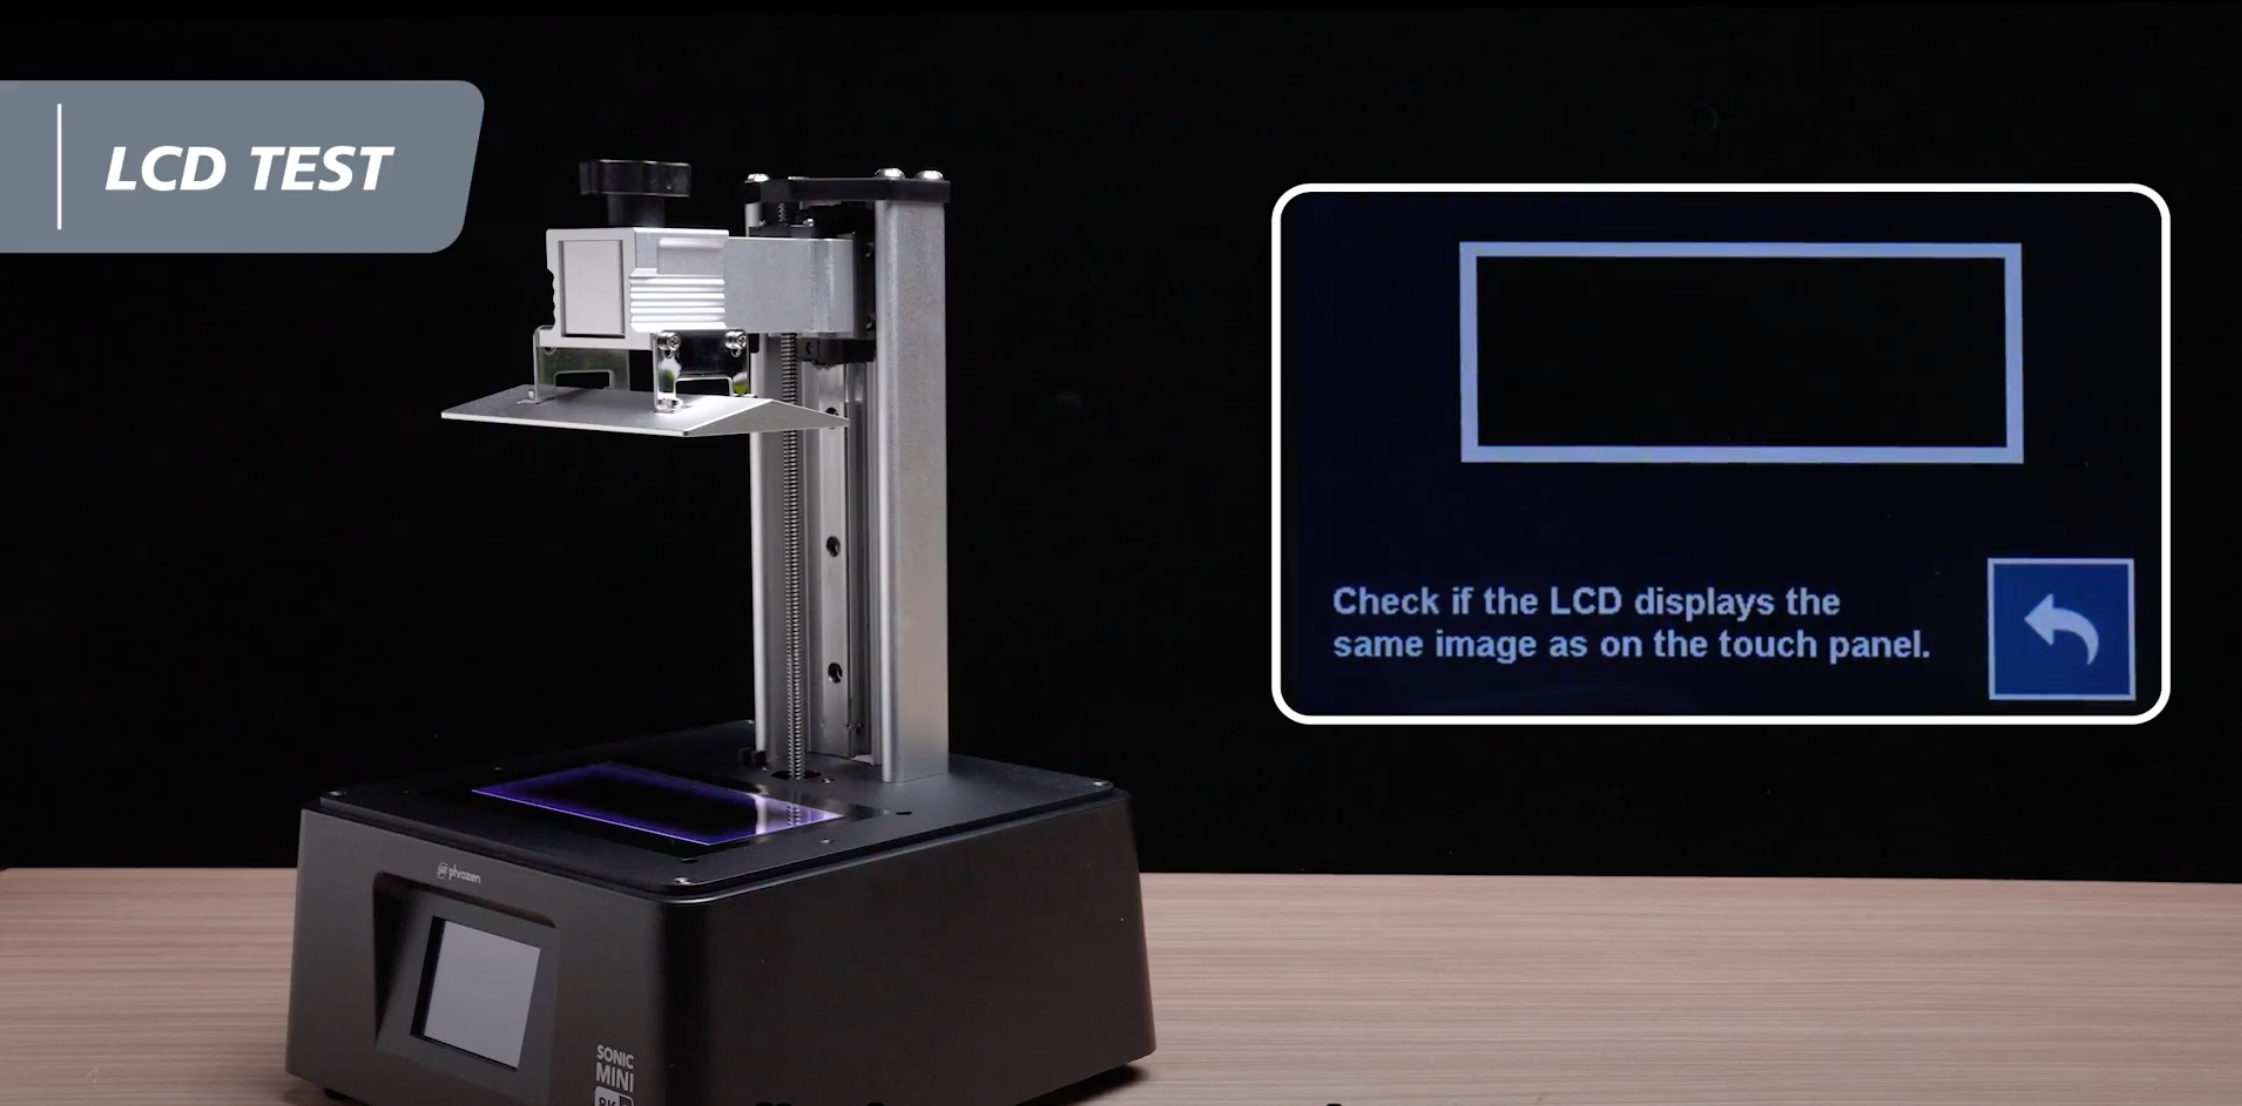
Now let's test the LCD, to perform an LCD test on your Sonic Mini 8K S:
- On the touch panel, click on "TOOLS" and then select "LCD TEST".
- Check to see if the LCD screen displays the same image as seen on the touch panel. A bright blue rectangle frame will appear on the LCD screen. Run this test to verify that the image displayed on the LCD screen matches the one shown on the touch panel.
Step 2: VAT CLEANING
To perform vat cleaning on your Sonic Mini 8K S:
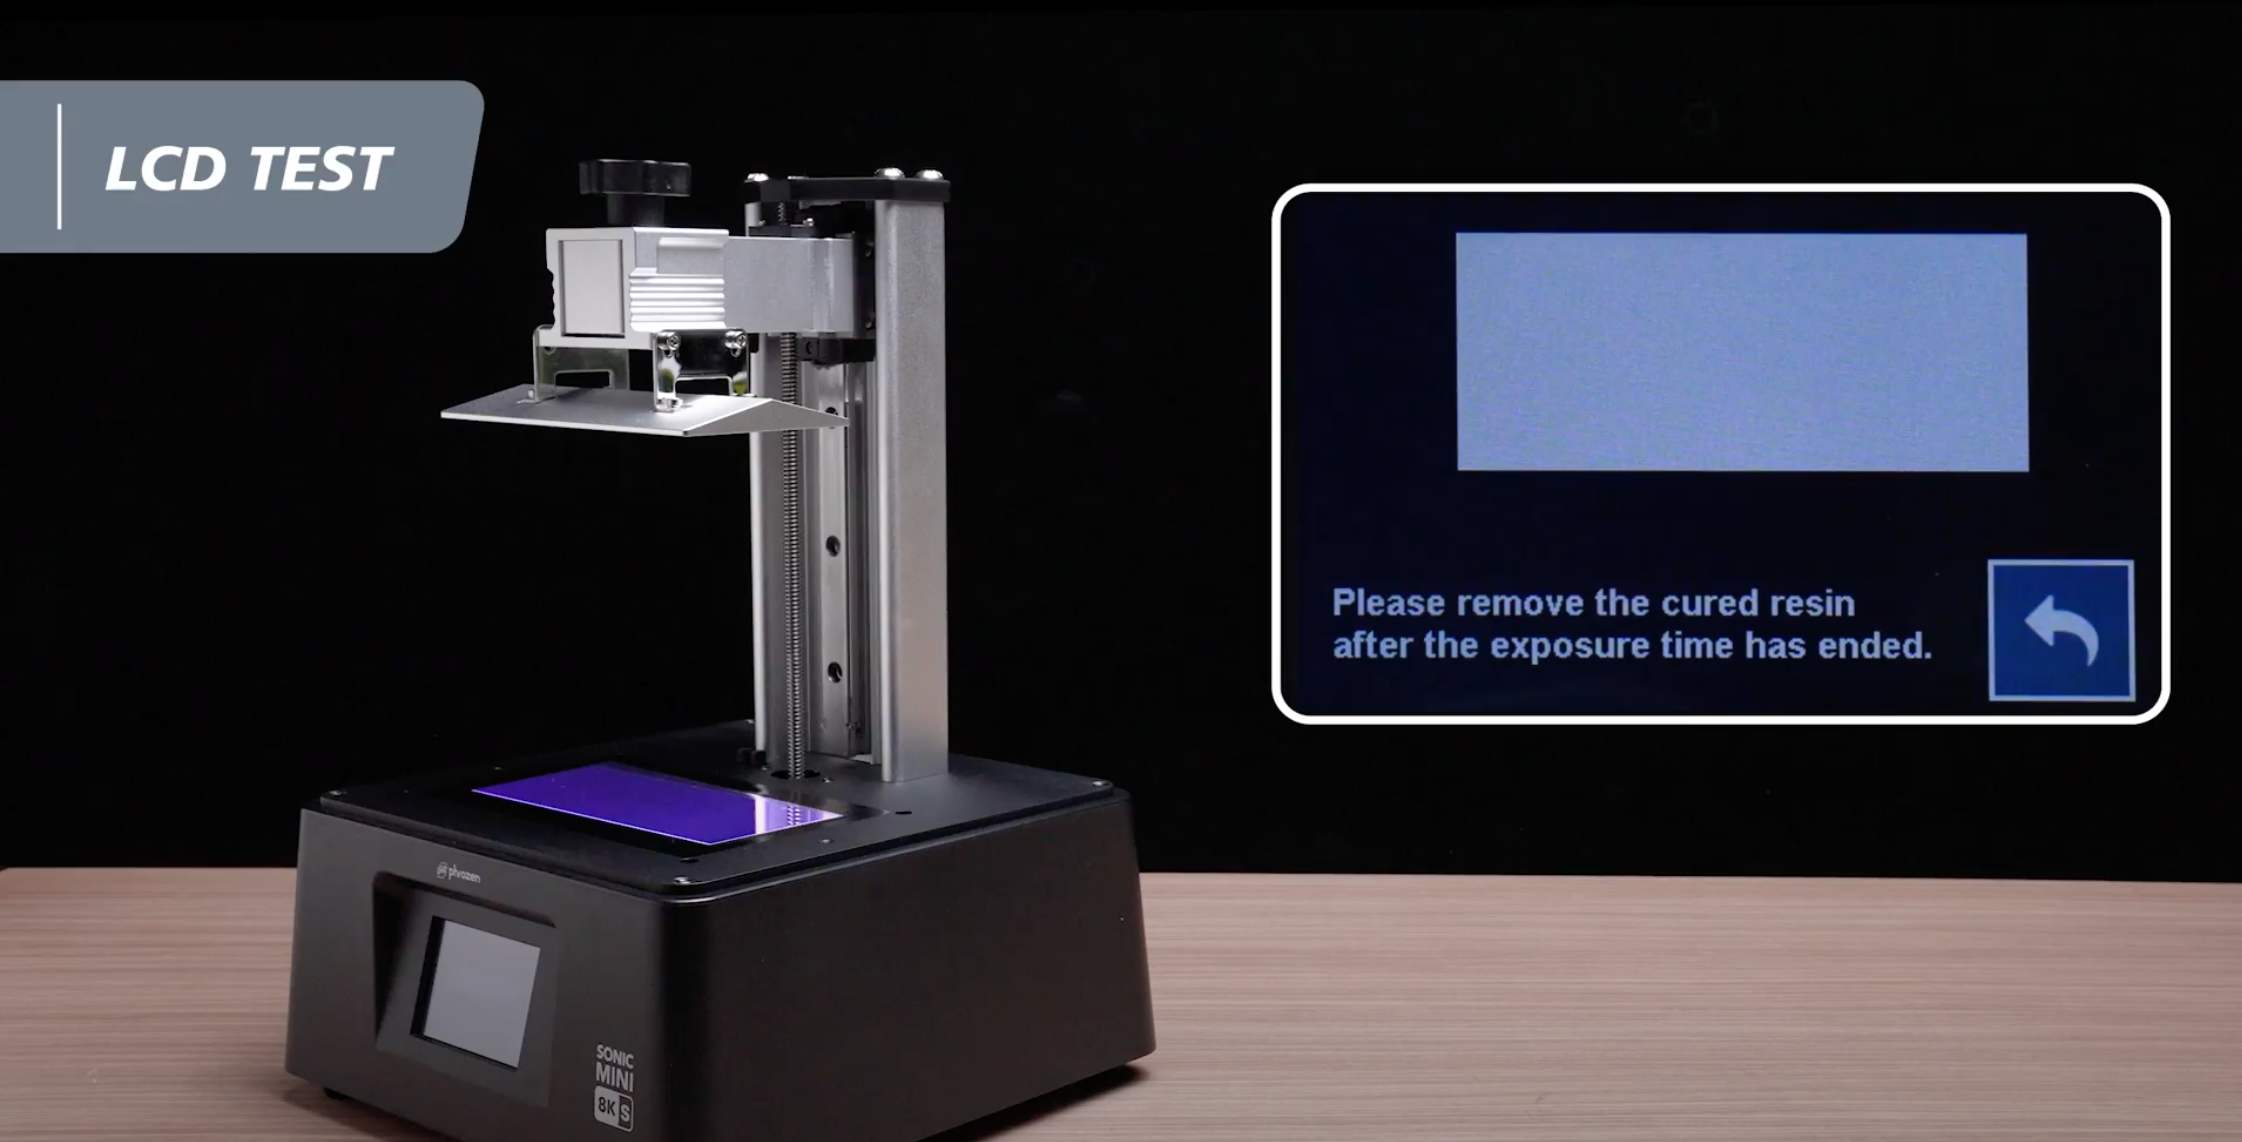
- Click on "TOOLS" and then select "VAT CLEANING".
- Set the Vat Cleaning exposure time to 15 seconds.
- Click on "Next".
- On the LCD screen, a bright blue rectangle will appear. Run this test to ensure that the UV lights are evenly distributed.
By following these steps, you can ensure that your Sonic Mini 8K S is working properly and ready for printing.
Step 3: Z-axis Calibration
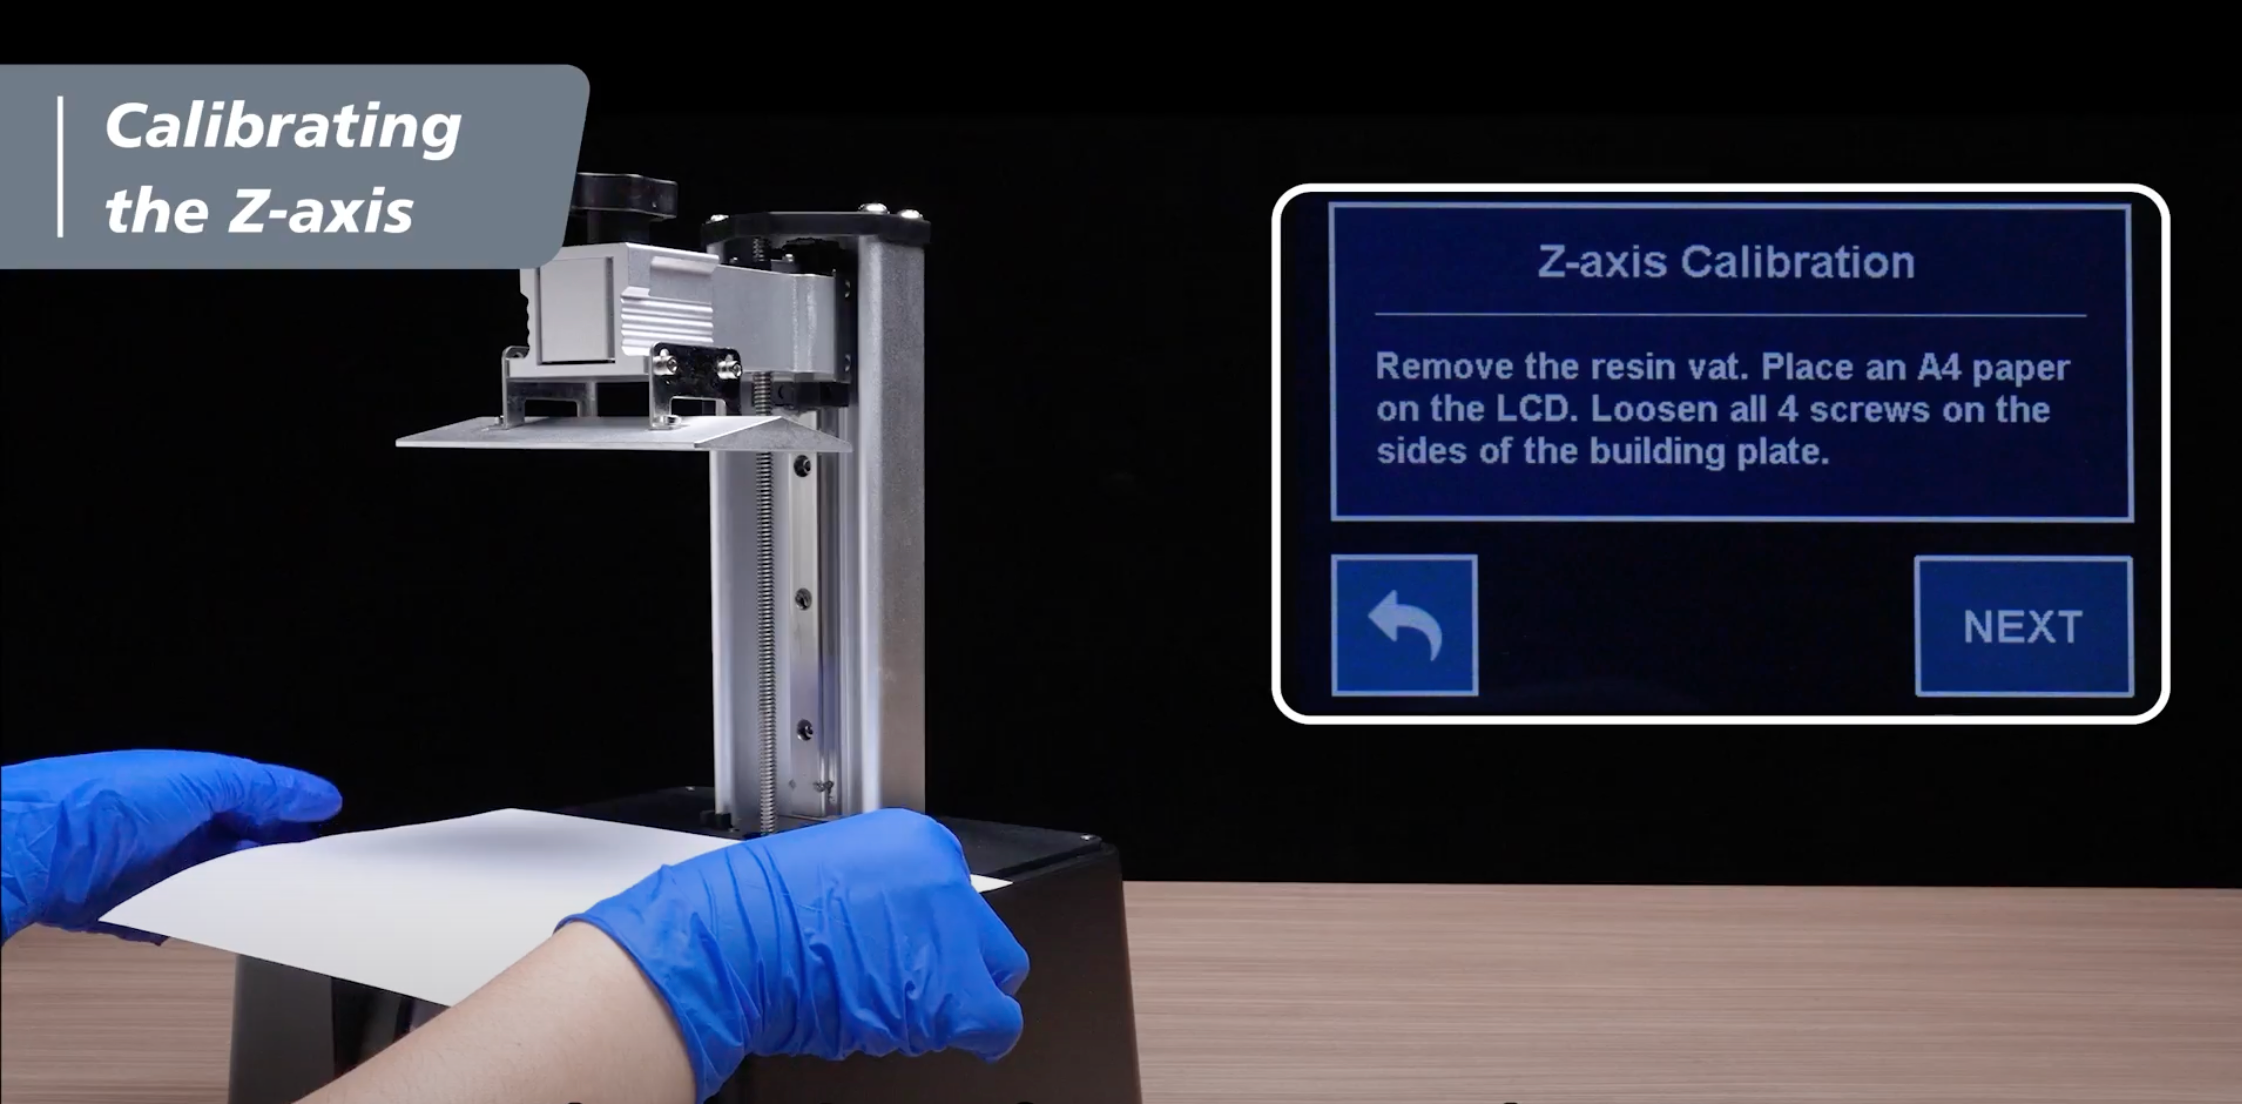
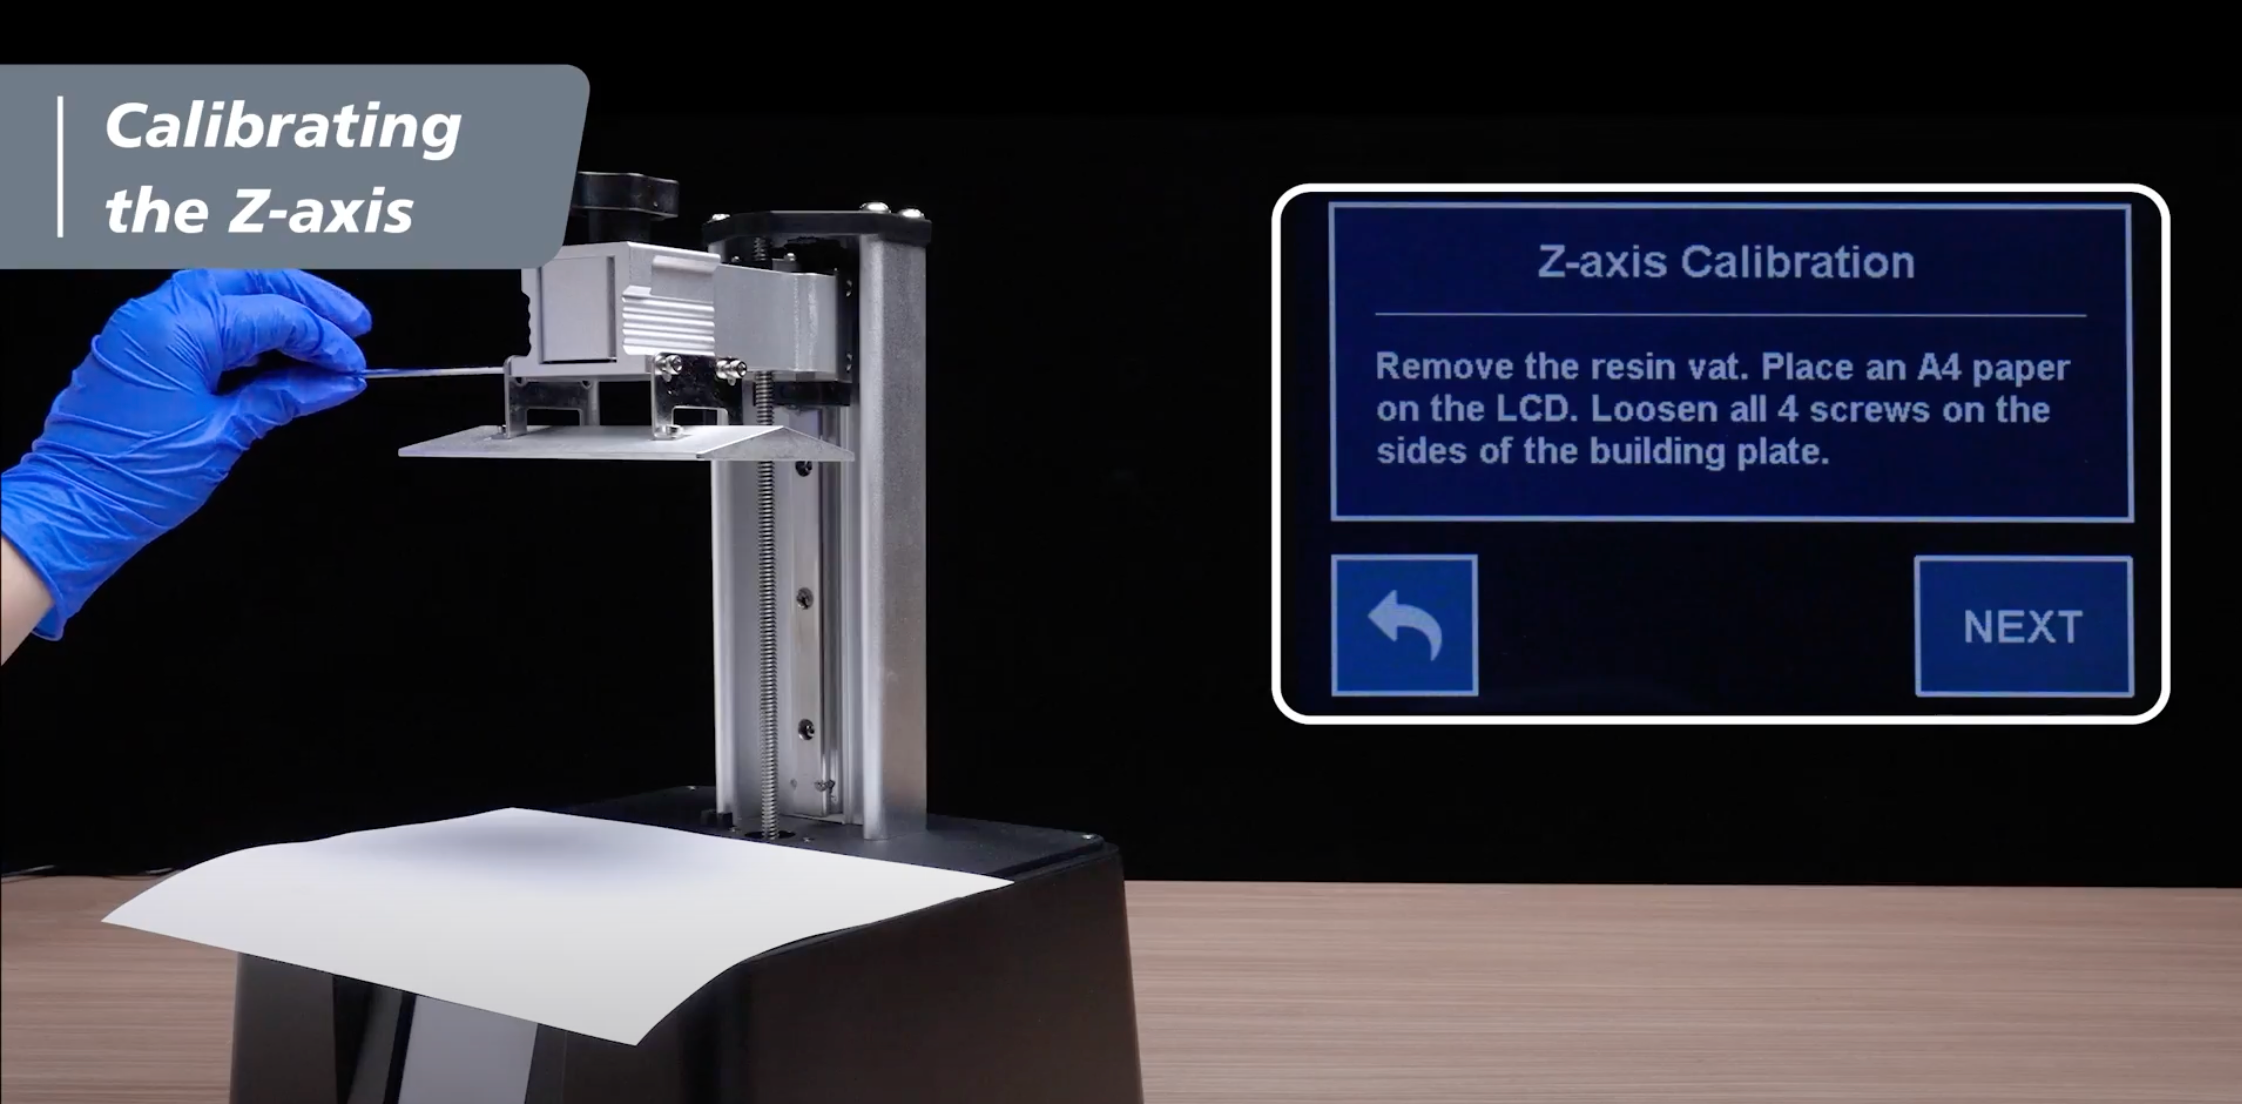
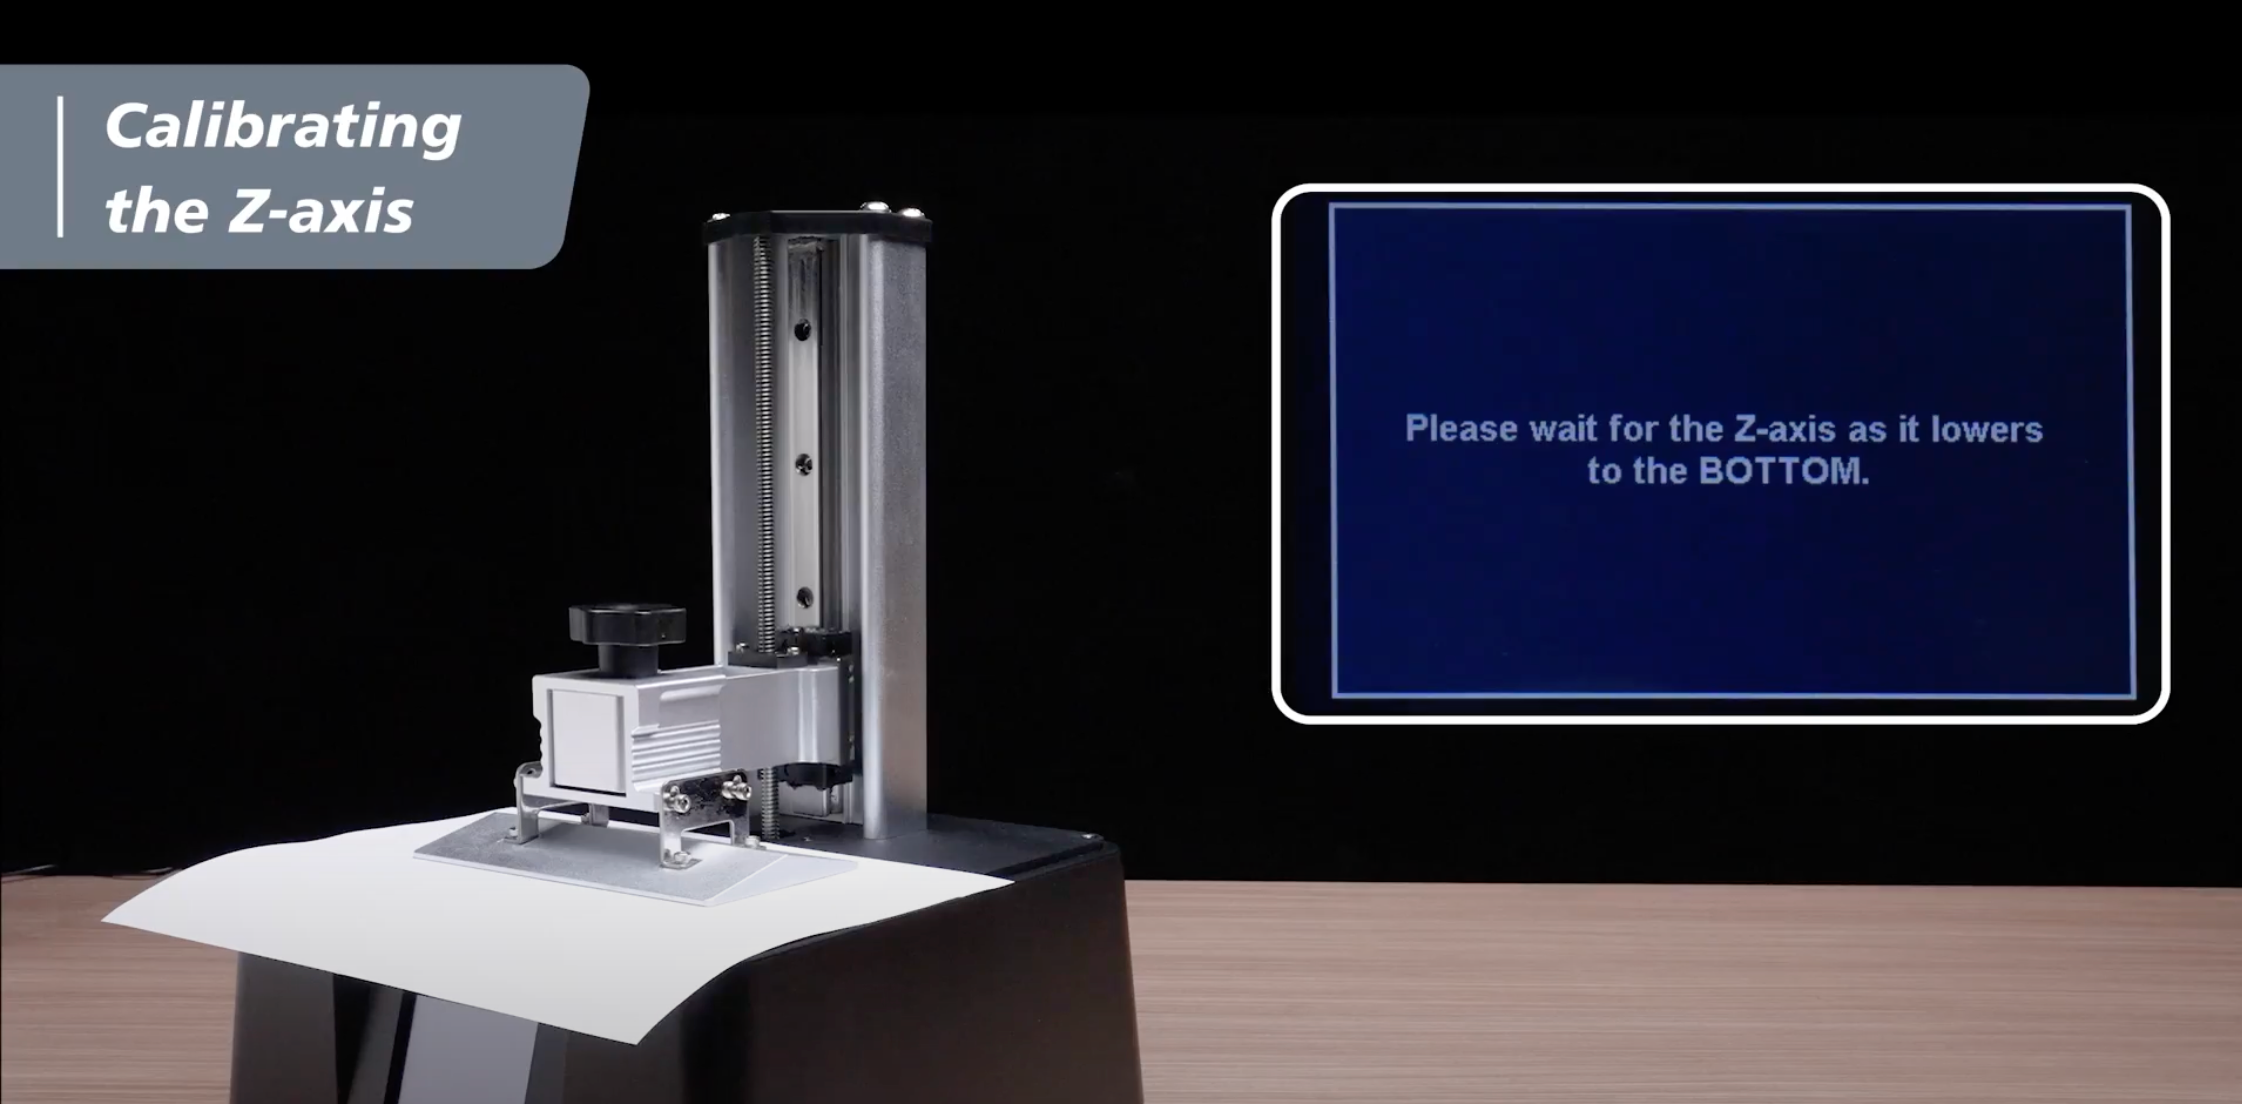
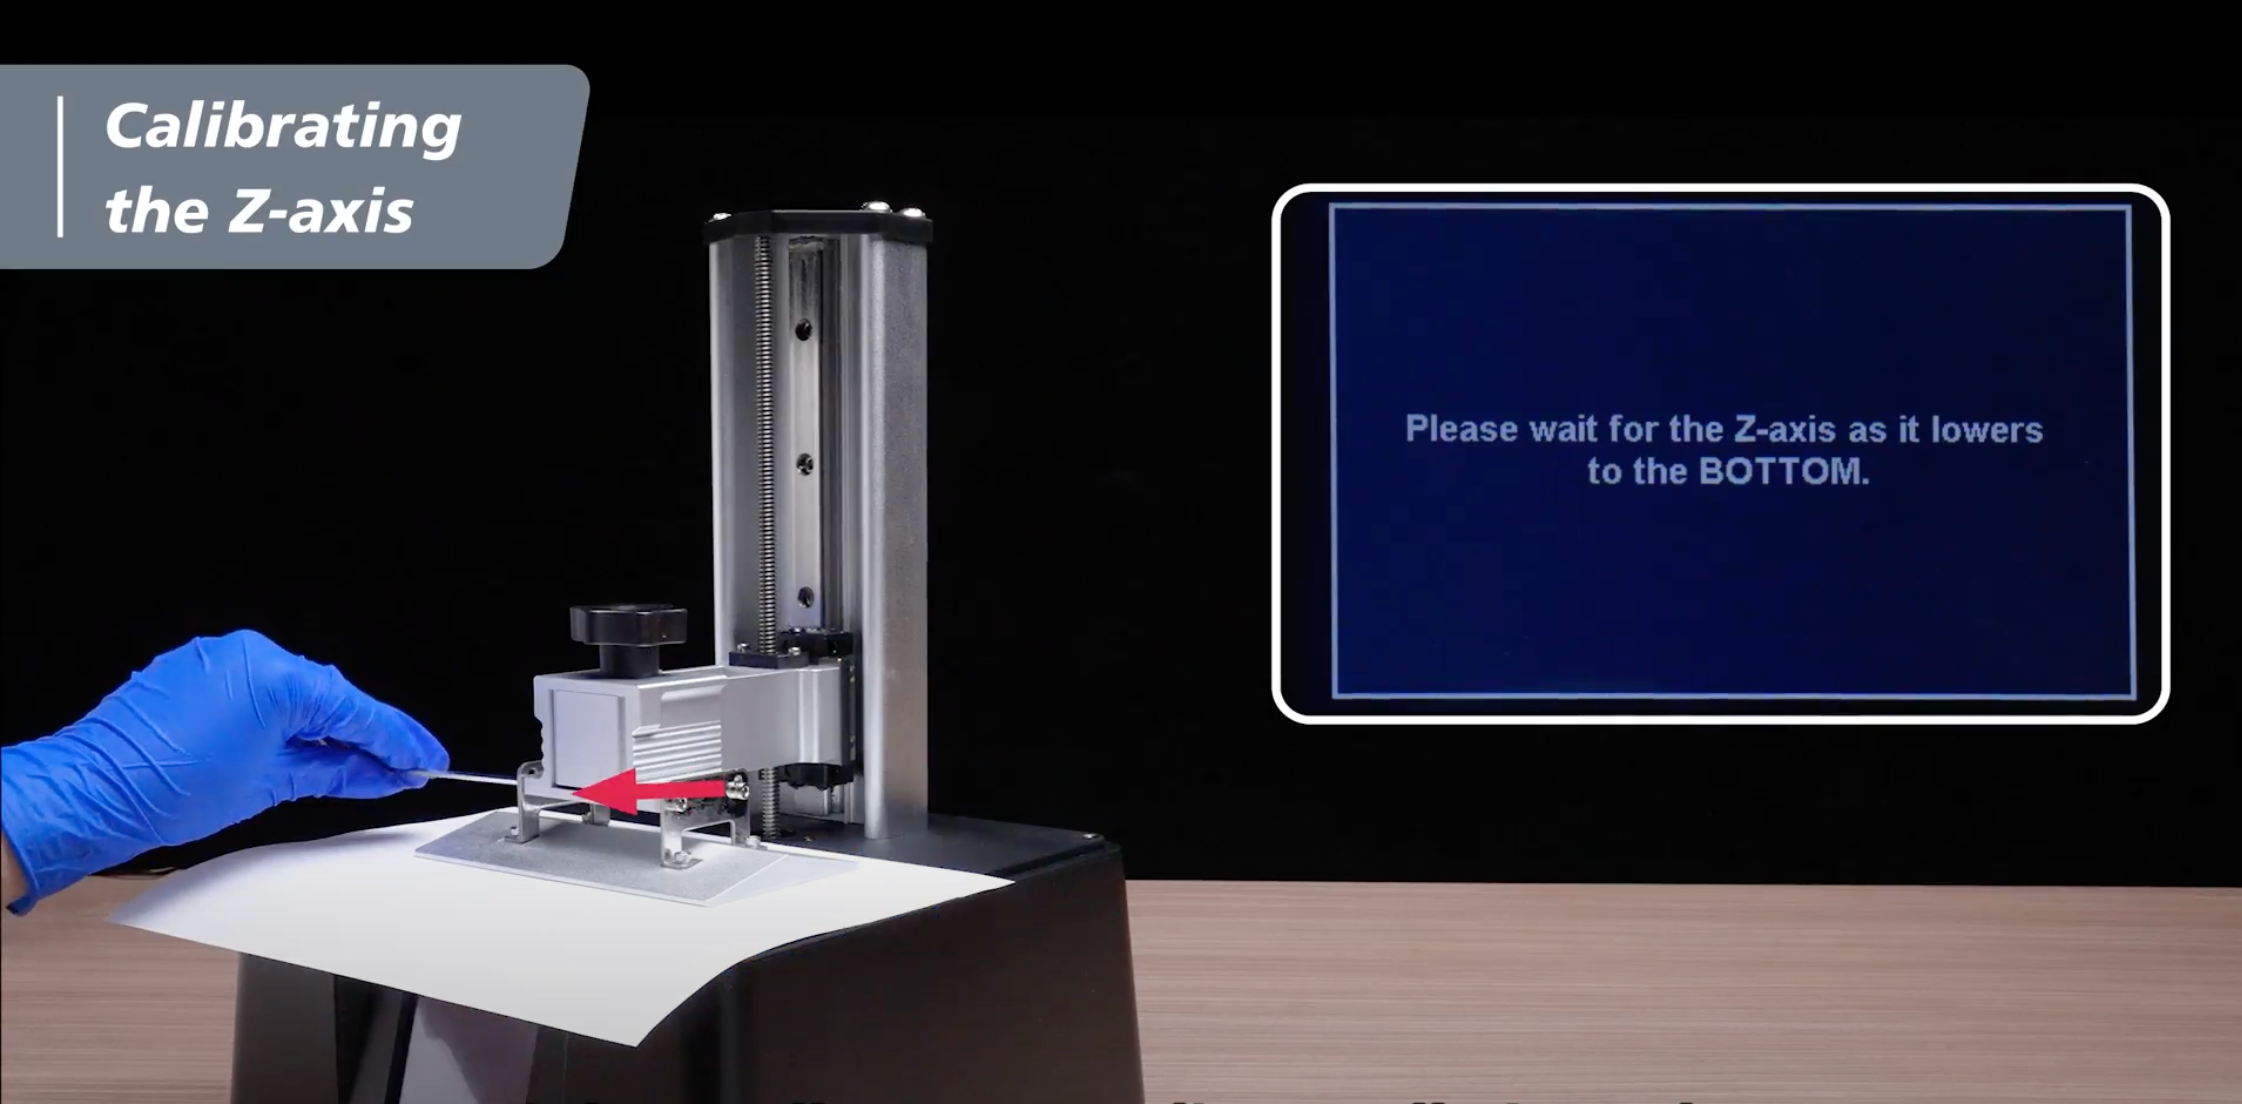
We will guide you through the Z-axis calibration process of your Sonic Mini 8K S LCD 3D printer using a piece of A4 paper:
1. Prepare a sheet of A4 paper, approximately 0.07-0.10 mm thick, and place it flat on the LCD screen. This paper will be used to level the building plate.

You are now ready to begin your 3D printing journey! Now you can start printing out Phrozen XP Finder with your Sonic Mini 8K S.