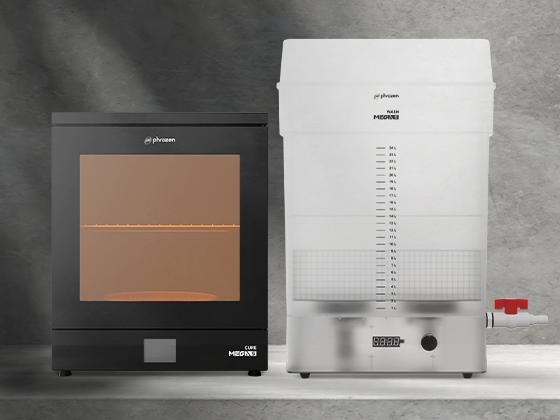
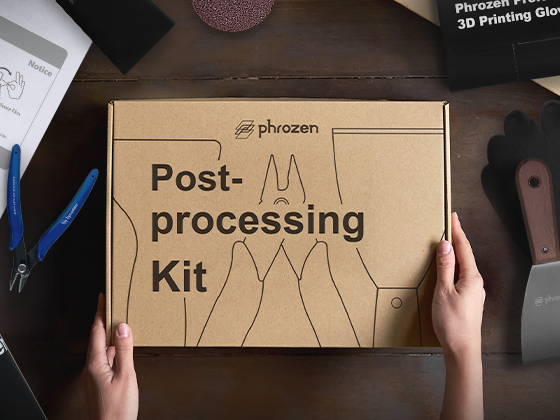
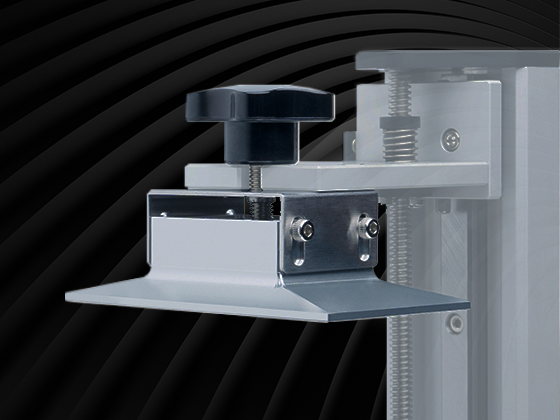
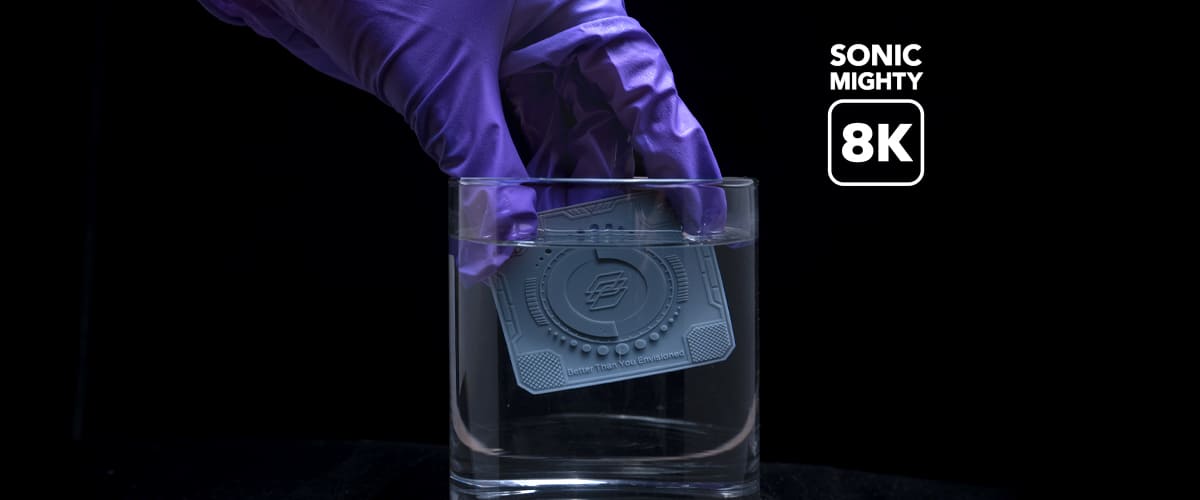
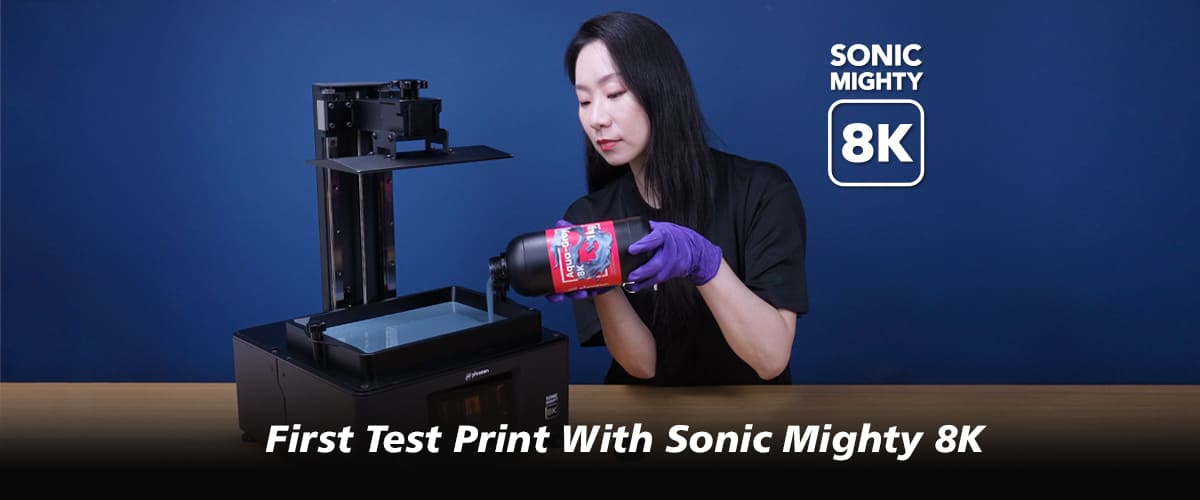
After you get your first XP Finder successfully printed with the Sonic Mighty 8K, you will then need to remove it from the building plate, wash it, and cure it. Thoroughly washing your models from any leftover and uncured resin is an important part of 3D printing. Make sure to clean both the outer and inner surfaces of the model if you are printing a hollow object. At the same time, you need to post-cure your model to prevent cracks and make sure that it’s fully safe to handle. Uncured resin is considered toxic and therefore requires extra precautions to handle.
Note: Please use protective gloves before proceeding to keep you safe from the resin as it might cause skin irritation or allergies, and from the alcohol so it won’t dry out your hands.
Remove Models From the Building Plate
Step 1: First, loosen the big screw that holds your building plate to the 3D printer and remove it gently.
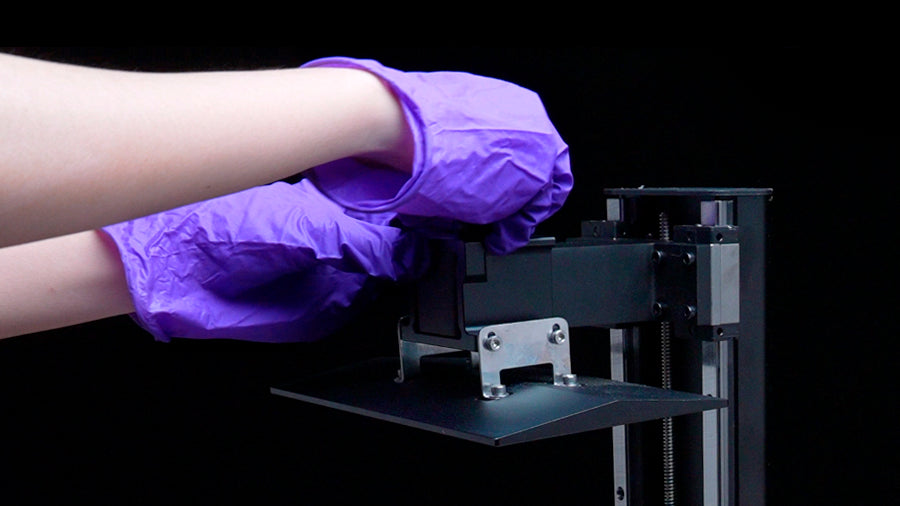
Step 2: Wipe the top and sides of your plate with tissue paper to avoid resin drips.
Step 3: Place the building plate on a firm and level surface – preferably a few inches away from your 3D printer, then use the metal scraper to remove models from the building plate.

Washing
Without Ultrasonic Cleaner / Phrozen Washing Station
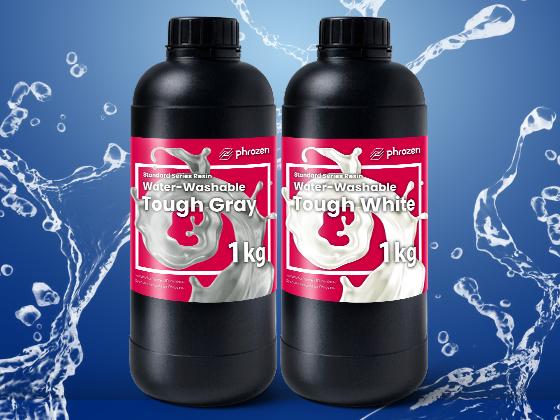
Step 1: Prepare two containers of 95% alcohol or Phrozen Wash (or water if you are printing with water-washable resin) and rinse your model until it's thoroughly cleaned.
Step 2: Gently rub off the uncured resin, or use a soft brush to clean intricate parts. (Do not use a toothbrush as it may leave scratch marks on the surface of the 3D printed object)

With Ultrasonic Cleaner / Phrozen Washing Station
Directly place the model into the Ultrasonic Cleaner / Phrozen Washing Station filled with Phrozen Wash or 95% alcohol (or water if you are using water-washable resin) and run the machine for a maximum of 30 seconds each time. Remove the model and check if it’s thoroughly cleaned. Repeat the process if necessary.
Note: Do not soak your models for more than 30 seconds each time as overexposure to cleaning liquid may damage the models.
Drying
Make sure there isn’t any uncured resin left on the model and leave it to air dry in a shaded area for 30-60 minutes, or use a compressed air gun to speed up the drying process. You can also choose to use the dry mode or dry+cure mode in Phrozen Curing Station to dry and cure them in one go.

Post-Curing
It’s important to make sure that your 3D printed model has completely dried before you cure it, as wet model tends to crack when exposed to UV lights. You can choose to use Phrozen Curing Station to complete your post-curing process or just lay your models in direct sunlight.
If you choose to use Phrozen Curing Station, simply place the model onto the turntable and get the machine started. You can set the timer up to 60 minutes with the machine. However, it is recommended to cure XP Finder for 30 minutes as it will provide enough exposure to completely cure the XP Finder printed with Aqua-Gray 8K.

When post-curing 3D printed model with direct sunlight, make sure to turn the model once in a while to make sure that every side is perfectly cured. On top of that, as the direction of sunlight changes throughout the day, it is possible that your model might not be cured evenly and cause discolorations in some areas.
Congratulations on completing the first print in your 3D printing journey! You can scan the QR code on the touch panel screen or simply click here to learn more about XP Finder. In the next article, we are going to guide you through the new feature of Sonic Mighty 8K: Upgraded Z-Control Settings.


