Do you know that you can use internet connection to easily import files to your Sonic Mighty 8K 3D Printer? It makes your 3D printing process easier, more efficient, and now you don't need to worry about misplacing your USB drive anymore. In this short tutorial, we're going to guide you through the step-by-step on how to import your files directly into your 3D printer, simply through the internet connection function. If you are curious about how to do it, make sure to read through or watch the tutorial video below.
First, take a look at the back side of your 3D printer, and plug in your internet connection of choice to the connection port. For Sonic Mighty 8K, you can choose to use either a Wi-Fi adapter or an Ethernet cable.

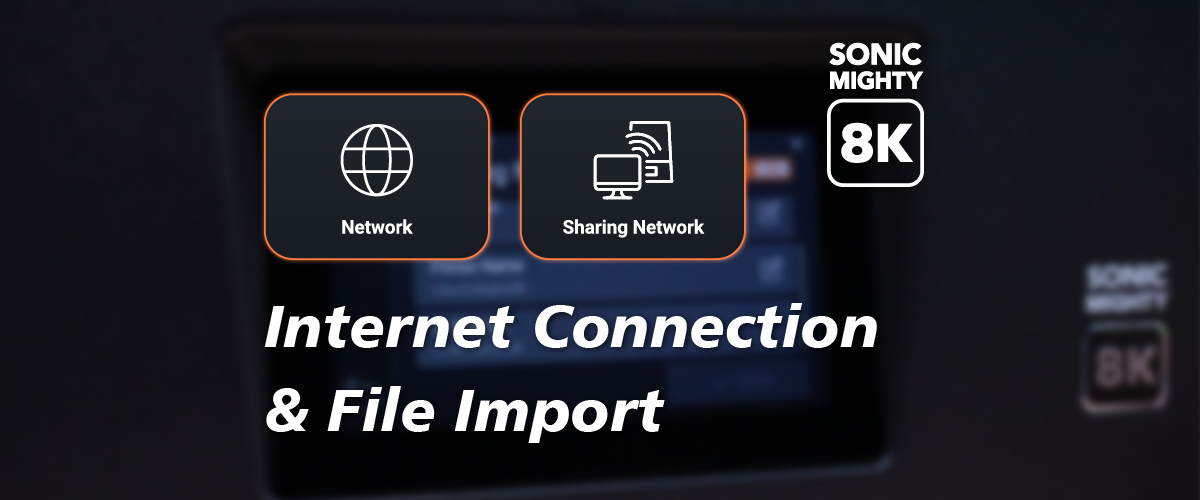
Then go to the Settings tab, choose Network, and connect to your internet. In this tutorial, we are going to use a Wi-Fi connection to perform our file transfer.
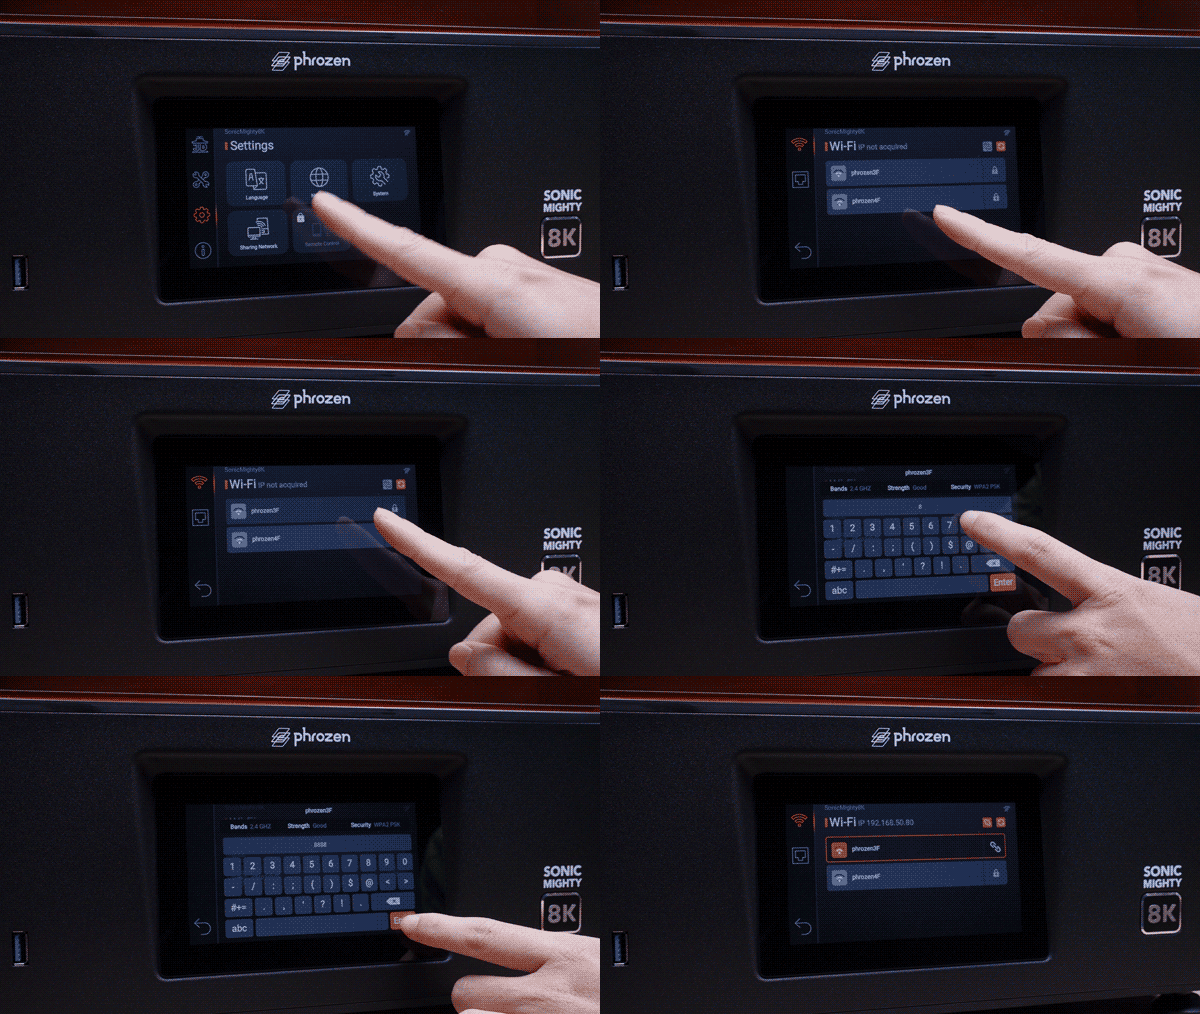
Turn your Sharing Network ON and check your IP Address. Make sure you are connected to the same network as your computer, and enter your IP address on your computer.

From the Sharing Network settings of your 3D printer, sign in to the network. Manually enter your username and password if this is your first time.

After checking that both your 3D printer and computer are now connected to the same network, you can simply drag and drop your model files into the window.

And just like that, your file has been imported to your 3D printer. Go to the Print tab and choose Local File to check on your imported files. You should be able to find the imported files in the folder. The files you imported would be saved in your 3D printer storage so you can have easy access to print them again next time. Choose the file you want to print and tap on PRINT to start printing.

And just like that, your file has been imported to the Local File of your 3D printer and is now printing. It's so easy and convenient, isn't it? Do you think this is a great addition to your 3D printer? Would it be an essential improvement from your current 3D printing workflow? Let us know what you think in the comment below!
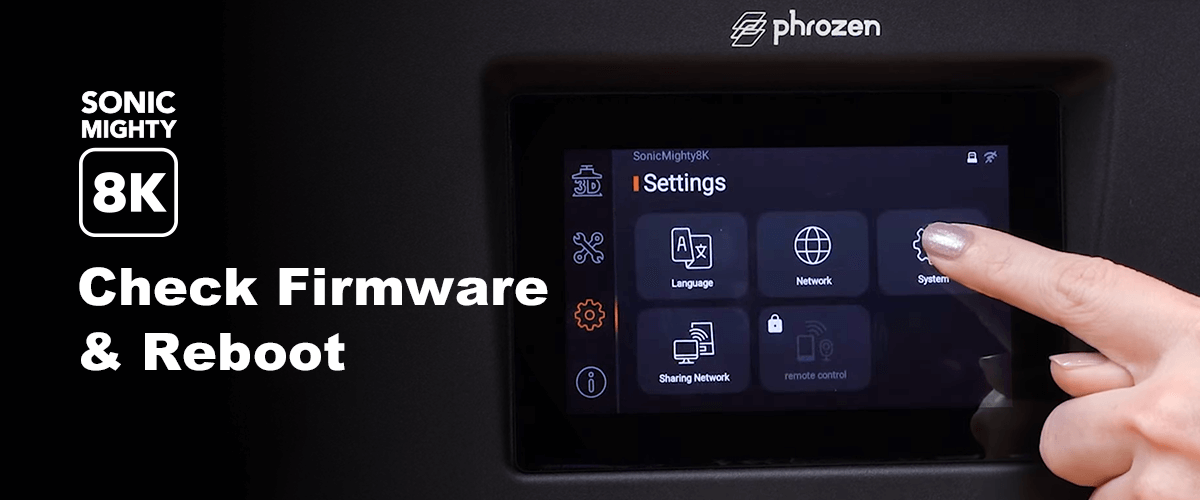
Click here to learn more about how to check Sonic Mighty 8K firmware and how to reset your 3D printer to its factory settings.






1 comment
Bo
If you want to connect to it on Debian-based Linux (Ubuntu, etc.), use the following commands:
```
sudo apt update && sudo apt install cifs-utils
sudo mkdir /mnt/phrozen
sudo mount -t cifs //192.168.0.10/emmc /mnt/phrozen -o uid=1000,gid=1000,user=admin,pass=123456
```
Replace 192.168.0.10, admin, and 123456 with the values from your printer.
It’s a great addition to the workflow!