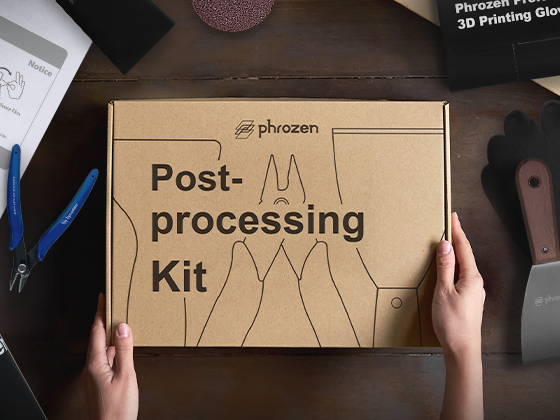
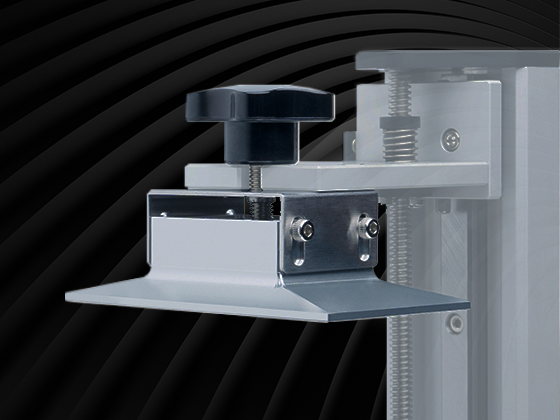
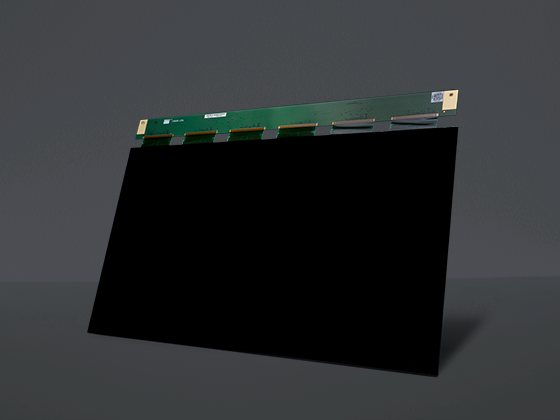
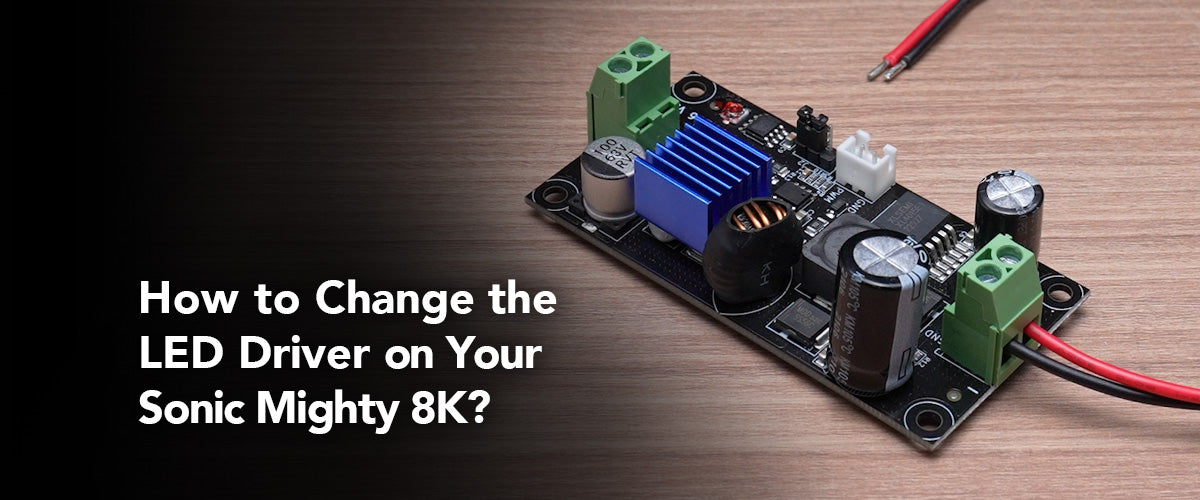
After familiarizing yourself with the accessories and tools inside your Mighty 12K Upgrade Kit, we’re now ready to move to the next step, removing the case of your printer. Before removing the case of your printer, you need to prepare 3 label stickers and label each of them with No.1, No.2, and No.4. You will also need the Allen wrenches provided from the Sonic Mighty 8K’s toolbox for the installation for the Mighty 12K upgrade.
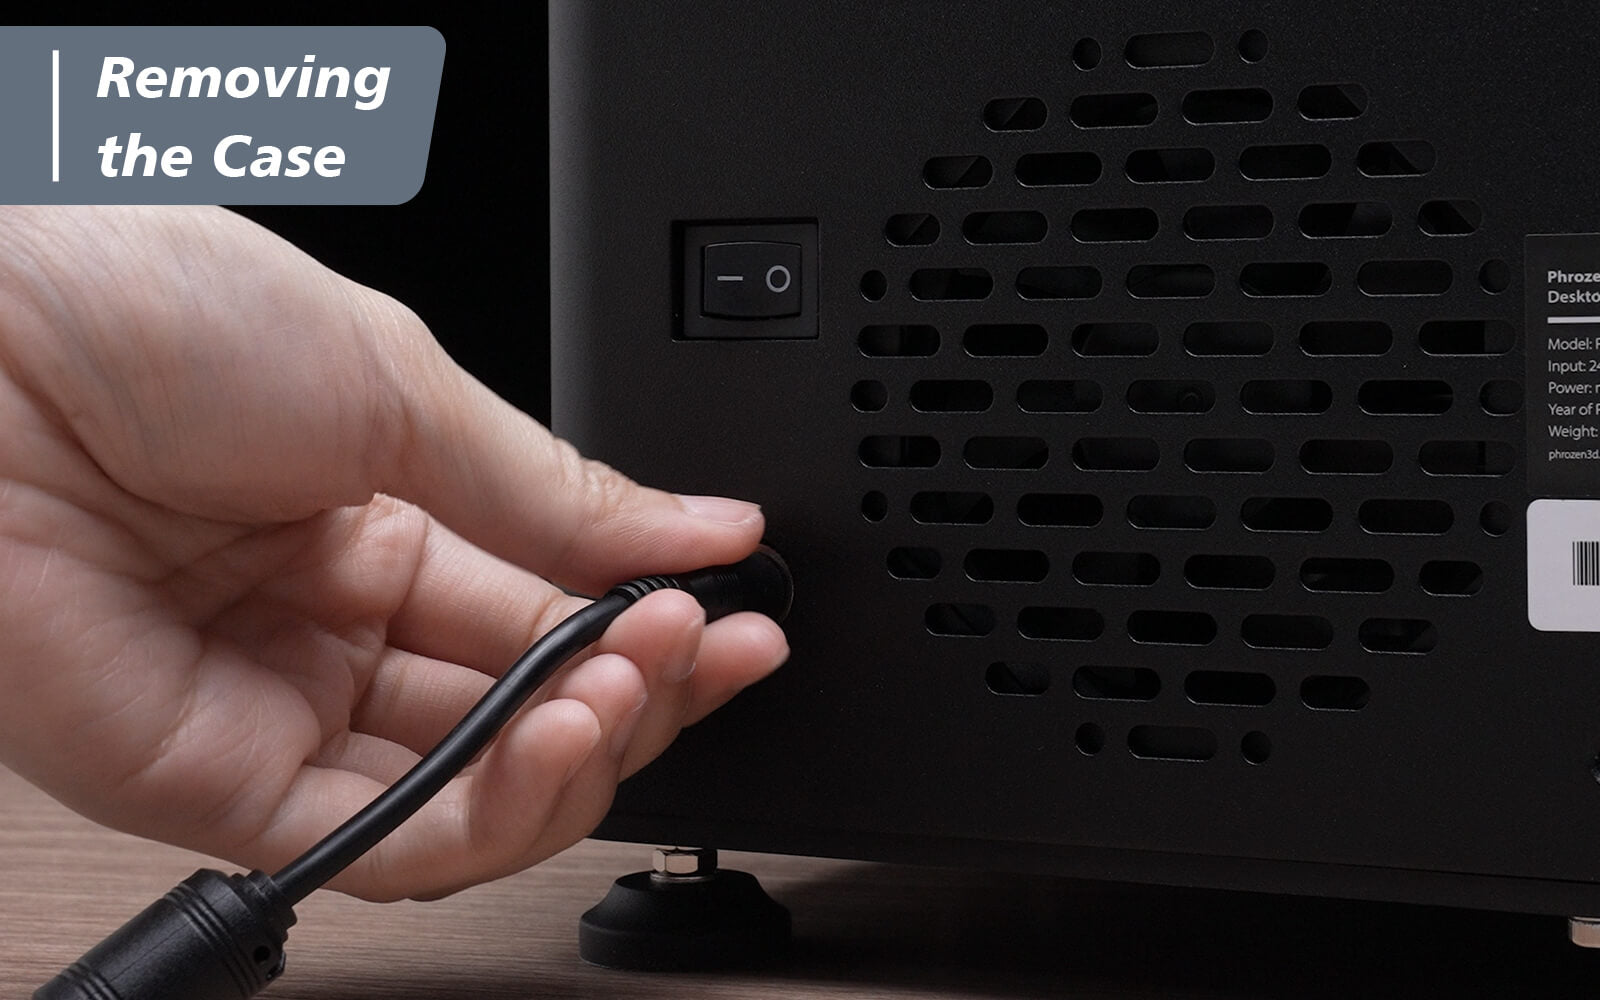
Step 1: First, you will need to disconnect the power cable for your safety.
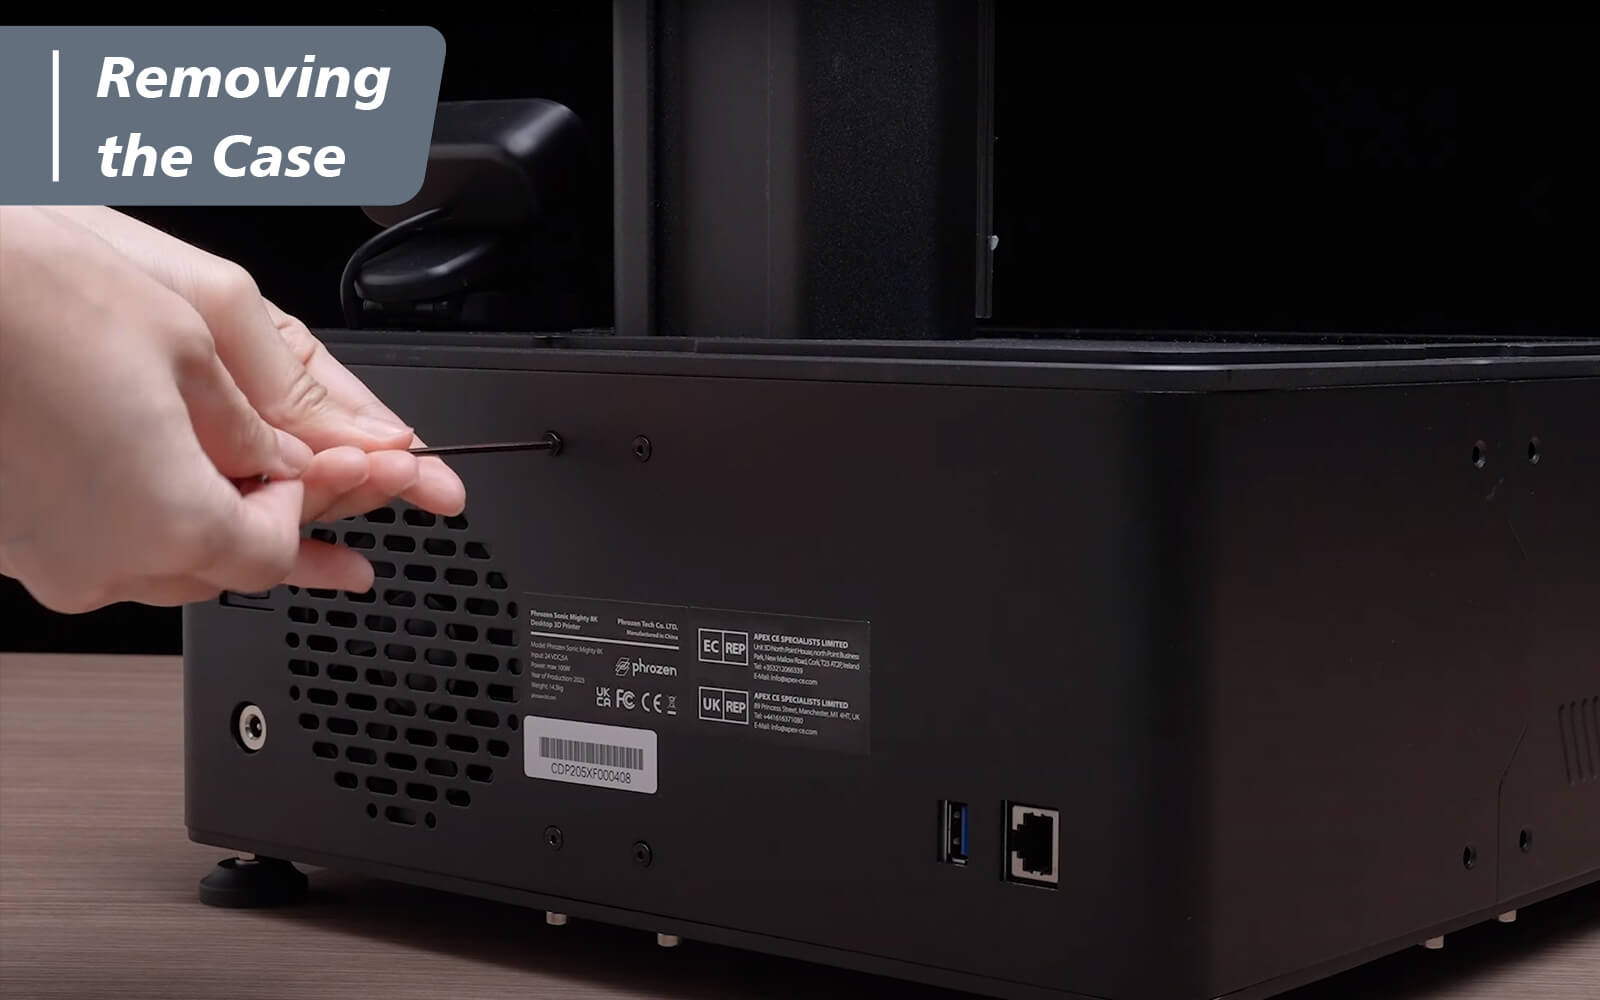
Step 2: Loosen the screws from both sides of the case with the 2 mm Allen wrench.

Step 3: Turn to the back to loosen the 4 screws on the rear case. Remember to keep the screws properly for later.
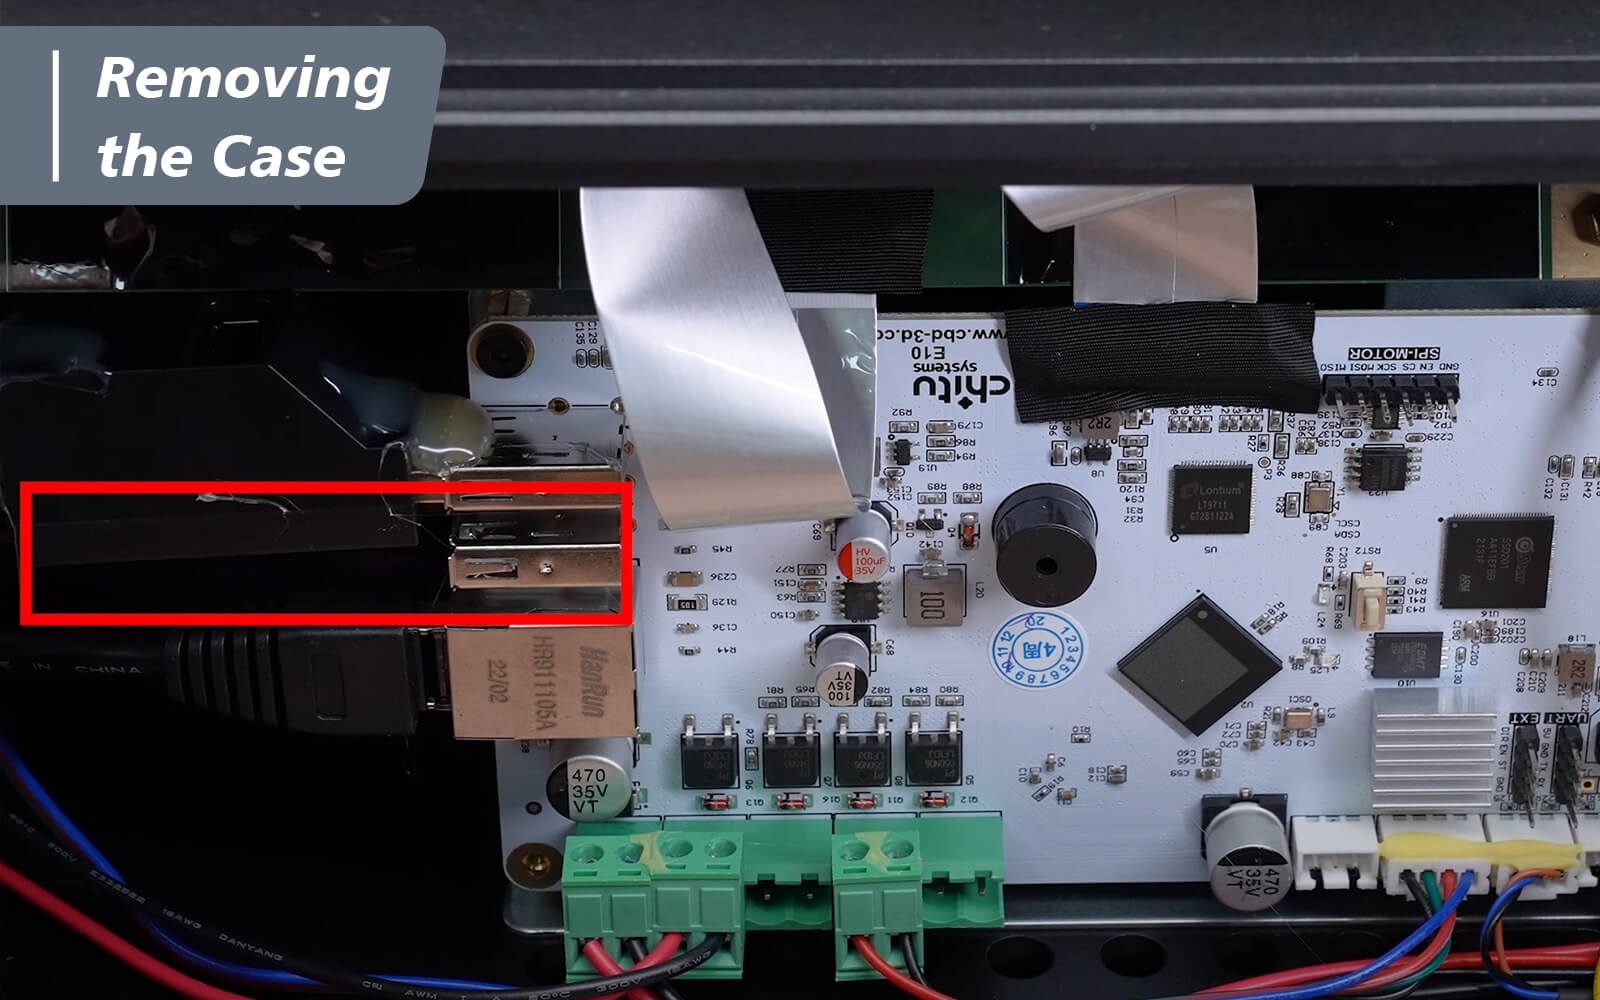
Step 4: Remove the USB cable on the old LED driver.
Step 5: Then remove the acetate cloth tape that connects the touch panel to the mainboard. There is a new acetate cloth tape in the upgrade kit, you’ll use the acetate cloth tape to cover on the touch panel after installing the new 12K mainboard.
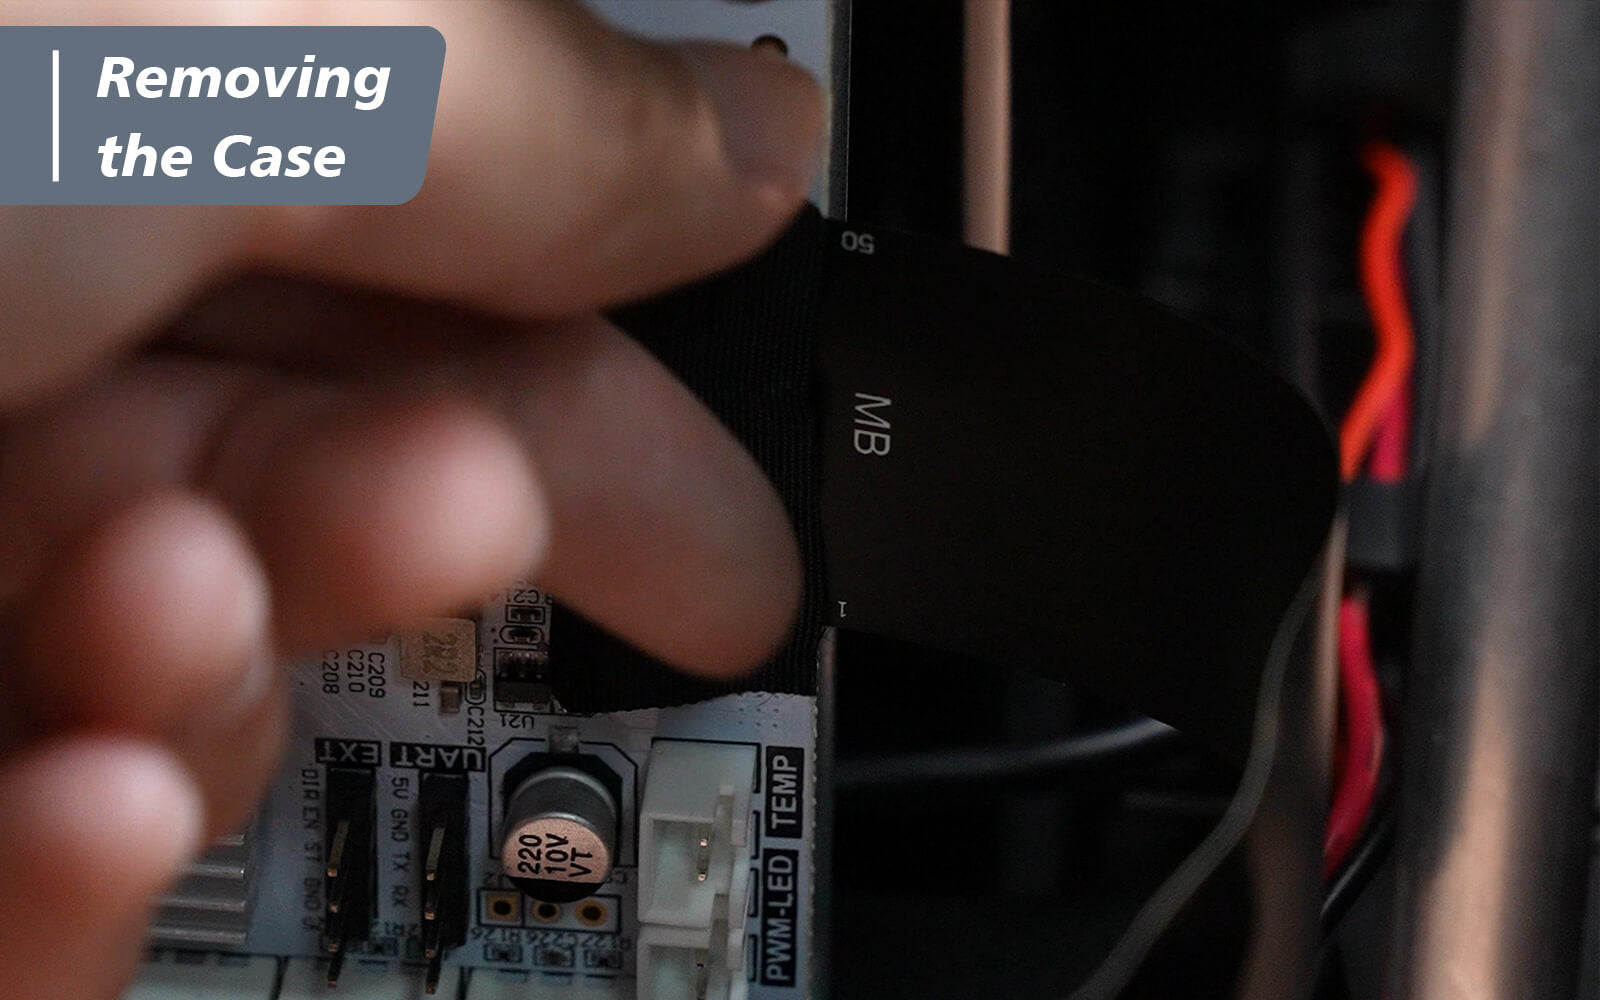
Step 6: Unclip the buckle and remove the touch panel ribbon cable.

Step 7: Gently pull the front case off and put it aside.
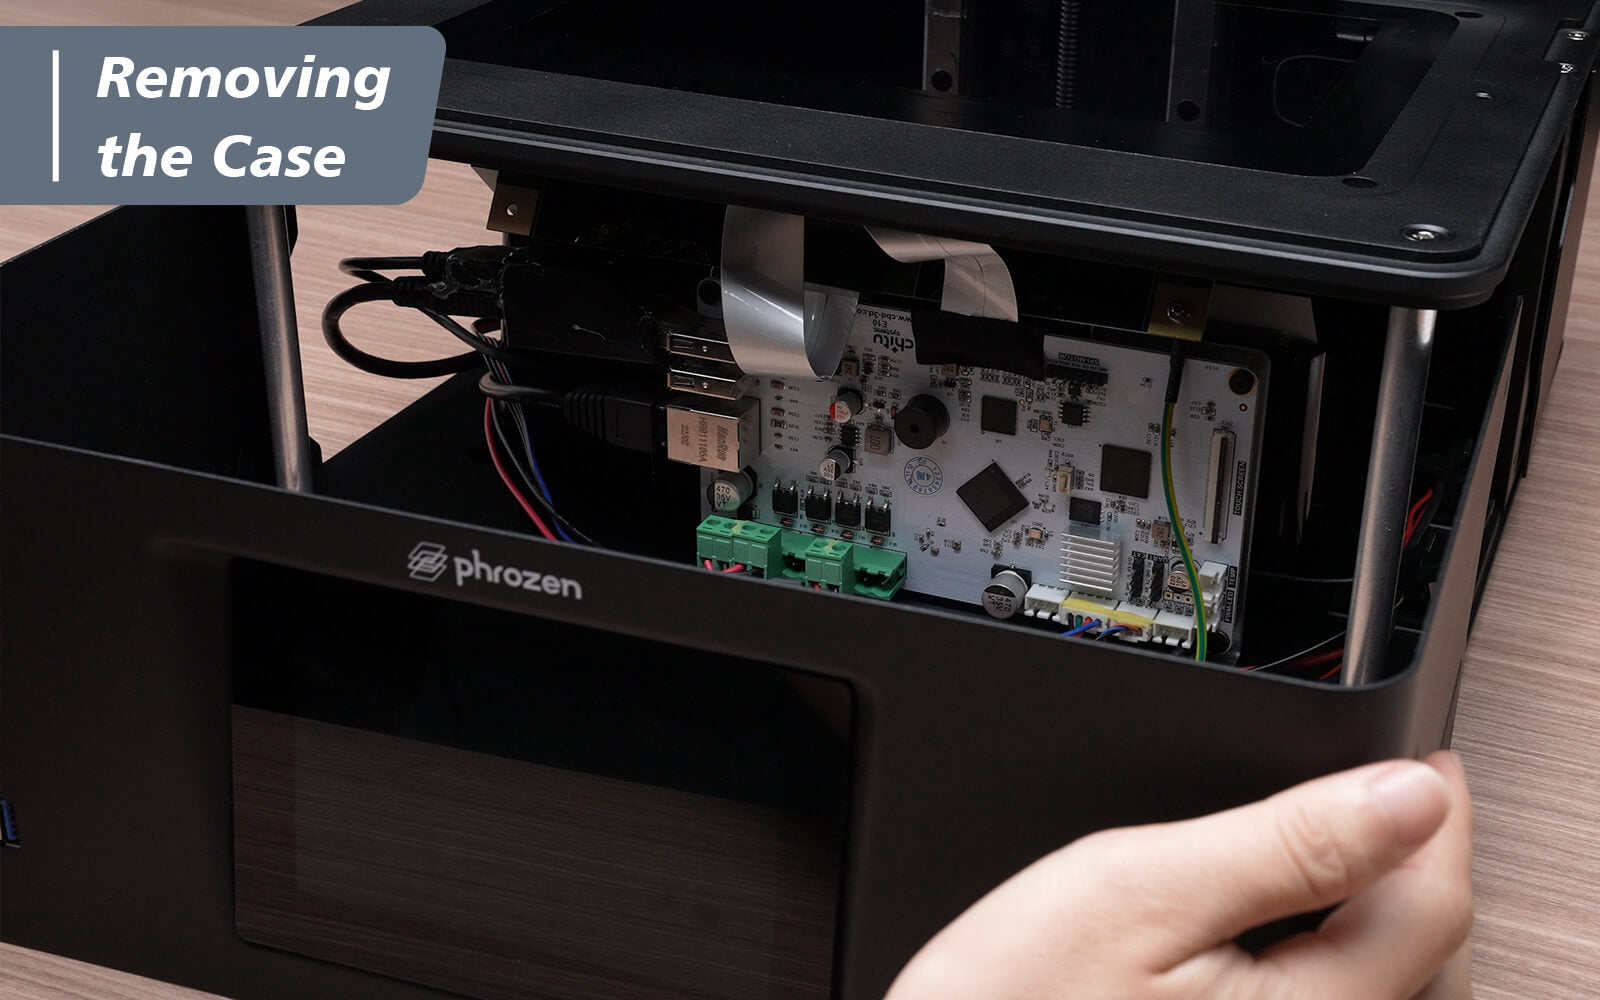
Step 8: Turn the printer so you are facing the rear, then pull the rear case and put it aside.
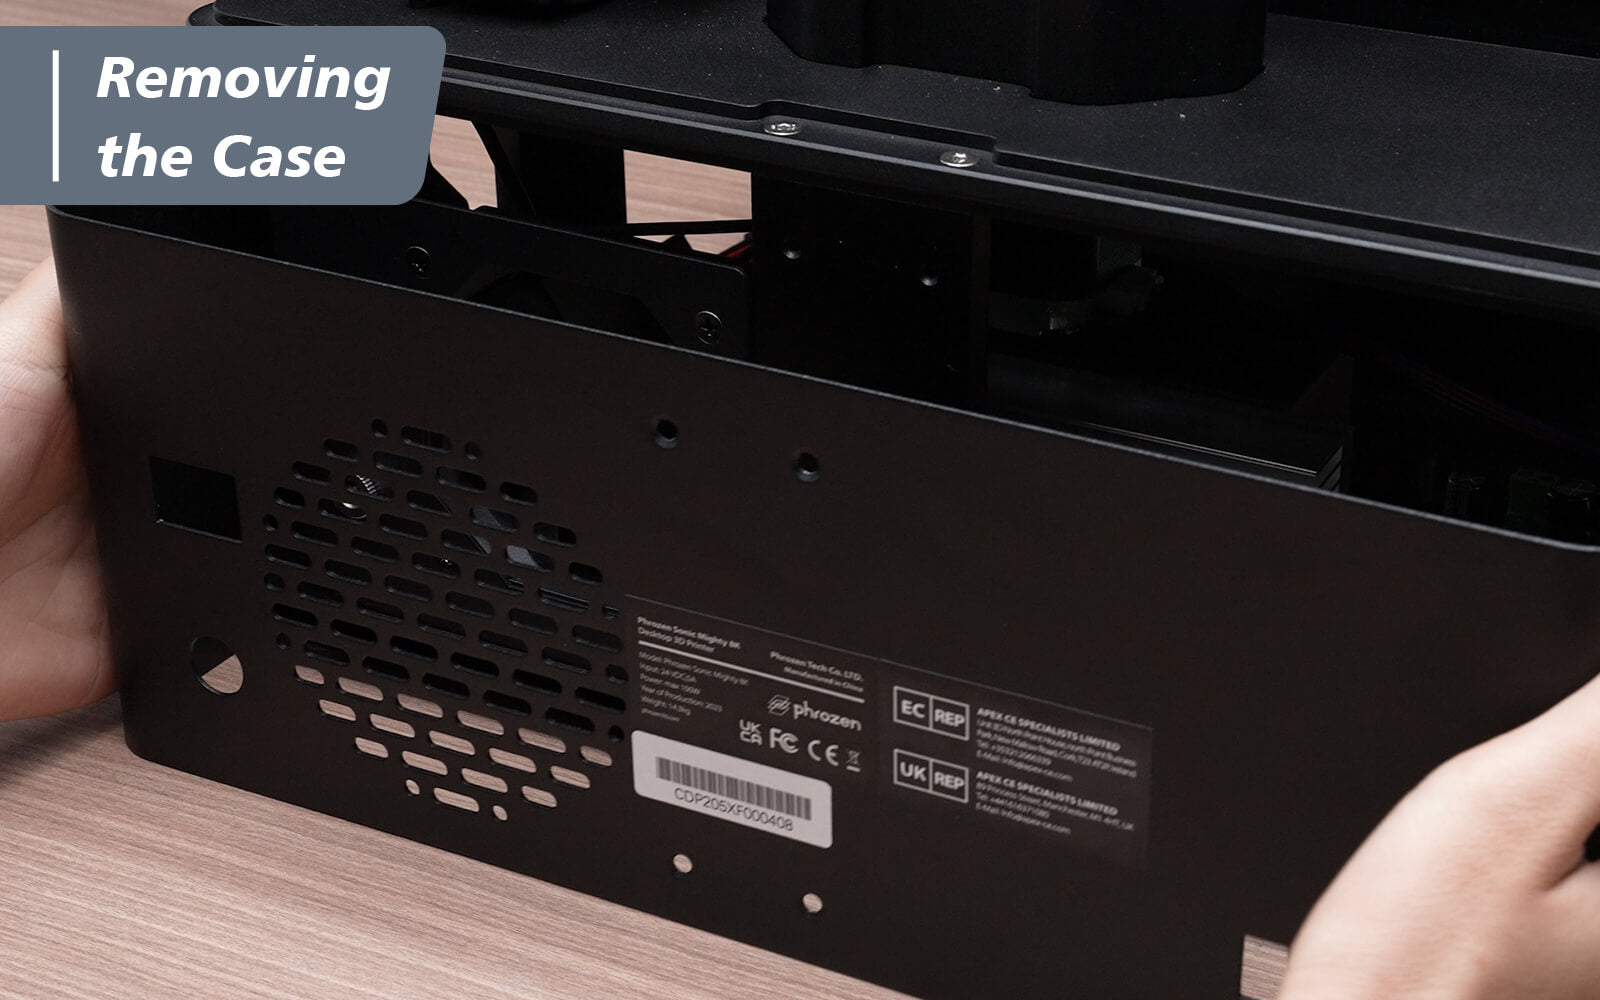
The front and rear cases of the Sonic Mighty 8K are now completely removed!
Now we can go to the next step, changing the LED drive of your Sonic Mighty 8K!

