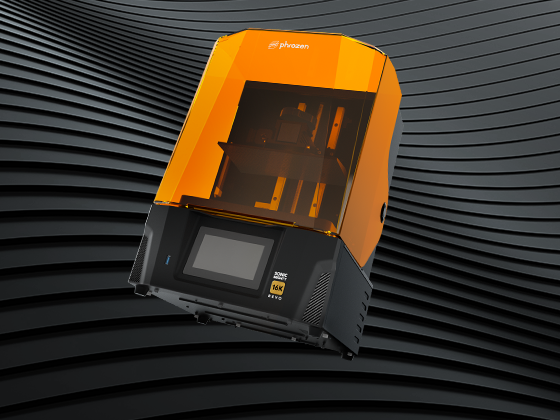
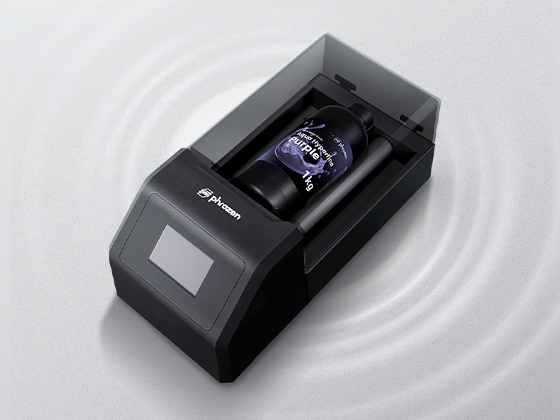
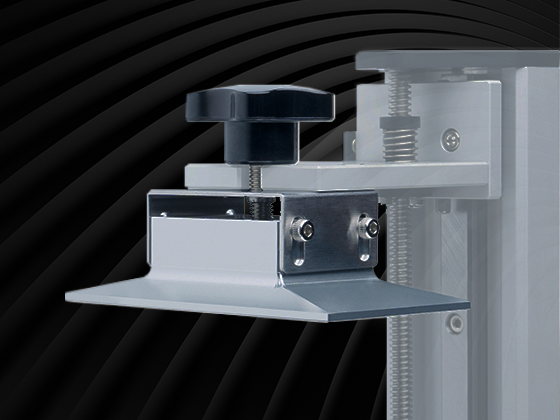
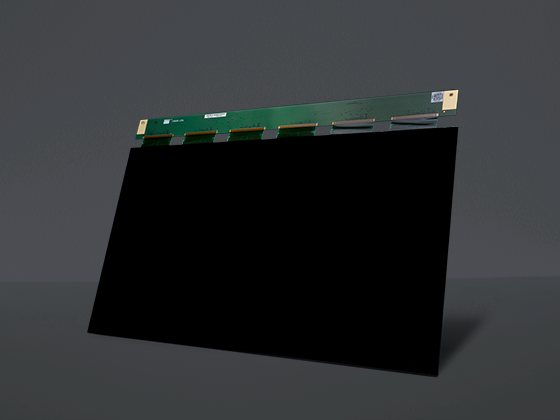
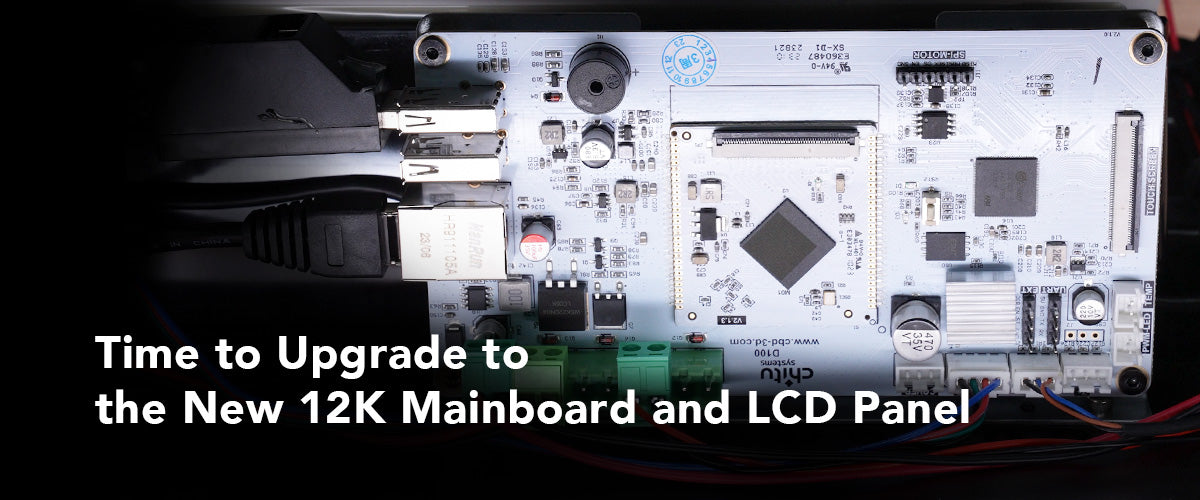
After removing your front and rear Sonic Mighty 8K cases, there are a few parts that you need to change from its 8K machine to the new 12K one. To start, we’ll change the old 8K LED driver to the new 12K one.
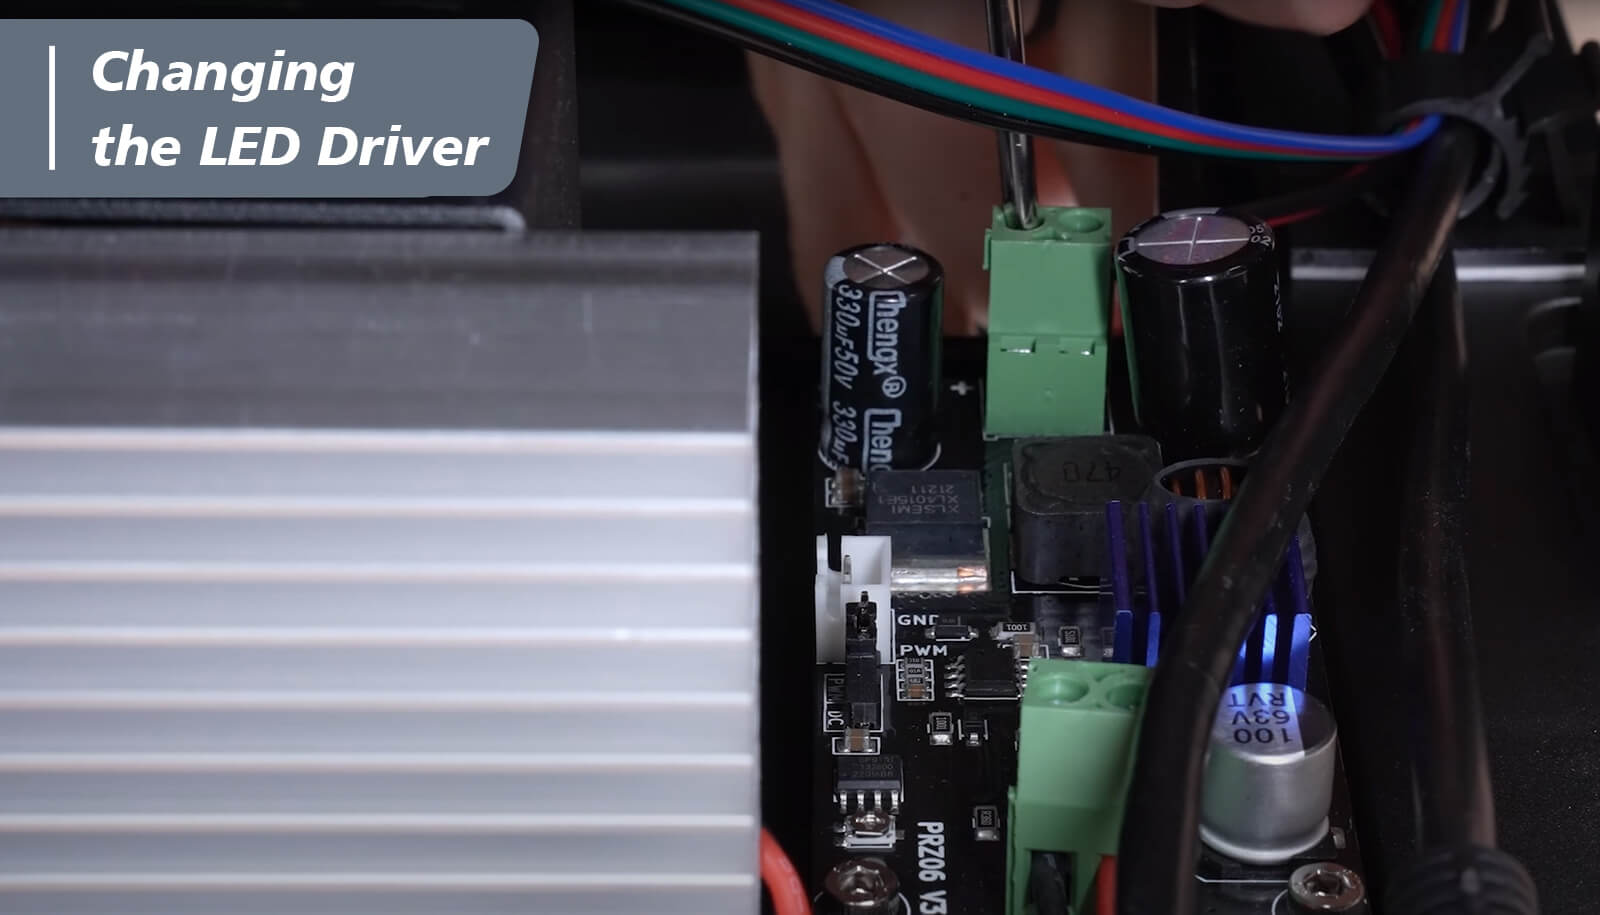
Step 1: Loosen the 2 screws of the green terminal block on the front of the machine with a flathead screwdriver and remove the cables.
Step 2: Use a 2.5 mm Allen wrench to remove the 4 screws that secure the LED driver and remove it. Be careful of the glass beside the driver.
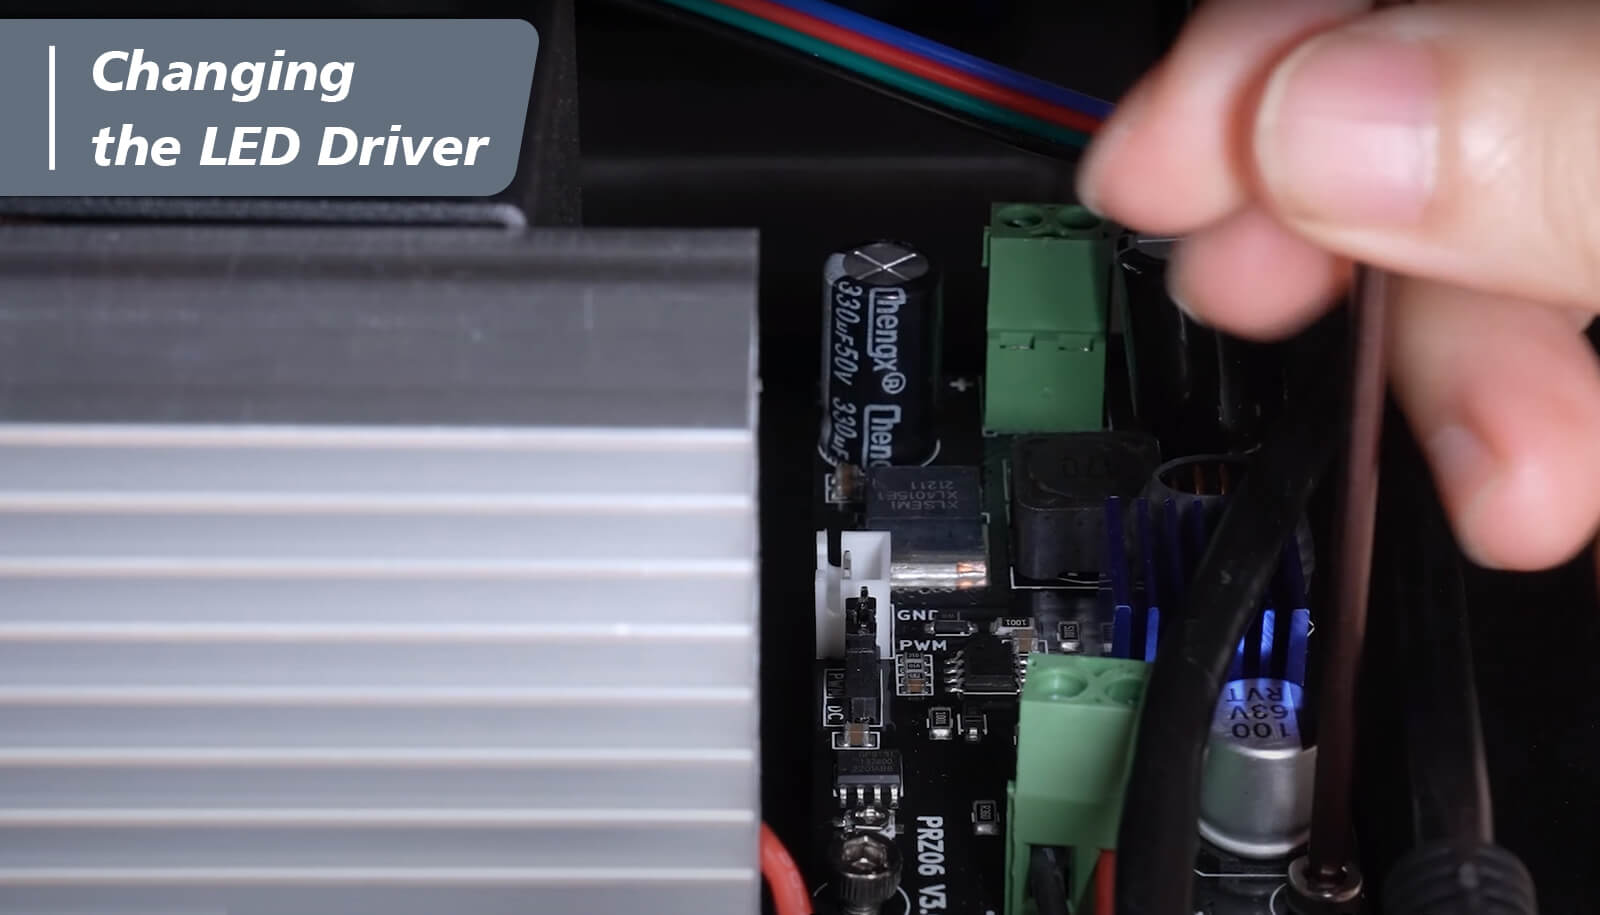
Step 3: Loosen the screws on the green terminal block near the back of the machine and remove the LED cables from the green terminal block.

Step 4: Make sure that the cables connected to the driver face the printer's front side, and stick the No.2 label sticker you’ve prepared to the front section of the cables on the new LED driver.
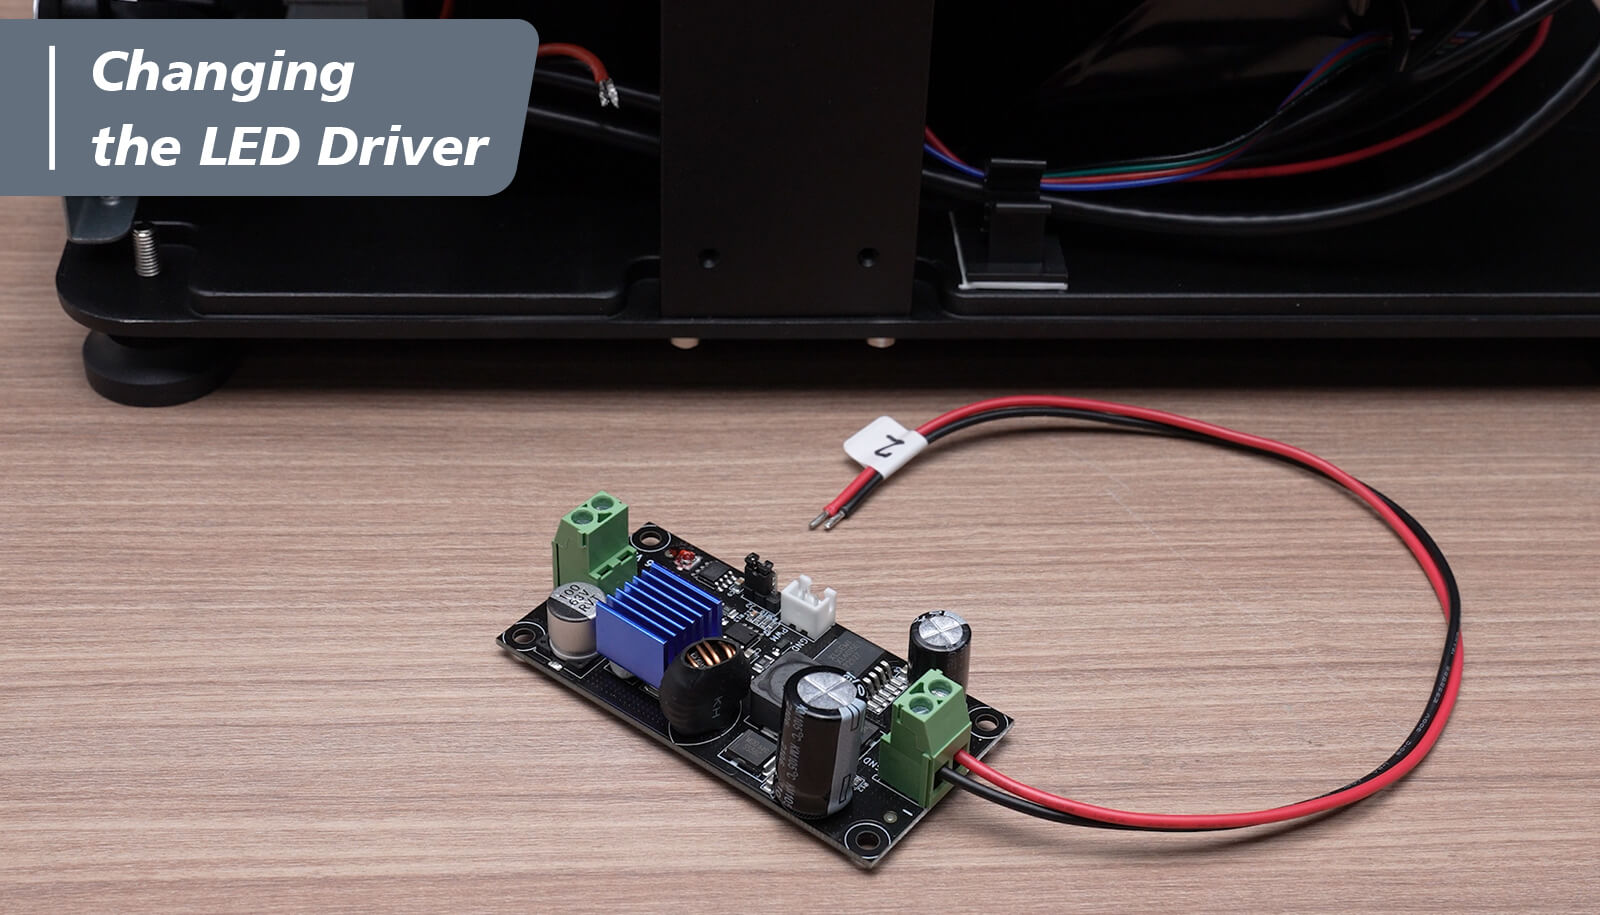
Step 5: Loosen the screws on your new driver with a flathead screwdriver.
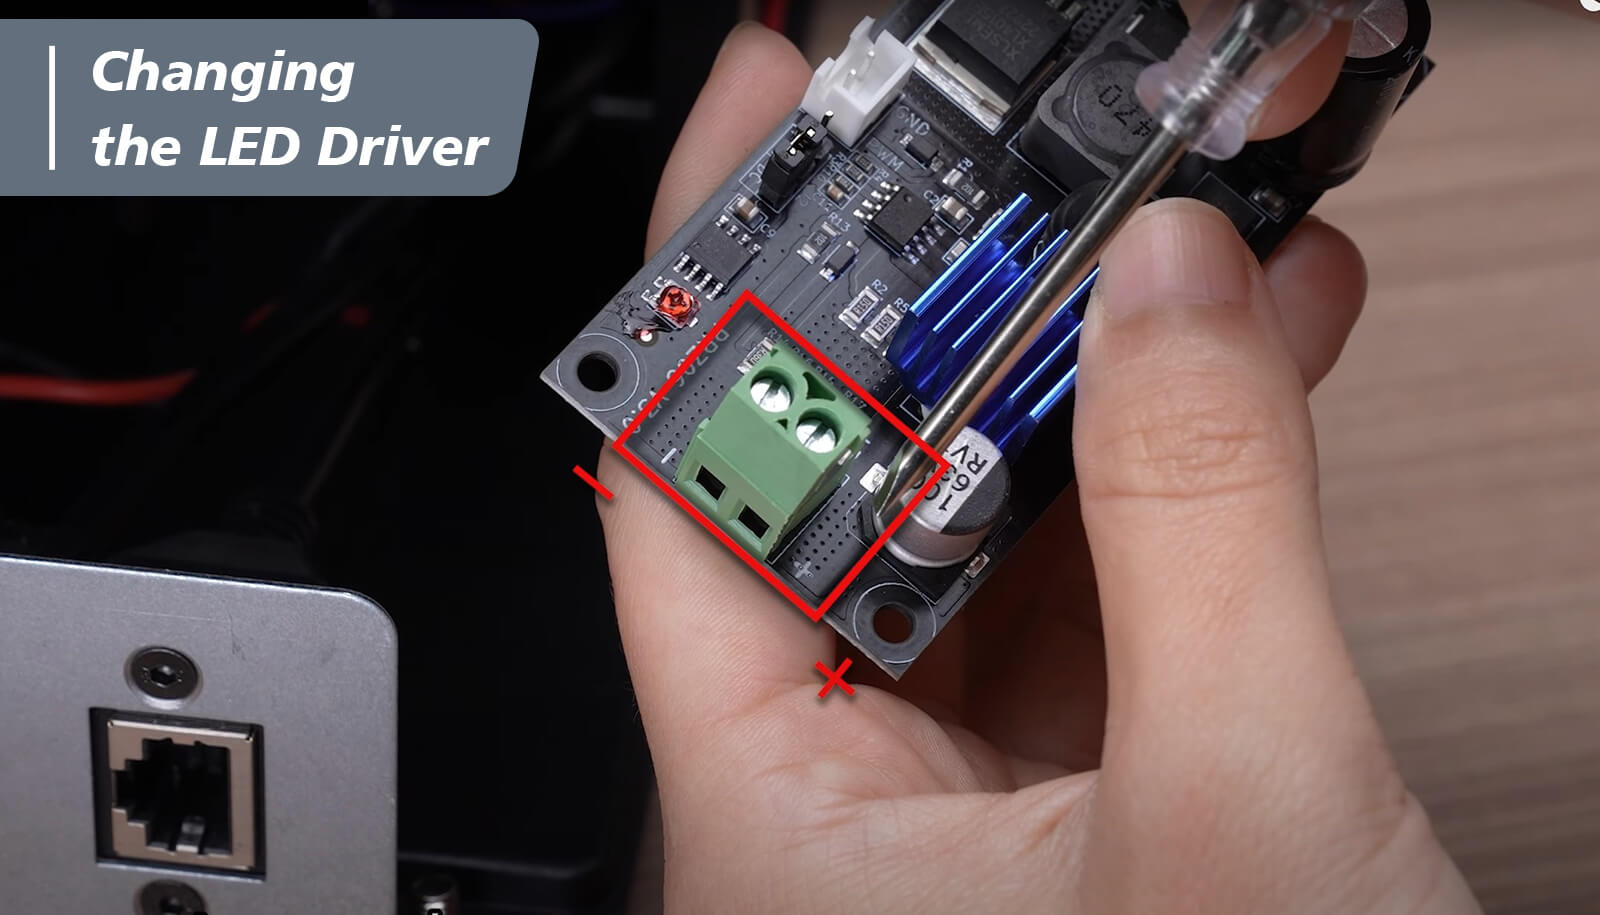
Step 6: Connect the LED cables to the green terminal block on your new LED driver. Remember to insert black cable to the left hole and red cable to the right.

Step 7: Make sure that the cables are connected properly, then tighten the screws on the green terminal block.
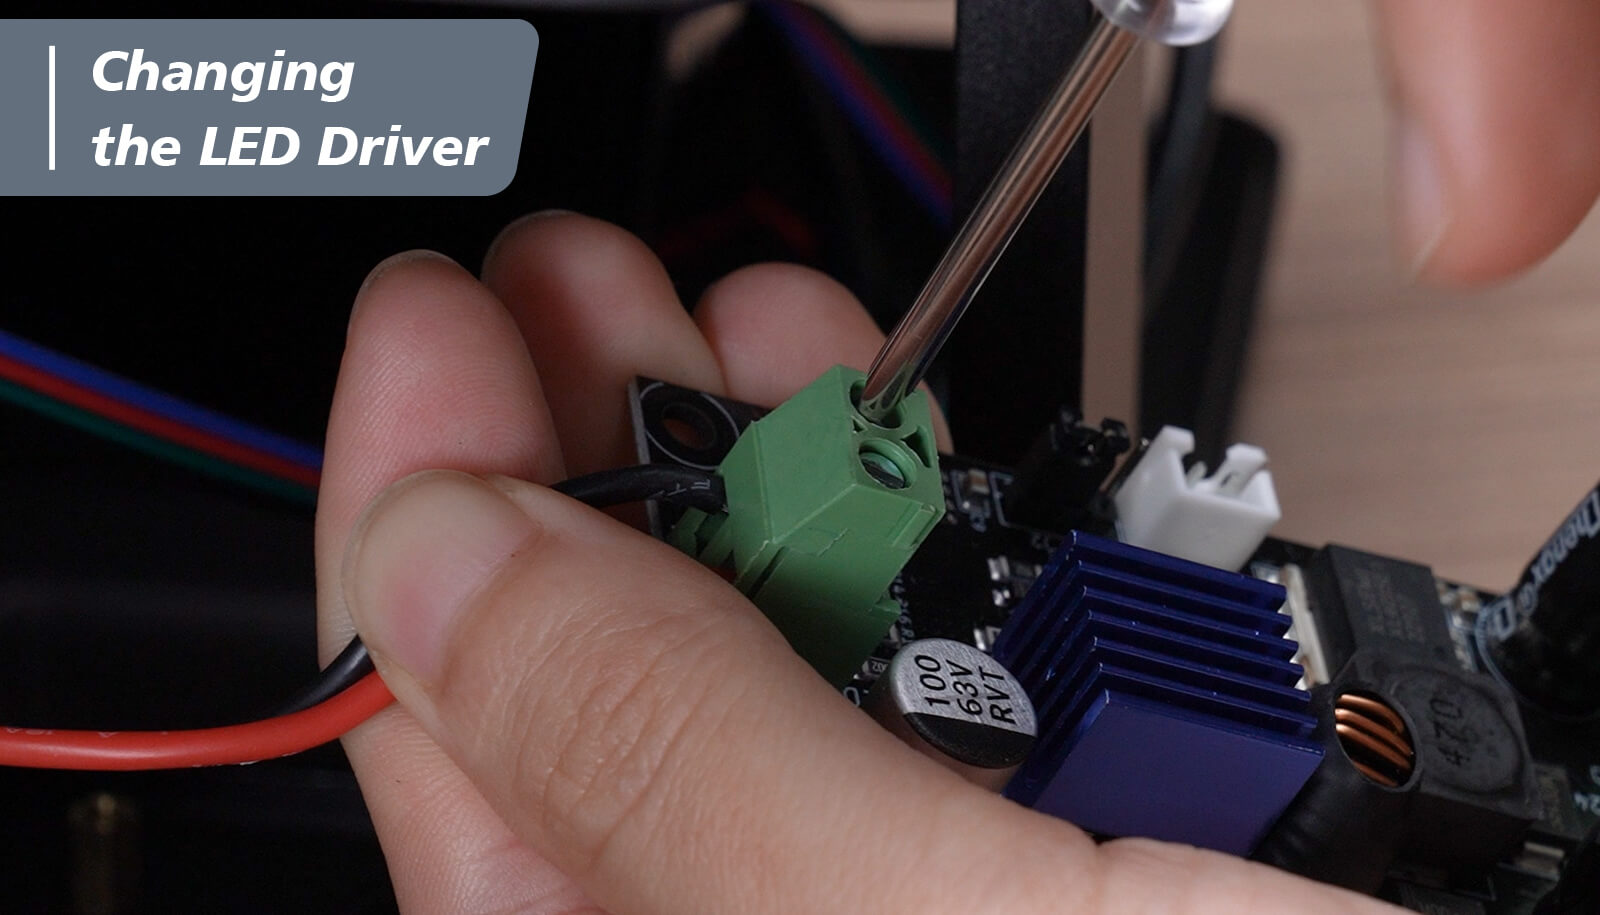
Step 8: Use a 2.5 mm Allen wrench to secure the LED driver back to the machine.
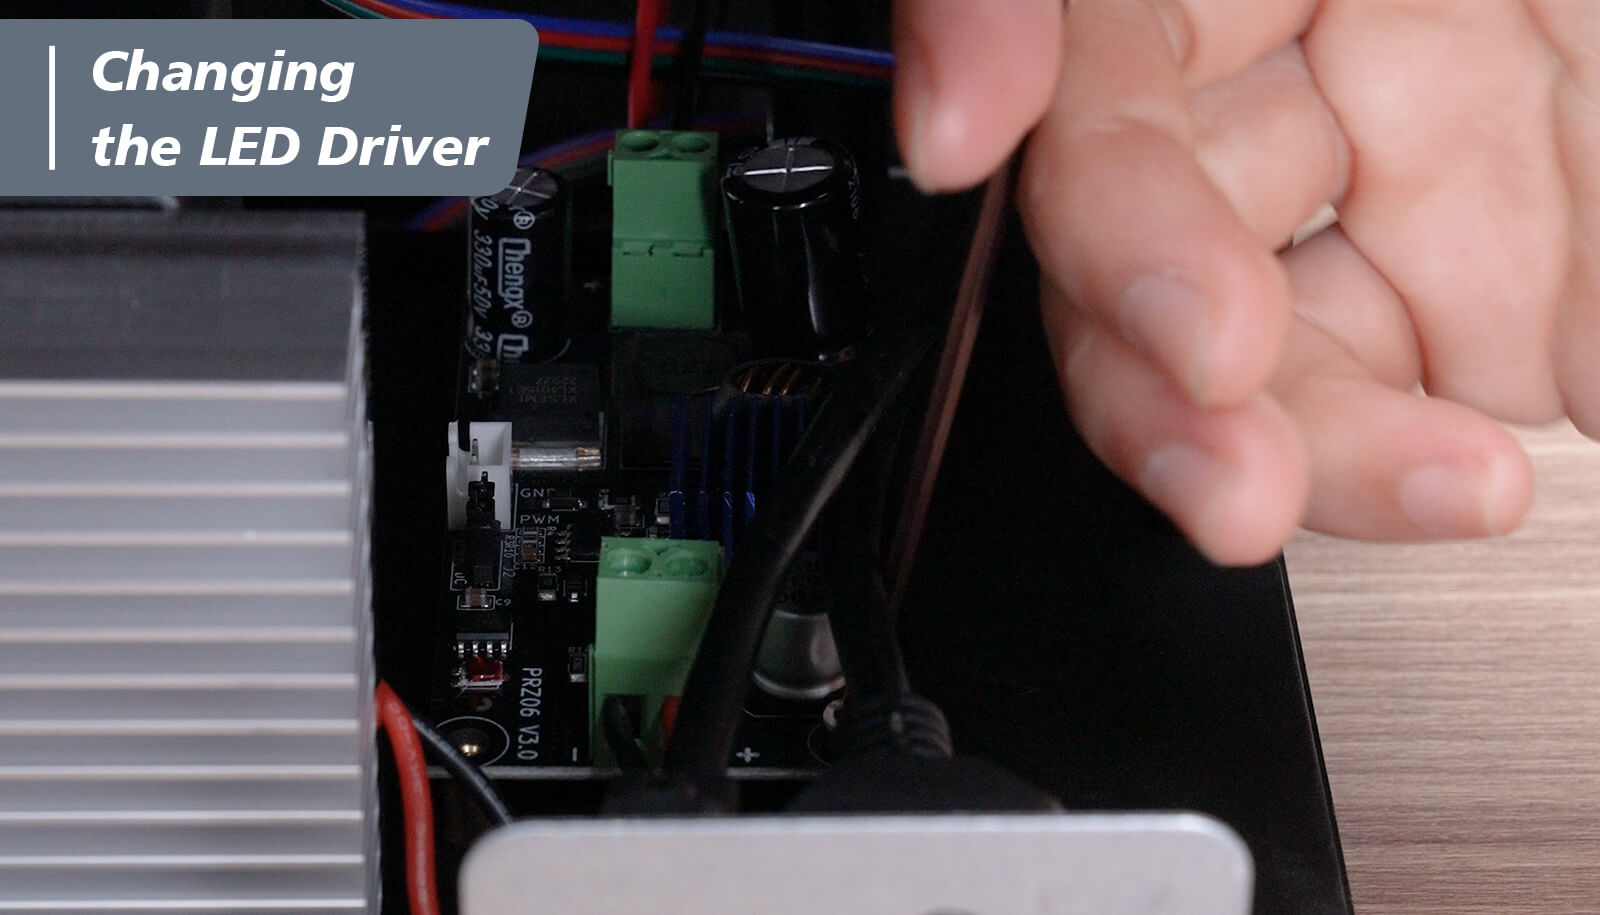
Step 9: Tidy up the cable from the green terminal block near the front of the machine back to the cable hub.
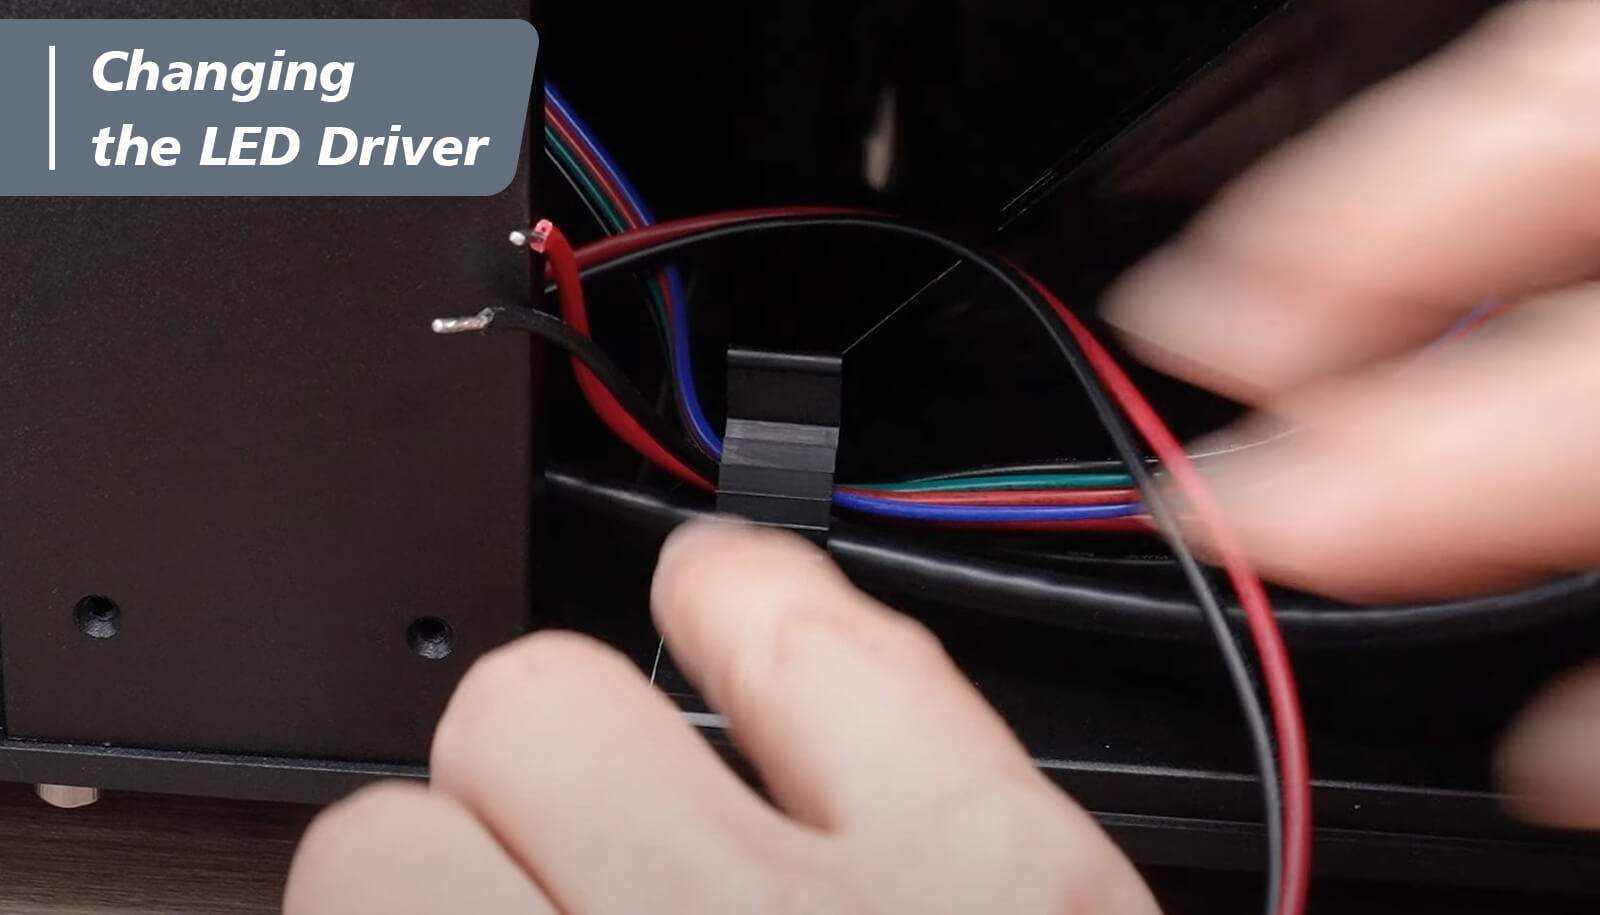
The LED driver has now been upgraded to the new 12K LED driver! Let's continue to the next step on how to upgrade both your LCD and mainboard to the 12K!

