Being a fan of 3D printers, you must have heard about the world's first and the most giant 8K 3D printer, the Phrozen Sonic Mega 8K 3D Printer. Well, you can even say that it is one of the biggest 3D resin printers ever made! Today, we will look back at God Finger's detailed review of the Sonic Mega 8K 3D resin printer, which he posted on his Youtube channel a few weeks ago.

God Finger is an avid 3D printer fan and likes to review different 3D printers on his Youtube channel.
So, let's see what he thinks about the Phrozen Sonic Mega 8K high resolution printer, including his impressions of the first look and his general remarks about this beast.
- The biggest resin 3D printer in the consumer market.
- The first LCD 3D printer with 8K resolution.
- Mass-print smaller models or print an incredibly big model at once.
Unboxing the Sonic Mega 8K
God Finger was amazed by the packaging size when he received the parcel because of its gigantic size. Besides, he was also amazed by the weight as this 3D resin printer weighs at 35 kg, including the packaging.

It’s so heavy, yet somehow he successfully lifted the package and placed it on the table for unboxing. He spent a few minutes tearing up the packaging as it was so well packaged with multiple protective layers.
He got so excited with the first look of Sonic Mega 8K as the overall design of this printer is quite classy and unique. He quickly removed everything, including the transparent wrapping around the printer and started measuring the printer's dimensions with measuring tape.

The measurements are as below:
- Width = 48 cm
- Height = 67.8 cm
- Length = 40 cm
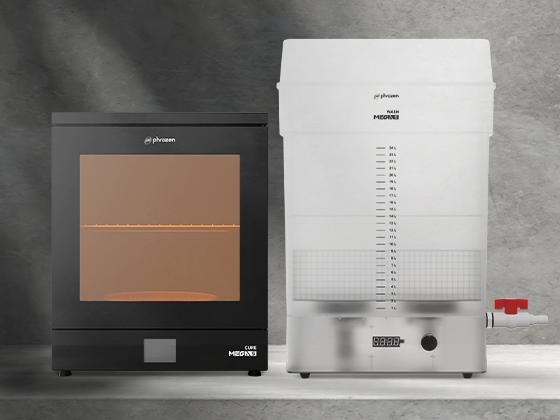
The most important thing he mentioned here is the printer's design. Other Phrozen 3D printers are designed with removable covers, while the Sonic Mega 8K has its front doorway design. With a thick metal frame and a deep yellow acrylic sheet that shows you what’s happening inside the printer while preventing sunlight from penetrating.

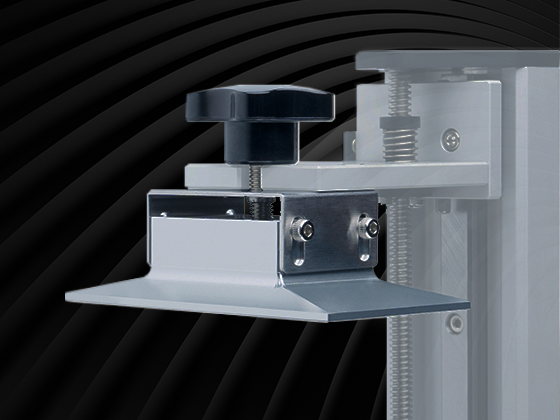
Inside the doors, he found all the parts and tools for the Sonic Mega 8K packed safely. It took him quite some digging and removing the styrofoam until he found the building plate, which is quite heavy and big at around 15 inches.
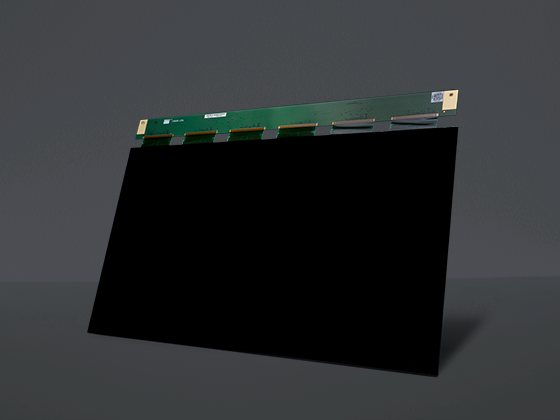
He thinks this build plate is impressive as it is big and heavy enough to do the job nicely. Besides, he was impressed by the screen size, which is also 15 inches and equipped with a sturdy resin vat. He even jokingly said that the size would even allow him to watch TV comfortably as it’s so big.
During the unboxing, he found a toolbox package inside the printer that contains the following:
- Phrozen Mega 8K multi-language manuals
- A set of wrenches with their size guide
- 2 door handles
- A USB 2.0
- Power cables
- A Set of scrapers
- Gloves

With the help of the manual guide and the wrench set, he could easily install the building plate, the resin vat, and the door handles of the 3D printer. The overall installation was super easy and took only a few minutes.
Getting Started with the Sonic Mega 8K
Now it was the time for God Finger to turn this beast on and see what it got.
He turned the printer and plugged the USB that was included in the toolbox into the printer. The overall experience of the Sonic Mega 8K’s touchscreen was great, with a touch sensor and sensitivity up to the mark.
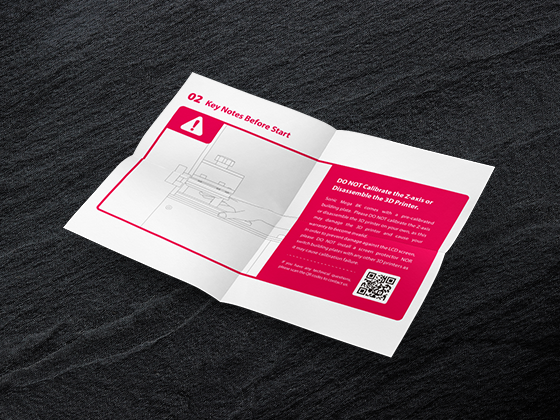
He mentioned that Phrozen had the Sonic Mega 8K z-axis pre-calibrated because it would take a lot of work to calibrate it independently due to its bigger size. He is glad that Phrozen has taken care of it, so he didn't need to.
God Finger also checked the LCD and the screen lights and suggested cleaning the screen if dirt is on it for better performance.

Besides that, he also suggested checking the current software version of the printer, as the software should always be updated regularly. For this, he checked the current version by entering the settings on the machine and matching it to what’s written on Phrozen’s official website.
Preparing the Resin
So now everything was set up, he decided to prepare the resin for the first printing experience of Sonic Mega 8K. For this print, he chooses to use Speed Resin. He placed it in warm water for 14–20 seconds in an ultrasonic cleaner so that it’ll reach the ideal temperature of 30–40 degrees Celsius. After that, he shook the bottle and poured it into the resin vat.

Why Having the Right Temperature Important for Your Prints?
The right temperature is extremely important for the prints because too high or too low of resin temperature can easily damage the print.
God Finger learned this the hard way when he printed his first batch. He started with the correct pre-heated resin temperature, but as the temperature inside the printer was a little colder, it also lowered the resin temperature over time during printing and resulted in less satisfactory prints.

Preparing the Models
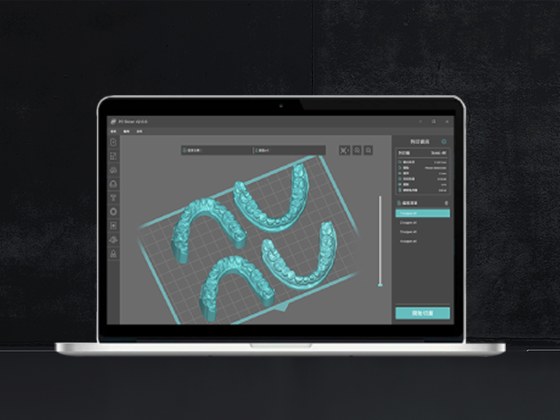
Now he started preparing the models and again mentioned the huge resin printer. He was pretty amazed and happy with the size, allowing him to print multiple items simultaneously.
So, he prepared the number of models accordingly on his computer and sliced it thoroughly.
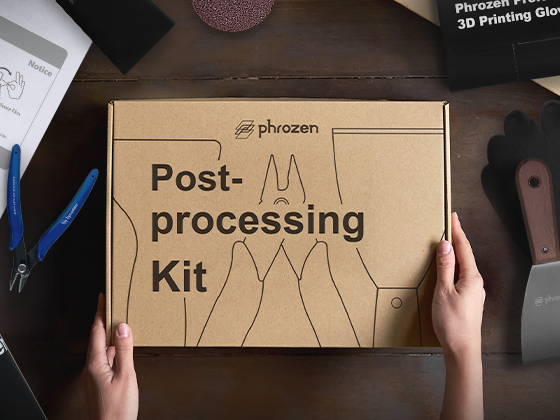
Post-processing 3D Prints
Once the prints were ready, God Finger headed over to clean them. He did two rounds of cleaning with his models. In the first round, he used water with the washing station from the Wash & Cure Kit to clean the prints. While in the second round, he removed the support from his prints before soaking it up in a container of ethanol and shaking it on an ultrasonic cleaner for three minutes for better cleanup.

Once fully cleaned and dried, he transferred his models to the curing station to cure for around ten minutes.

Quick Summary
So, this is how God Finger created his first prints with the Sonic Mega 8K 3D resin printer. His overall experience with the printer was great as he said, "I will continue to use it well."
With a printer as huge as the Sonic Mega 8K, printing large models or printing a lot of smaller ones at once is such an easy task due to its huge printing capabilities. So, would you like to own the largest resin 3D printer yourself? Or if you still hesitate, watch God Finger’s full review below!
1 comment
Santosh
You printer is very nice we ate using fir gold jewellery in dubai
You printer is very nice we ate using fir gold jewellery in dubai