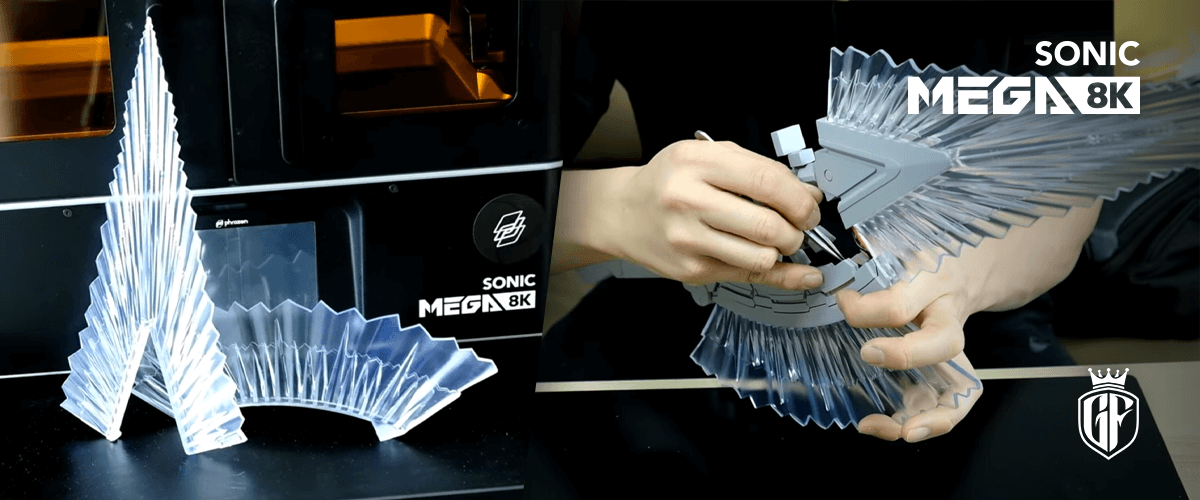
Do you know that these days, 3D printing is also utilized in jewelry manufacturing?
While 3D printing is extremely popular for tabletop miniatures and other collector hobbies, 3D printing jewelry has also become a common use of resin 3D printing due to its capabilities to create intricate details.
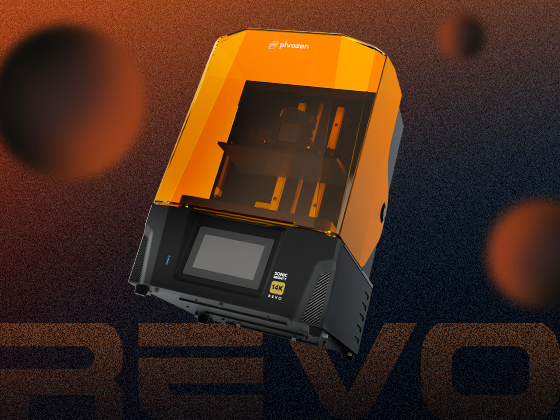
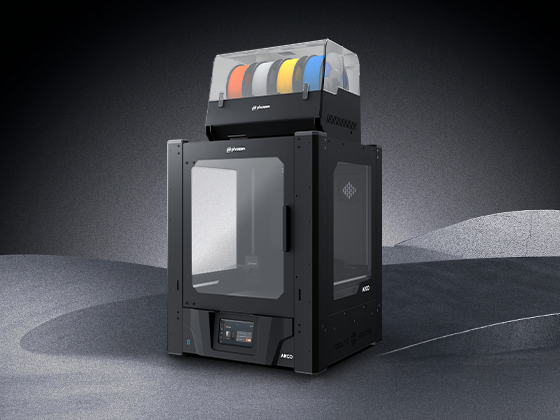
If you are interested in 3D printing jewelry either for hobbies or for a side hustle, you may want to read more about the best 3D printer for jewelry according to those who are an expert in their field.
How to Cast Metal Jewelry From 3D Printed Model
In this article, we’re going to cover step-by-step instructions on how to turn a 3D-printed wax model into real metal jewelry.
First, print the model you want to cast with wax-like resin or, also known as Castable Resin, like W20 Green, W40 Orange, or our Jewelry Violet. This time, we’ll use the W20 Green to create a 3D print ring. After printing, clean your models with 95% IPA and post-cure them just like you will normally do.
Now that you have your castable models ready, we’ll start the process of turning them into metal.
Step 1: Remove the Supports
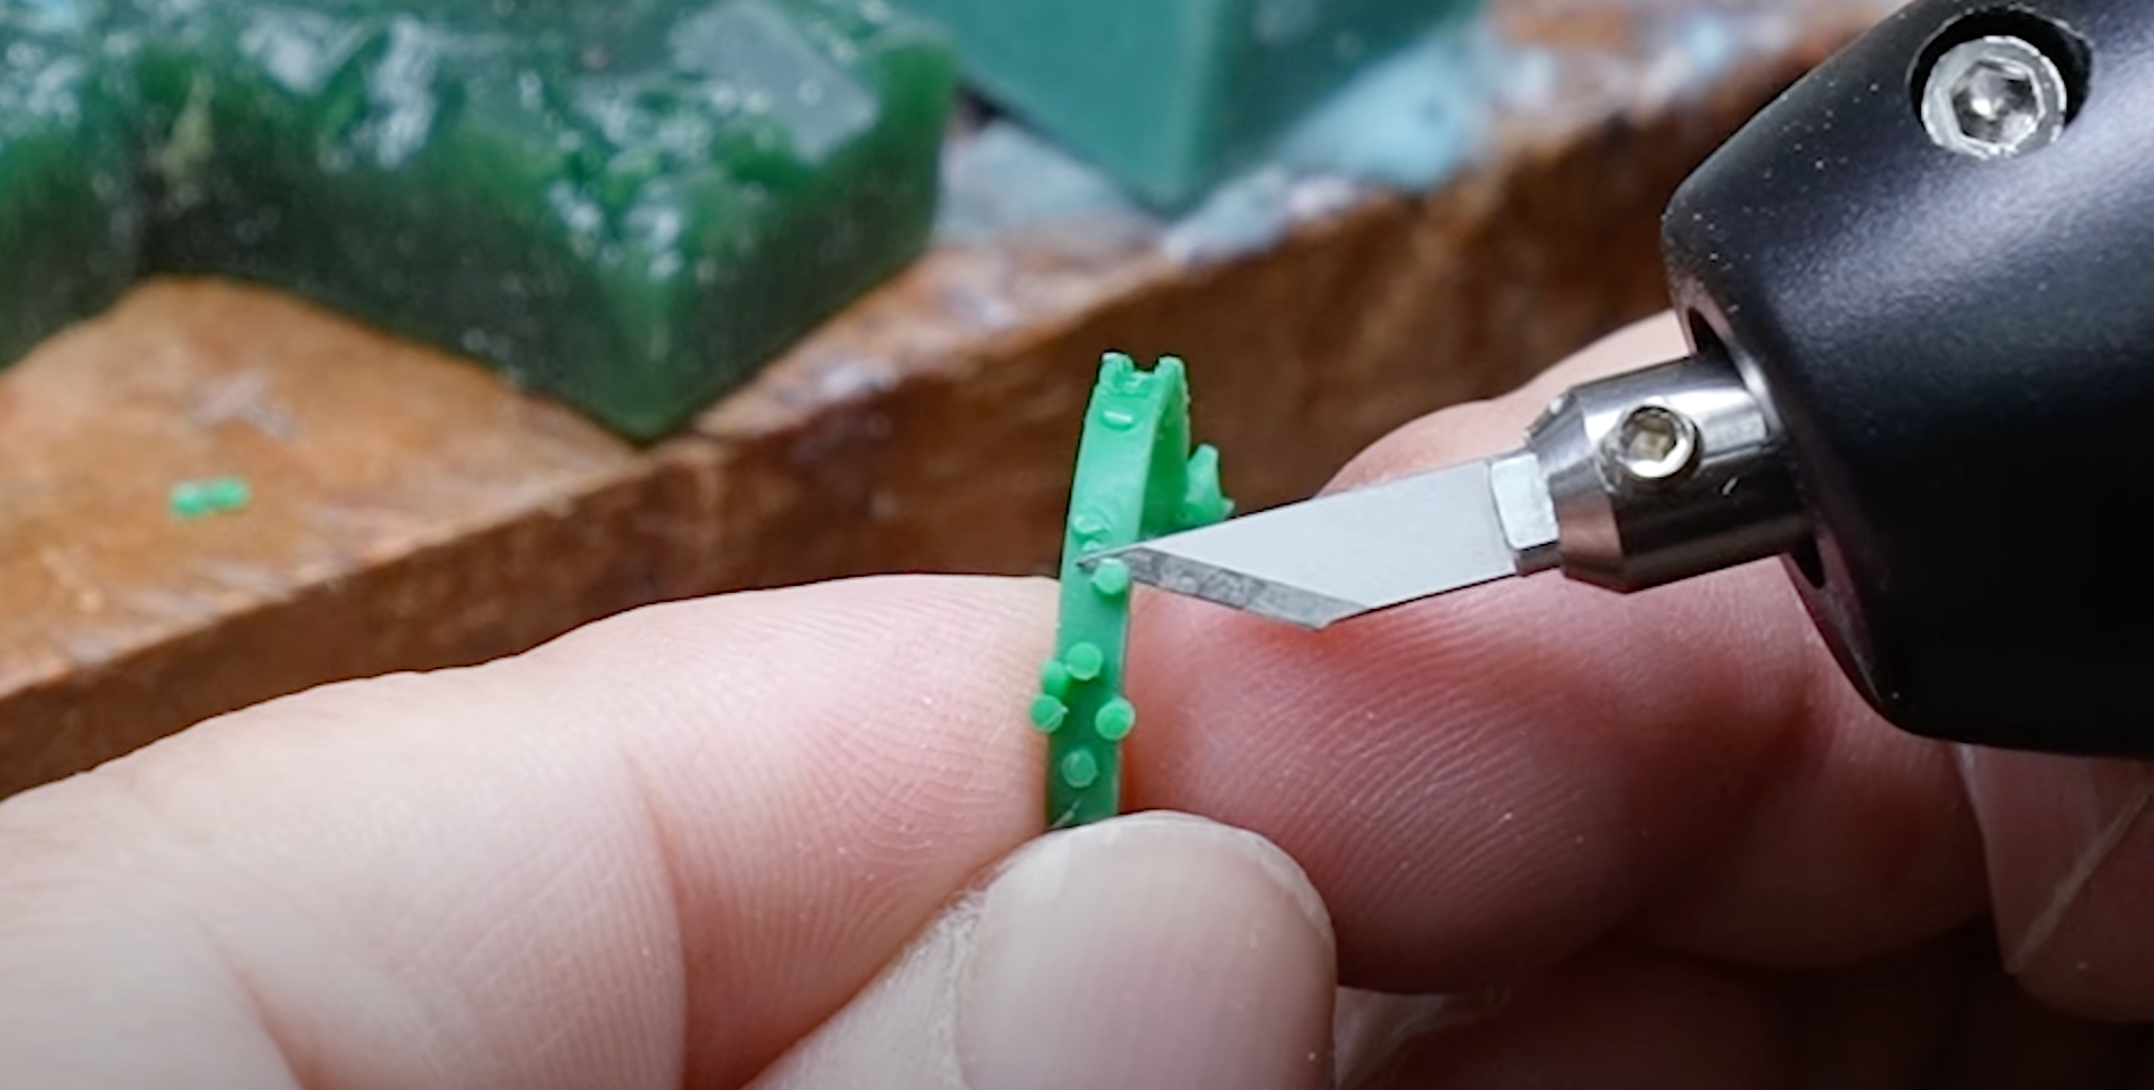
Clean your model supports gently. For this, we recommend using the Sonic Saber due to its precision and accuracy.
Step 2: Mount Models to the Wax Tree
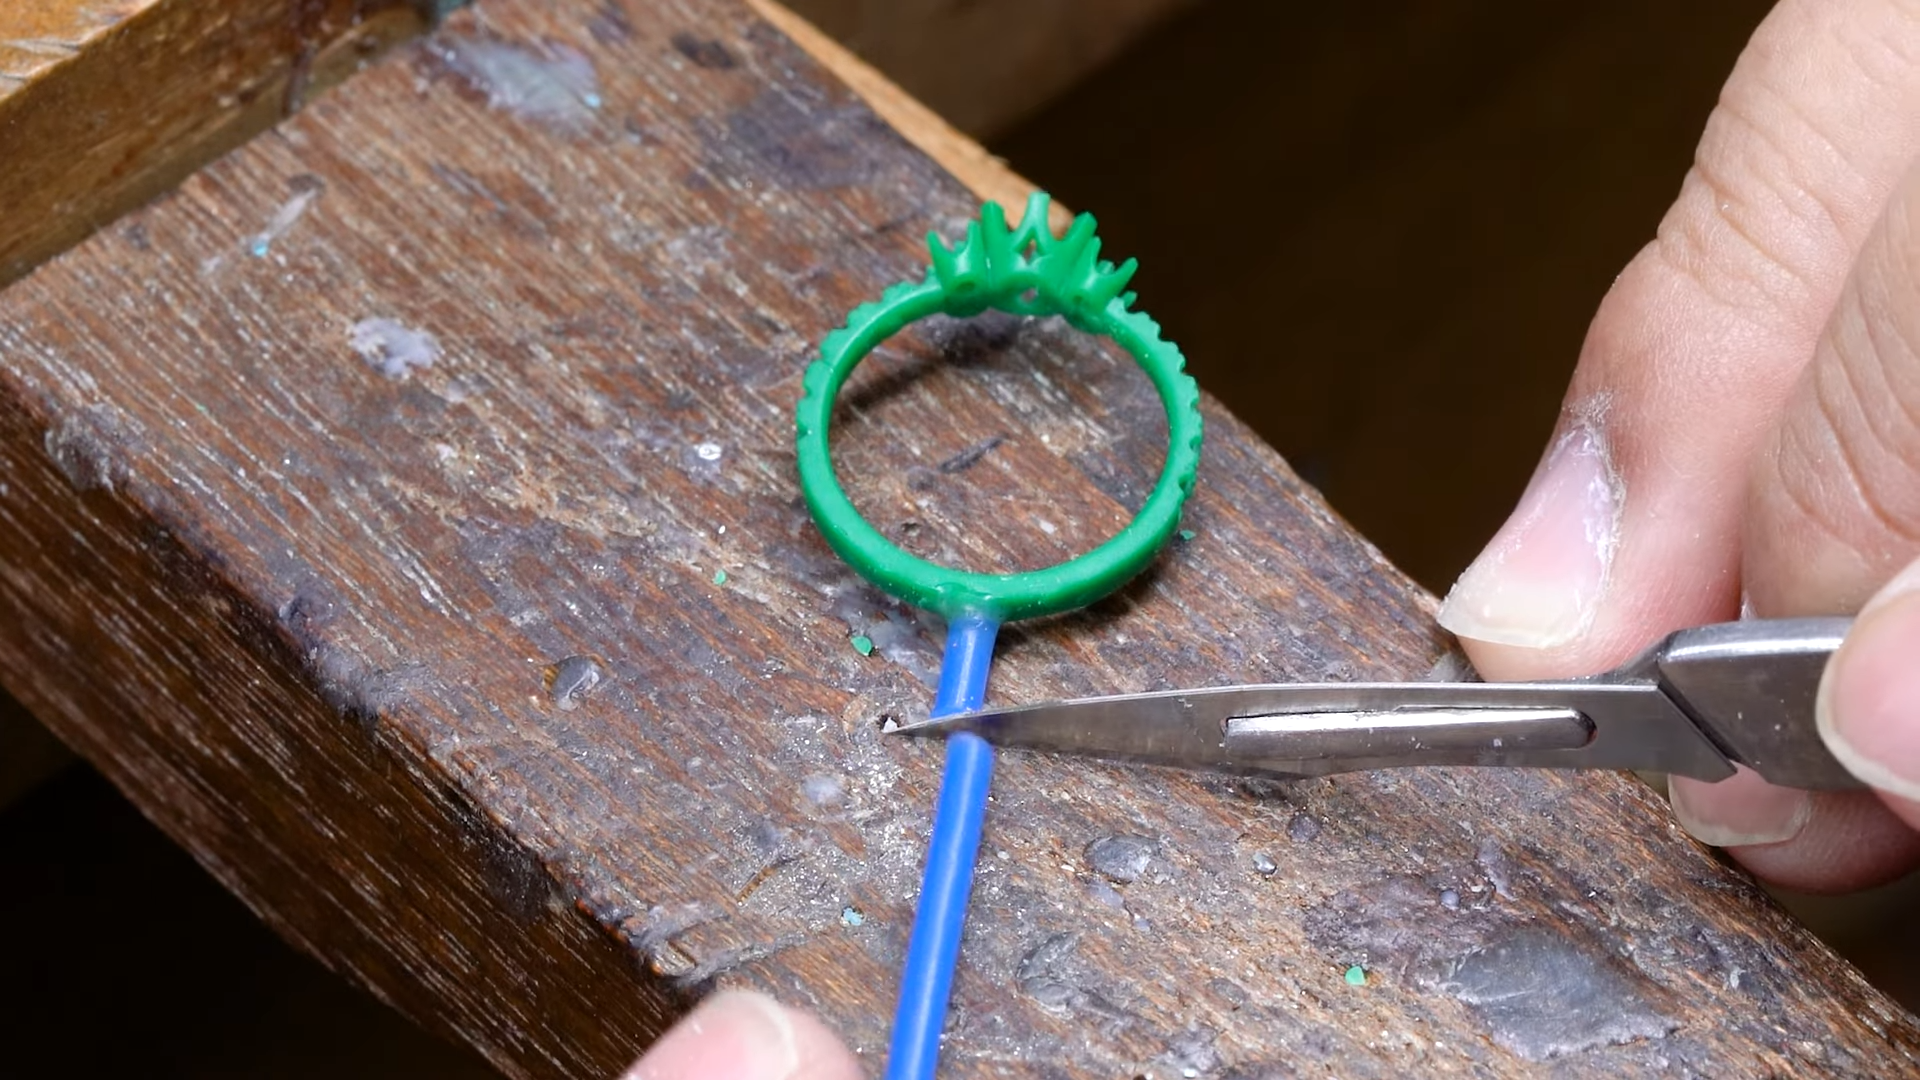
Drill a small hole in the 3D-printed ring model and melt the wax around it. The drilling process is to make sure that the wax stick can be attached deep into the ring, giving it a stronger grip when the models are cast. Next, attach a wax stick to support the ring before connecting it to the wax tree.
Step 3: Apply the Investment Plaster
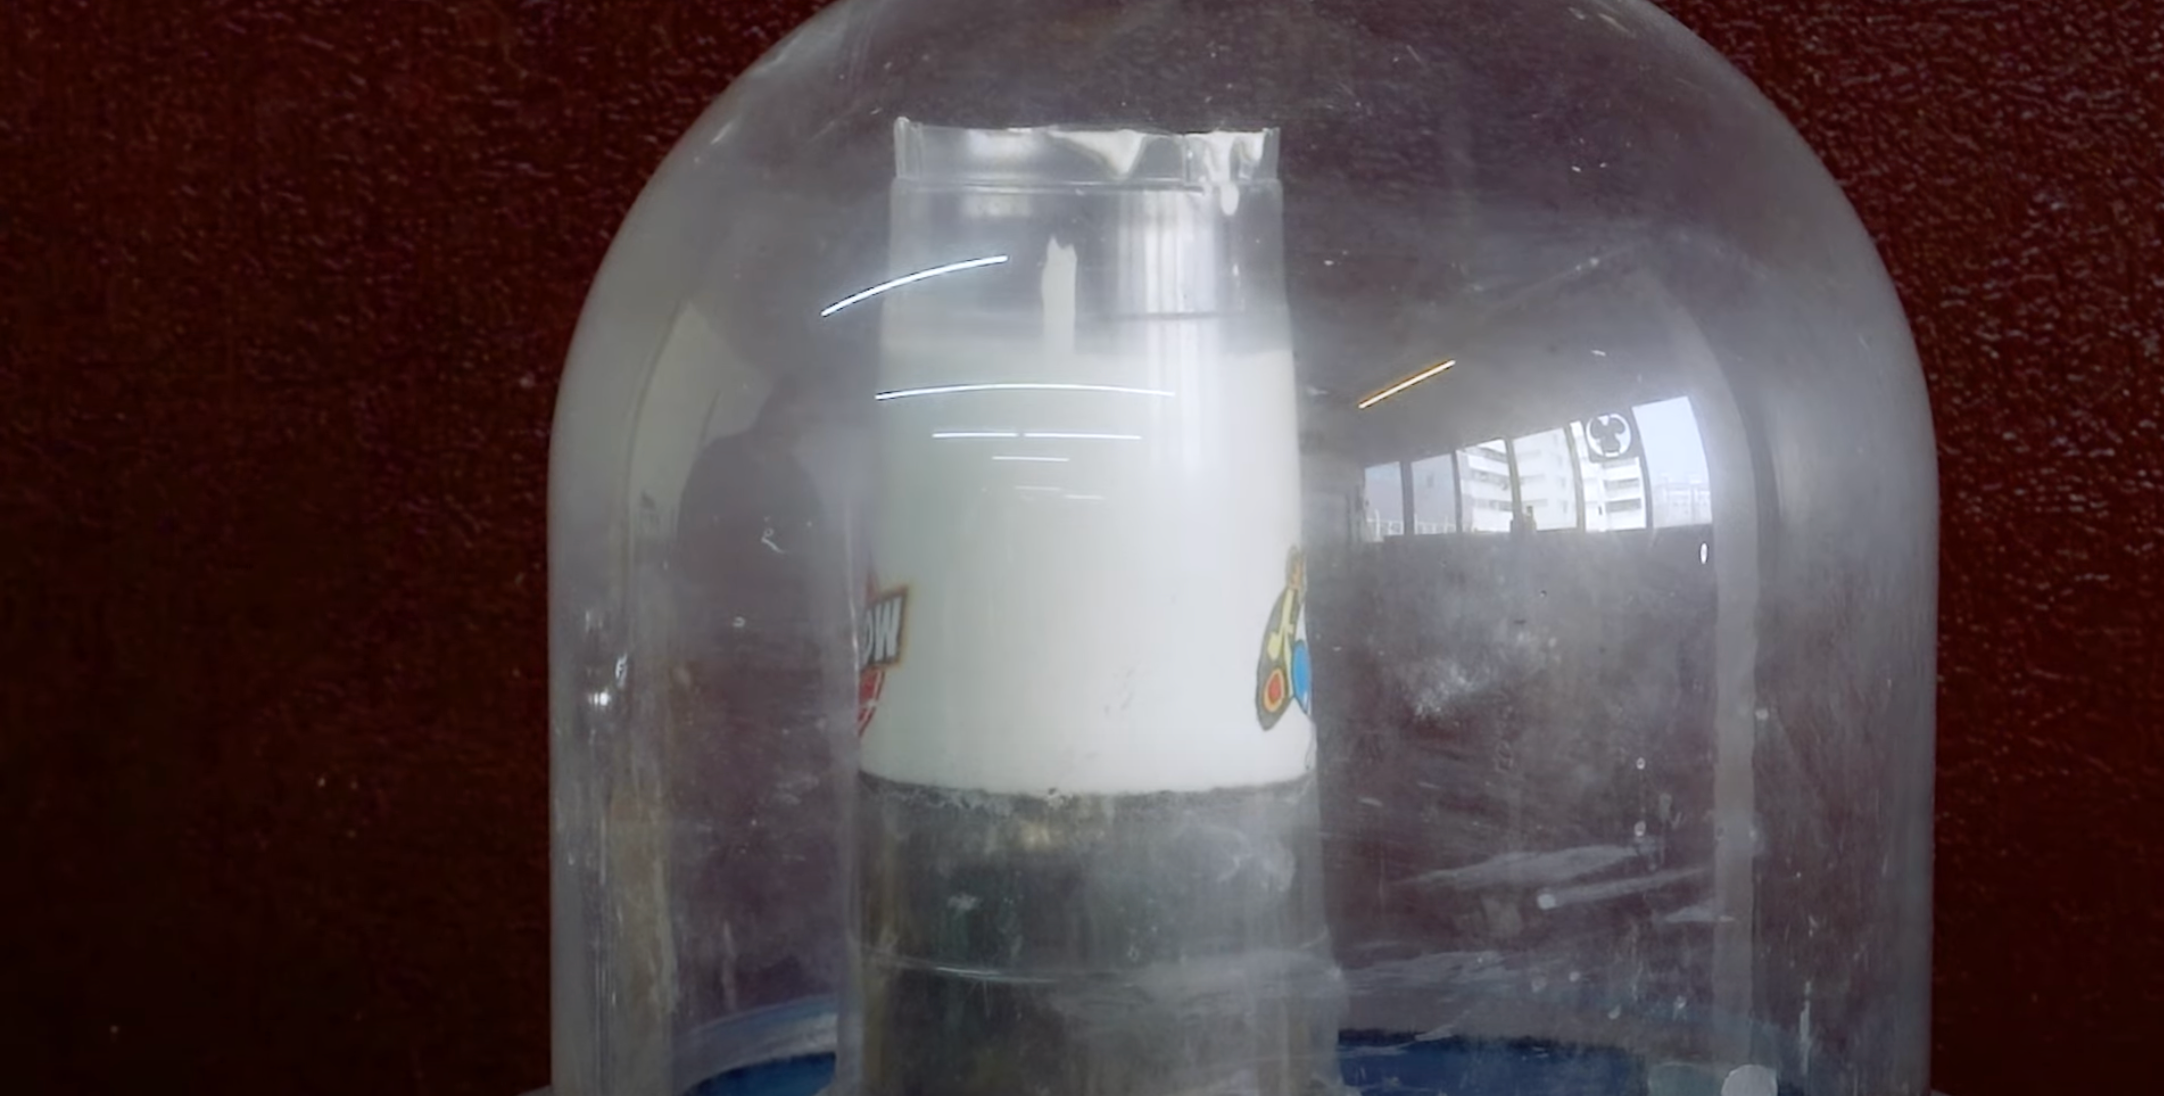
Mix the plaster powder with water and mix thoroughly. Then, pour the mixture into the mold tube with the wax tree inside until it’s covered completely. Cover the tube with a plastic cup and put it on a vacuum machine to remove air bubbles from the plaster. The cup will act as a barrier preventing overflow when the plaster is pulled upwards due to the vacuum. Make sure to complete the process in under 2 minutes because the plater dries out quickly.
After removing the cup from the mold tube, scrape the excess plaster and set it aside to dry completely for about 20 minutes.
Step 4: Burnout Process
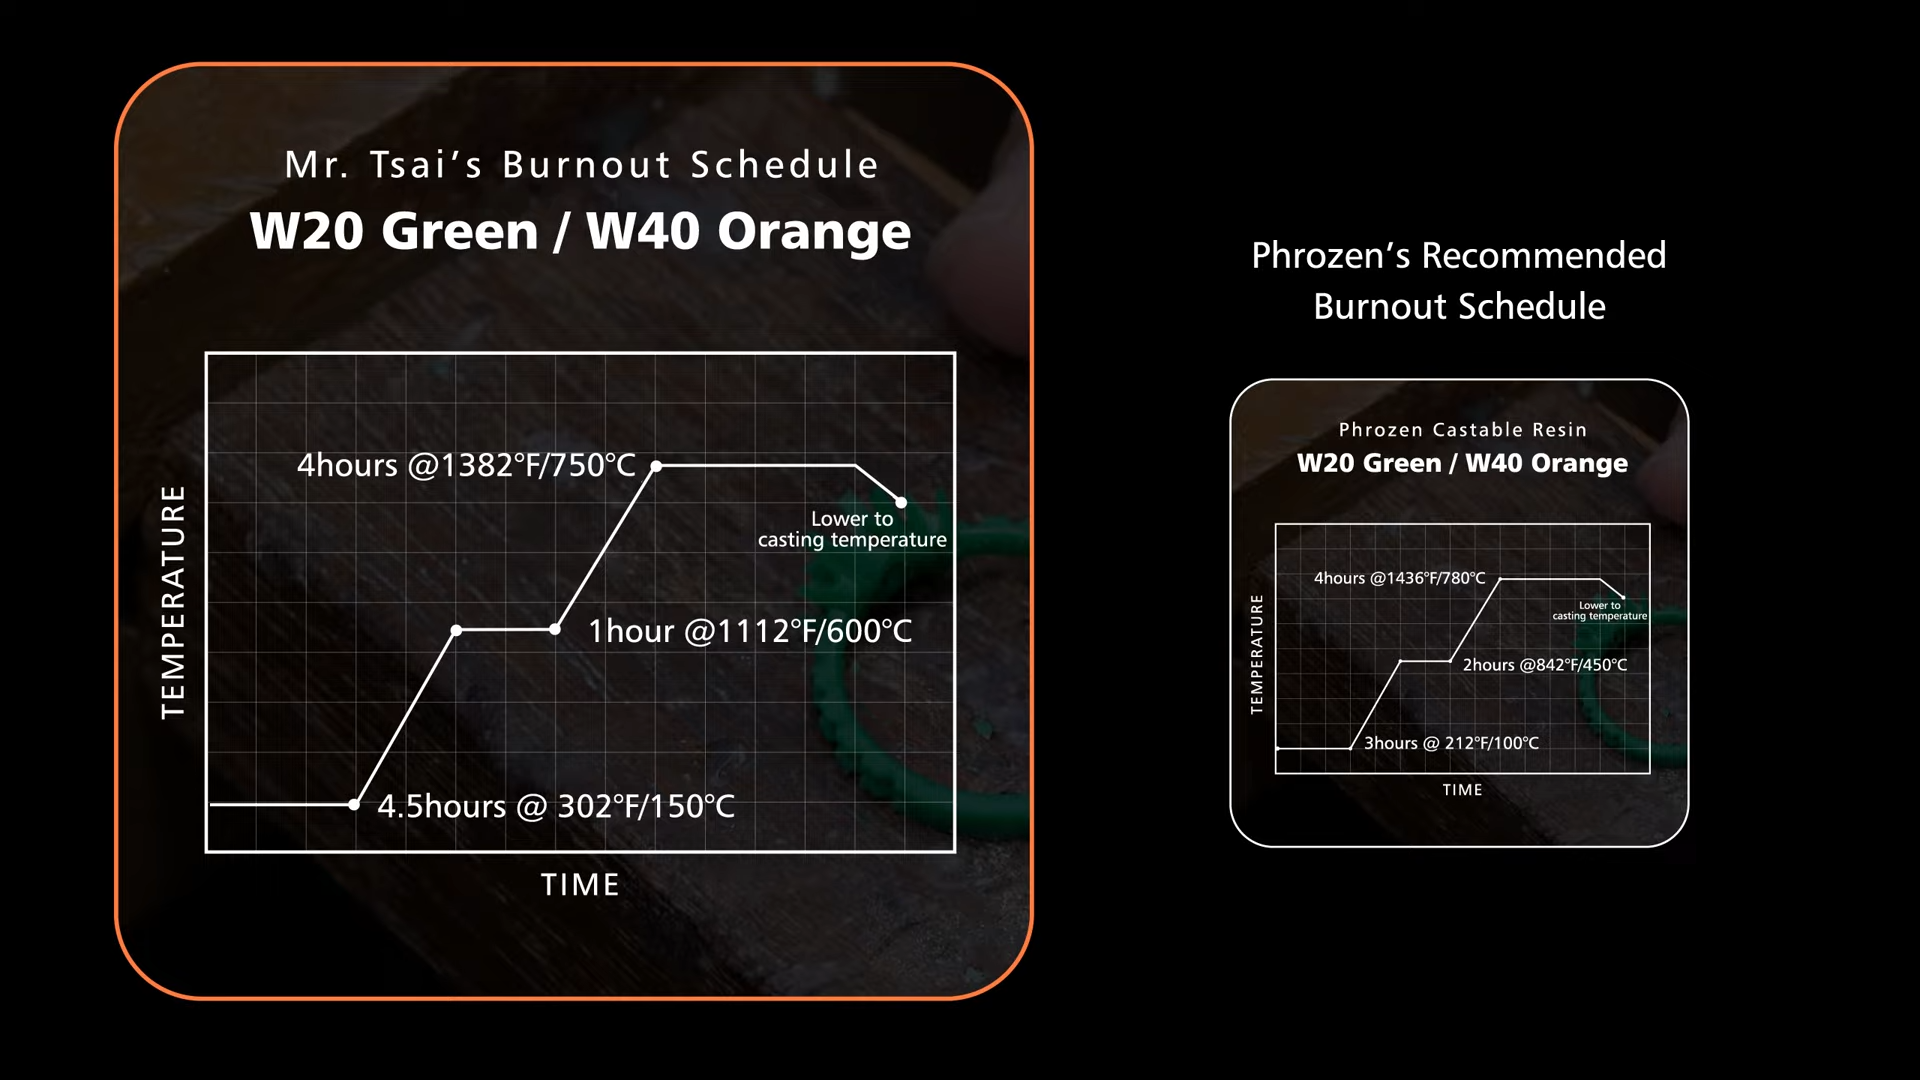
Once the plaster in your mold tube is fully dry, bake it following the burnout schedule recommended for the resin you are using. For this process, we first bake the mold for 4.5 hours at 150°C before raising the temperature to 600°C for an hour. Lastly, burn it for another 4 hours at 750°C.
Step 5: Spin on the Centrifuge
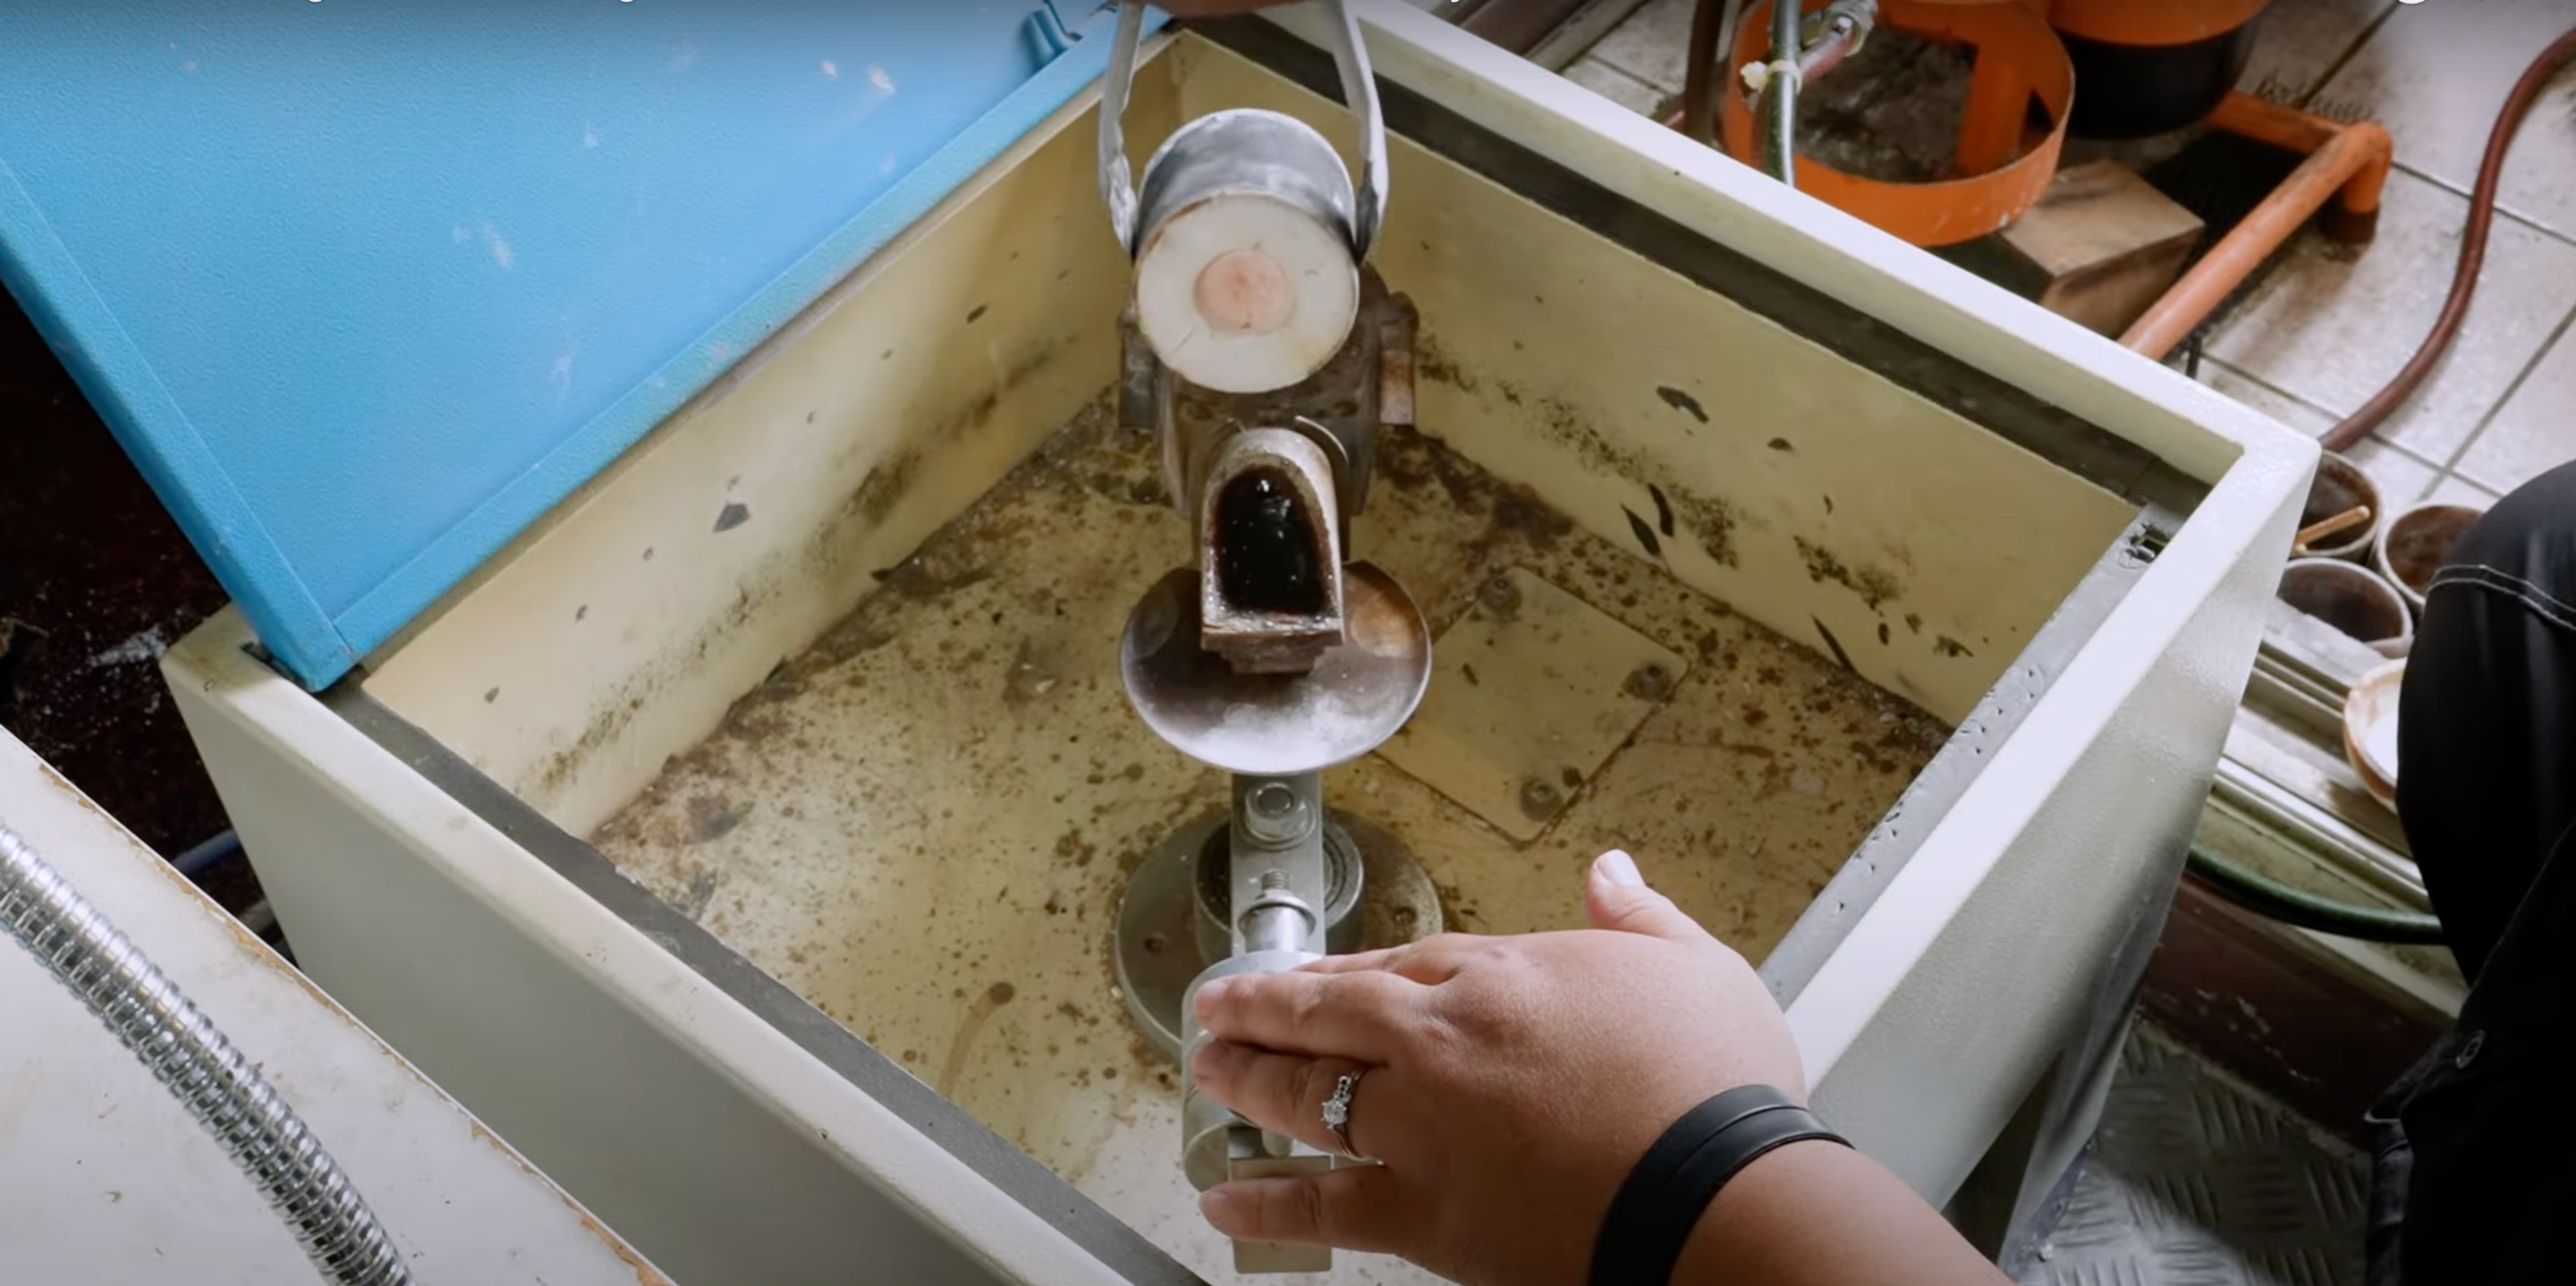
While waiting for the resin to burn, melt the metal of your choice in a centrifuge. Then, once it’s finished baking, transfer the mold tube to spin on the centrifuge for 1 minute. During the spin, the liquid metal will flow into the empty space left by the 3D print ring model inside the mold tube and take shape.
Remove the model tube from the centrifuge and quench it immediately in cold water to break the tube and dissolve the plaster. After cleaning all the remaining plaster, you’ll have yourself a metal tree.

Step 6: Finishing and Polishing
Cut the ring from the metal tree with pliers and file the remaining supports and marks. Then, use sandpaper to polish the ring. To give your metal ring that glossy look, apply a thin layer of jeweler’s rouge to your polish machine and continue to polish the ring.
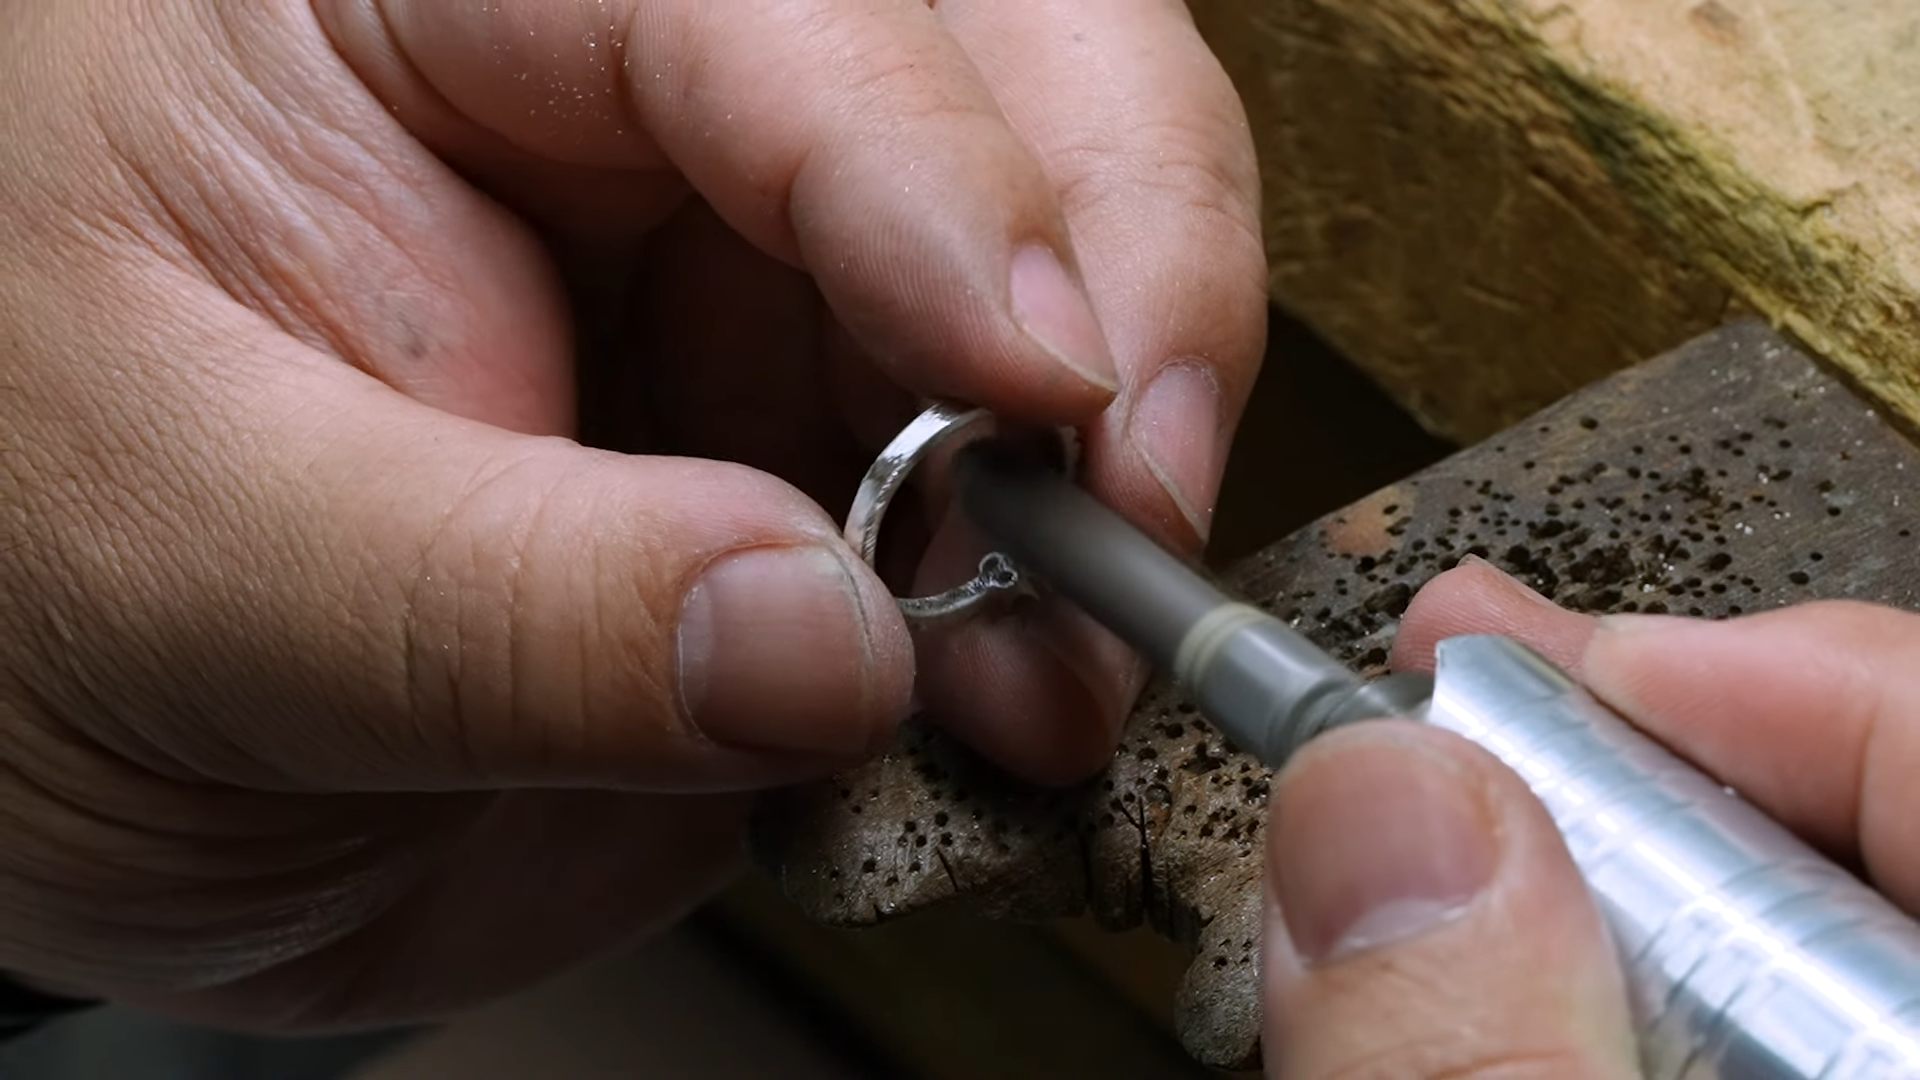
And just like that, you get yourself a metal cast ring!
What do you think about this 3D printed metal cast ring made by Mr. Tsai Changhong? As one of the most renowned jewelry makers in Taiwan, there’s no question about how he makes the whole process look so easy!
If you think this would be a great new business for you, read more about the best 3D printer for jewelry. Want to see the whole proceess? Watch below!

