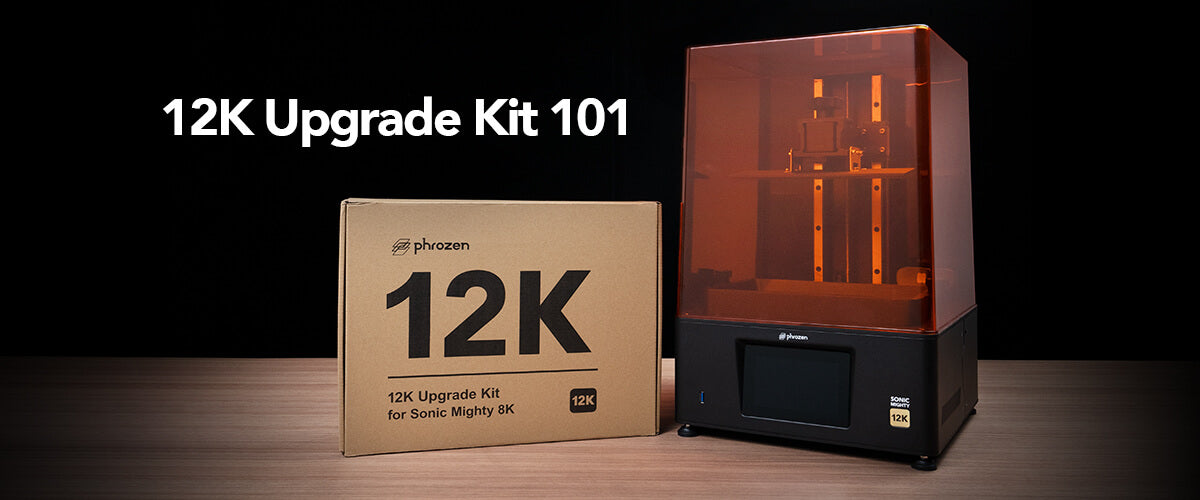
Groundeffected is back again with another resourceful video on how to paint 3D printed things. This time he chose the Sonic Mighty 8K to print out all of the parts of his models to maintain all the details while giving him the option to print larger.
Like all other 3D painting enthusiasts, he mentioned that he is also a fan of Phrozen’s top-tier products. He has also made a review video for Phrozen high-resolution resin 3D printer, like Sonic Mighty 8K, highlighting their ultimate features and his honest thoughts.
In this video, he elaborates on how Phrozen’s 8K resolution printer provided a great base for his painting works. Let’s get through the key focus points he stressed in the video:
- Printing the model using high-resolution resin 3D printer: the Sonic Mighty 8K
- Painting the models with specific techniques

Printing all the Models
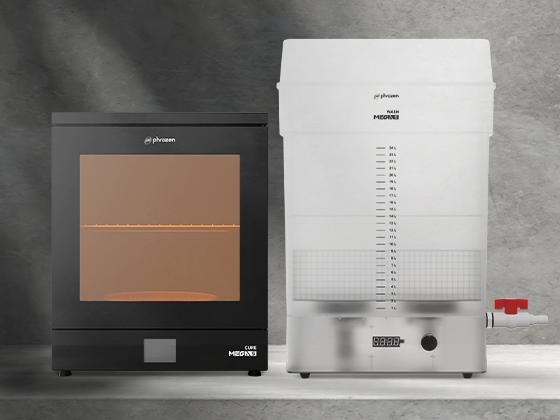
Regarding Groundeffected, the YouTuber has been picky in his selection of 3D printers. However, he is surely in love with the amazing quality and functionality of Sonic Mighty 8K. It can deal with larger printing volumes to print more models in one go. According to him, it’s a great machine for anyone, even if it's your first 3D printer.
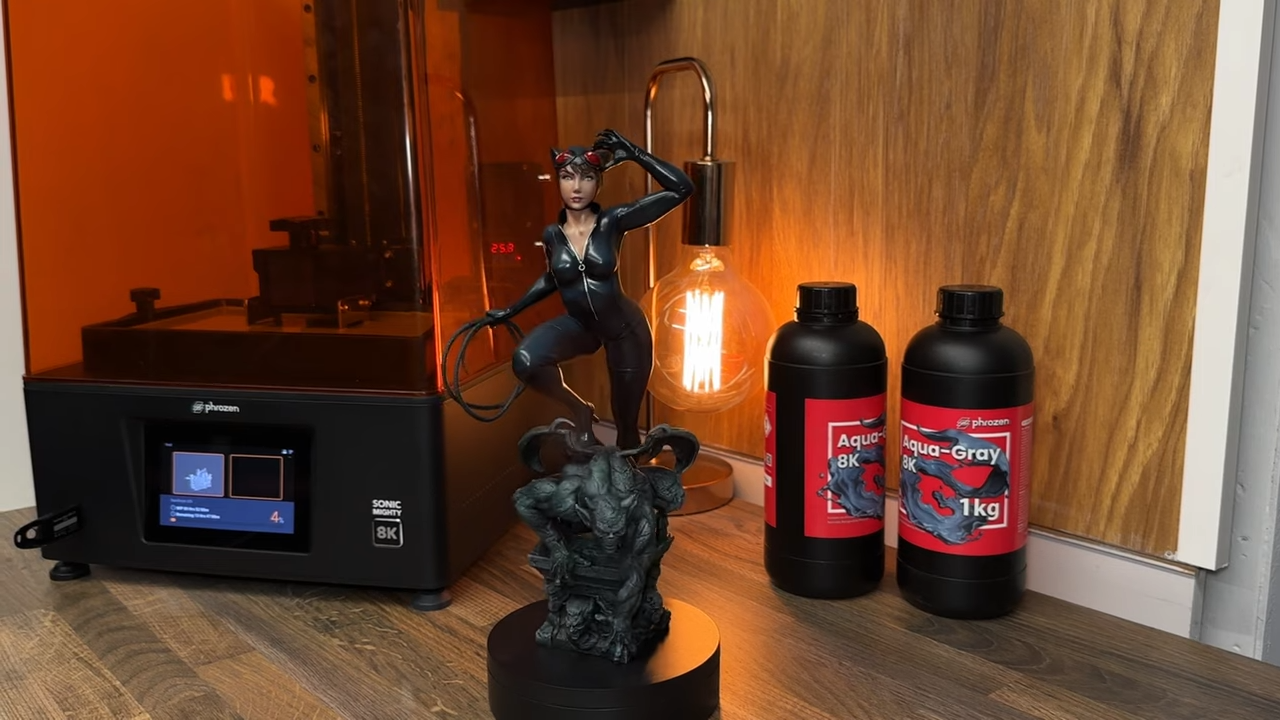
He uses Aqua-Gray 8K mixture to prepare his glorious cat woman model and pours it onto the Sonic Mighty 8K plate. Within a while, he prepares all his model pieces with holes for attachment. On a closer look, all the model pieces are precisely made with attention to every detail, thanks to the Sonic Mighty 8K’s incredible printing precisions at XY resolution of 28 microns.
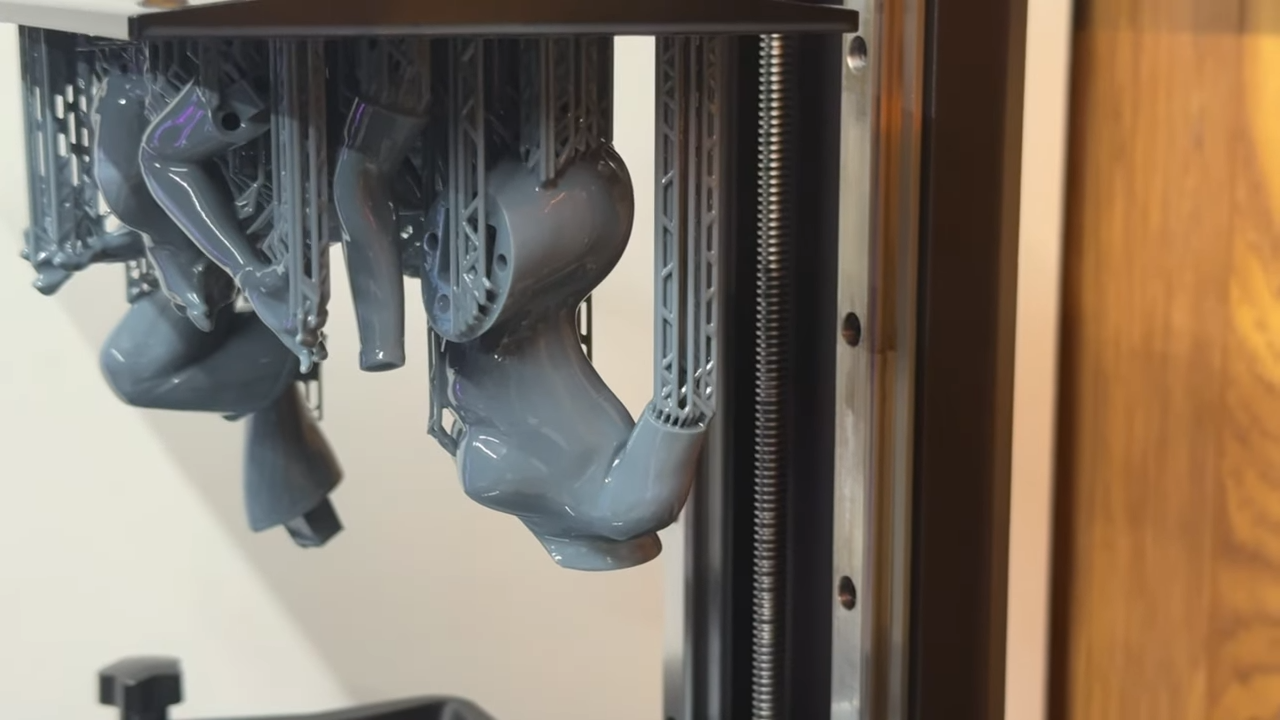
He claims that the Sonic Mighty 8K is an excellent choice for those looking to bridge large-scale models while ensuring precision printing. He adds that he has been working with this high resolution resin 3D printer for two weeks now and has used it to print and paint various models, ranging from large statues to more.
He elaborated that the machine is productive, as its large build plate can fit many models. Moreover, the printer can print exceptionally large models that can be quite hard to make with other 3D printers. That’s fantastic.
Painting the Models
Rock Gargoyle Statue
After thoroughly cleaning and curing the 3D printed resin models, he painted them with black paint as a prime layer. He uses the dry brush technique to give his rock gargoyle model a stony and statue-like feel.
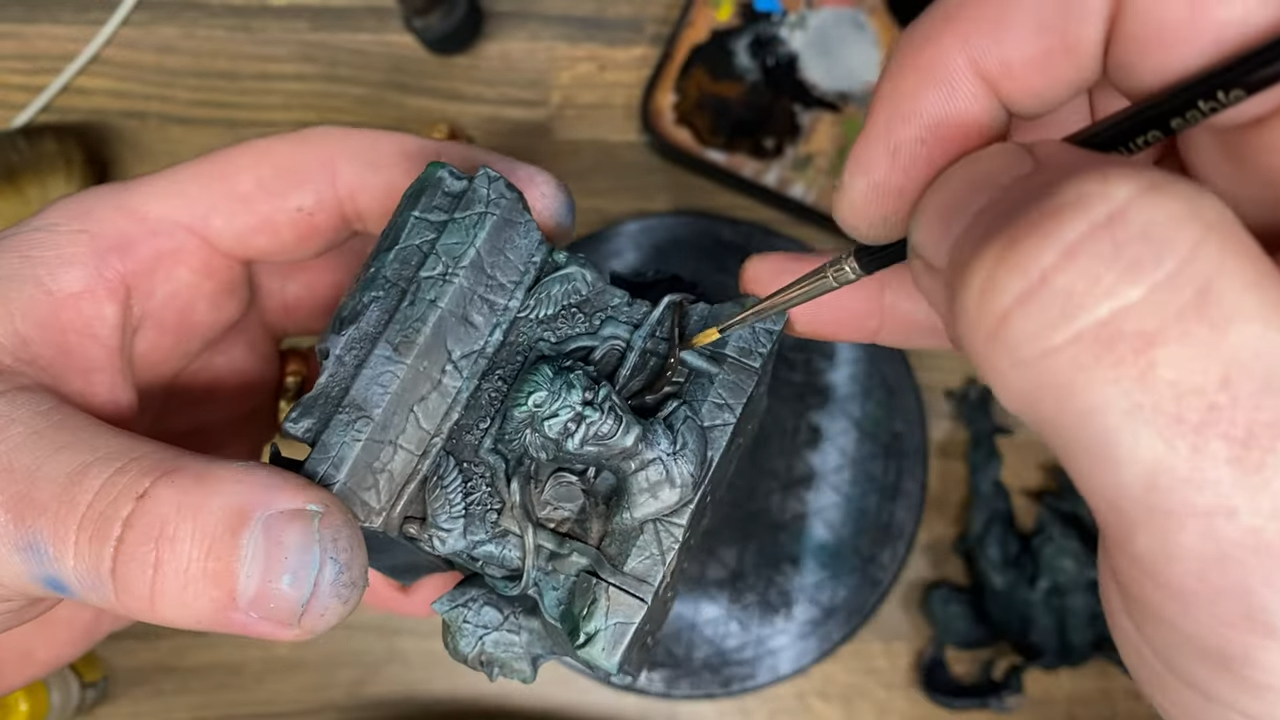
Next, he uses the wash techniques to fill all the crevasses and make them look a bit darker.
He proceeds with spraying green-colored paint on multiple areas, focusing on joint areas. He paints corrosion in certain areas to give a bit of a muddy look. This will give off a look of leftover mud. He then adds a dab of green paint on certain areas to make his model look ancient and a bit of Citader brown to paint roots on his model.
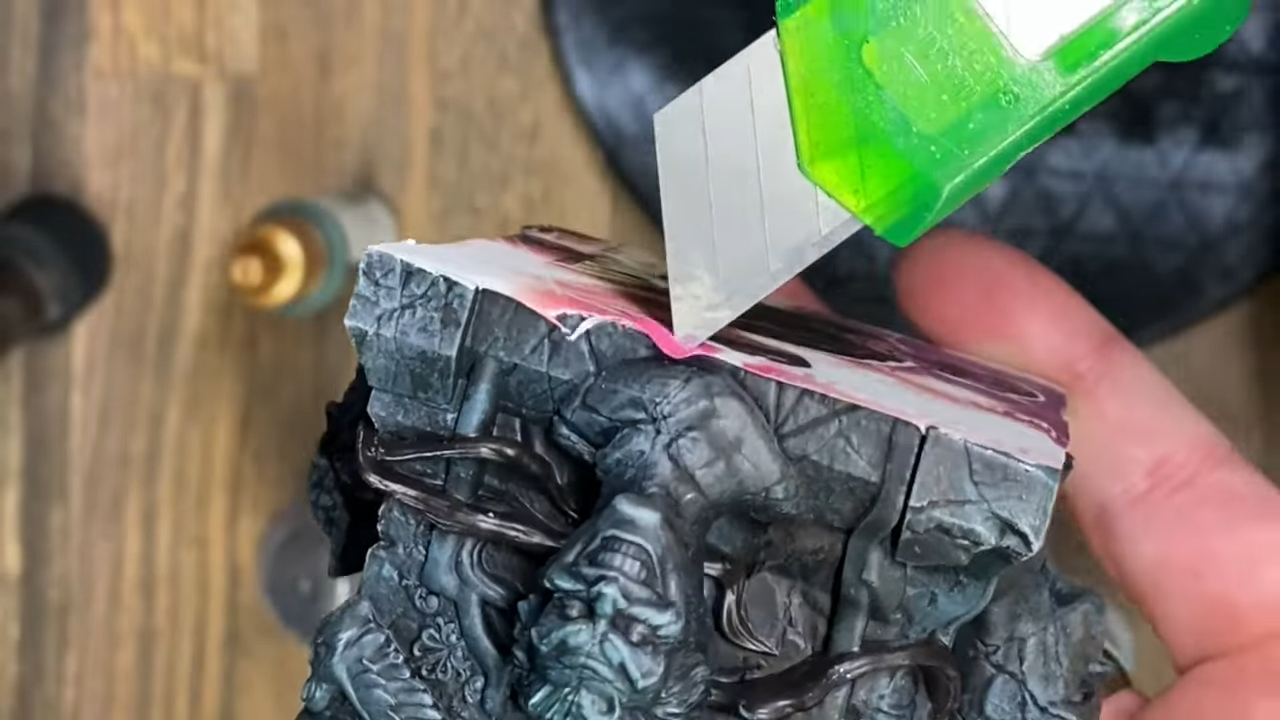
He uses adhesive material to cover the base. It won’t be visible to anyone but will save loads of effort to cover those holes and make the base look good. Then, he used a paper cutter to finely cut the visible edges of the paper and make the base look even.
Lastly, he chose green skin paint to add a mossy effect to the statue and a bit of white paint to make the statue look more stony.
The Black Cat
For the cat at the back of the model, he chose Regiment Grey colored paint and sprayed it all over the black paste-covered cat model. He uses Citadel Null Oil shade, spraying it over the bottom areas to give a shady look. Then he sprays the inner ear areas with white paint and later adds a bright pinkish color to give a natural feel.
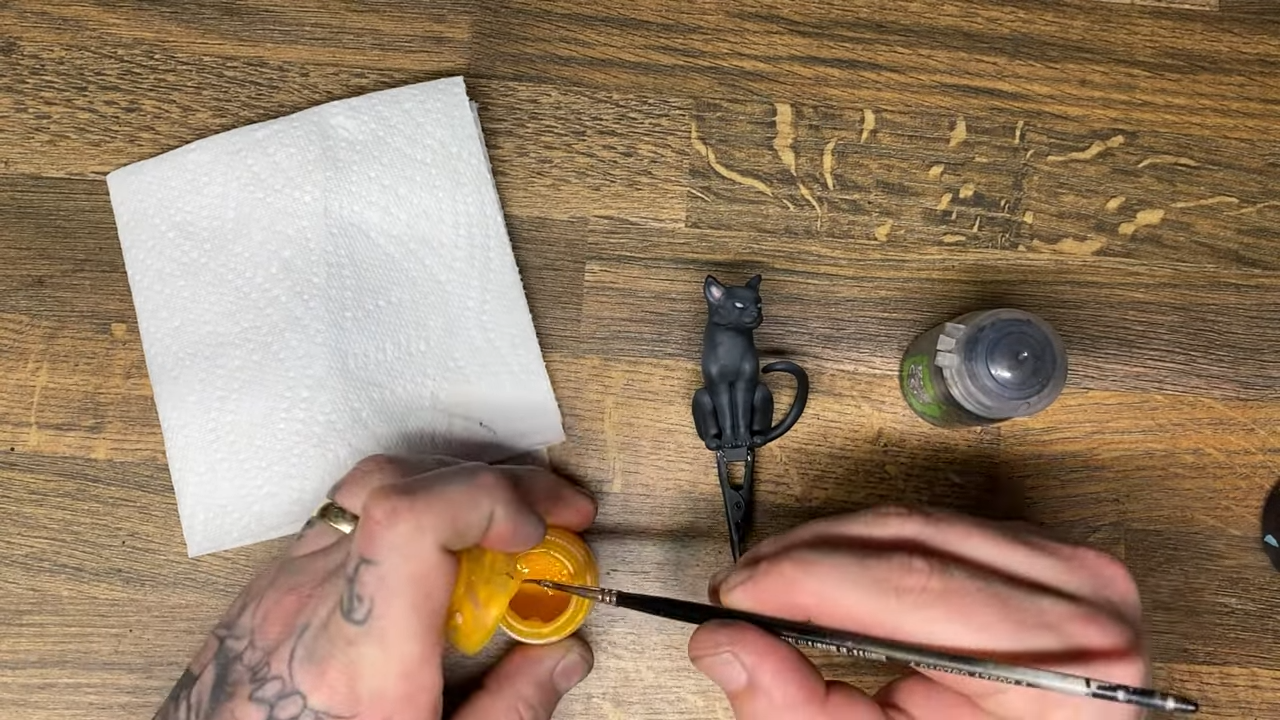
For the eyes, he colors the eyes white and paints them over with bright yellow color from Citadel.
The Cat Woman
For the face of the cat woman, he layered on multiple coats of flesh red color to get the right feel. You will have to layer and put on fewer coats if you begin with a grey-colored base instead of a black one. He gives his cat's women's face a natural look by spraying it with natural flesh paint from the top.
Then, he uses natural flesh color to highlight certain facial features like the cheekbones, nose tip, and color bone. It’s time for drying out now!
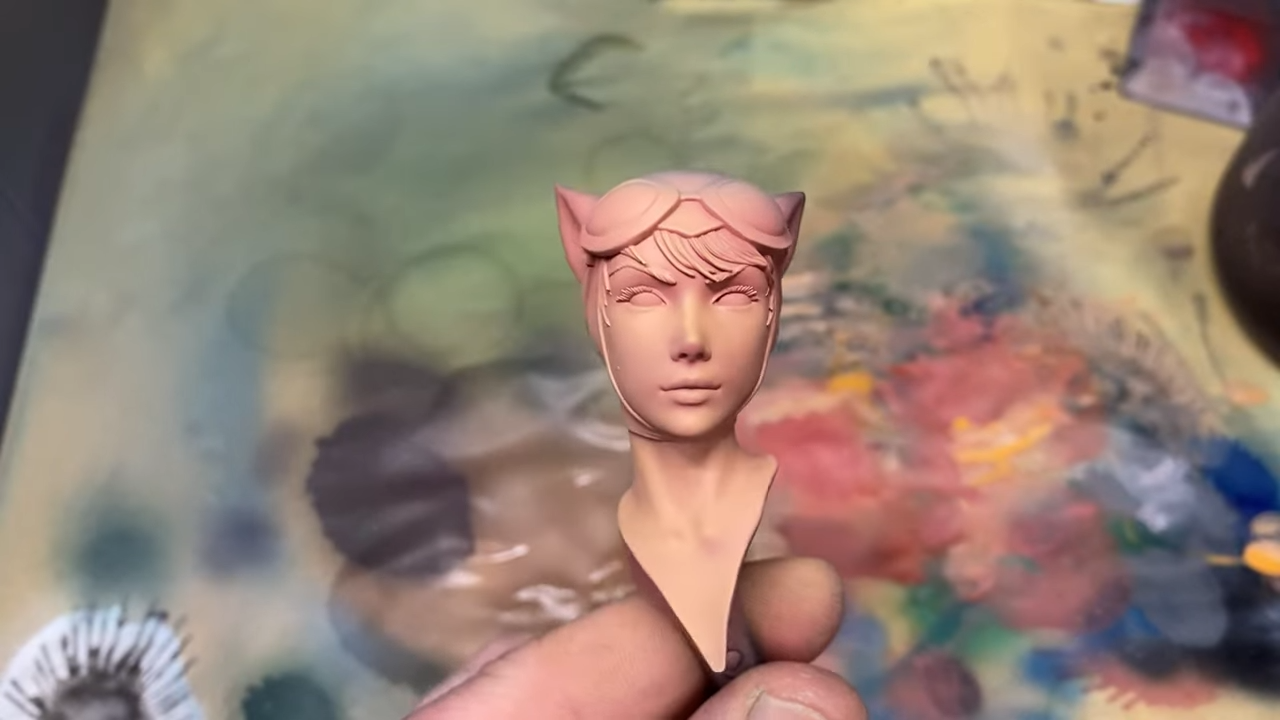
Now, he comes to the cat women's body and grabs the two black and blue colors to give it volume. Then, he brings the black back into the suit by spraying Citader Null Oil shade. He now covers undesired areas like armpits when painting from the bottom. He also paints a purple tone to give his model a more attractive look.
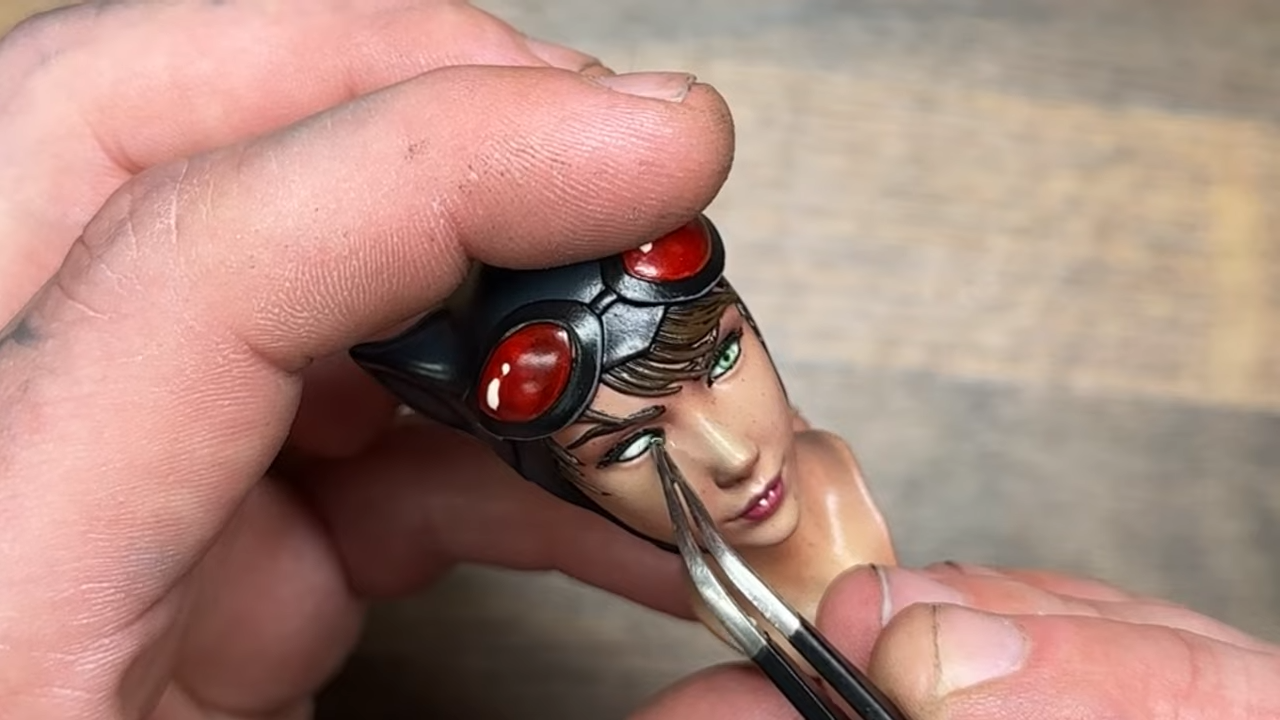
Returning to the face, he tints the skin color with thorough coats of yellow and pinkish color. He ensured to wipe off every paint drop and gave the face more volume with brighter skin-colored paint. Then, with a coat of blue, and wipes it off immediately to give a shadowy look. He continued to accentuate certain face points with black paint. These areas include the nostrils, around the outside of her hat, and more.
He coats a layer of black paint on the hat and repeats his entire painting process when painting the body. He painted the eyes black and chose a lighter color for the goggles' lens to give that hall art effect. He covers the goggle boundaries with black and uses silver paint to cover the zipper on the body.

He colored the eyes white and painted the hair with brown Citader. Applying the hall art technique, he accentuates some hair portions with a lighter brown color. Magos Purple was his selection for painting lips. He used orange-colored gloss paint to cover the goggle's lenses. He glued a pre-made lens for the cat women's eyes, and he added a touch of white for his signature hall effect.
Tips and Tricks for Resin 3D Printing
Here are a few tips and tricks about painting high resolution resin models that Groundeffected share in his video:
- Use de-saturated paints to build volume.
- Spraying green color on fewer areas will help age your model.
- Spray paint from the top to accentuate features and to de-accentuate some parts. Then paint them black from the bottom for shadow effects.
- Hall effect does it all, so try to use it every step.
Wrapping It Up!
According to Groundeffected, resin 3D printing can be messy, but the resulting 3D printed resin models are worth the effort, as seen in this video. The model's beauty entirely depends on the precision of the 8K printer it was made with; Sonic Mighty 8K is worth the hype it has gained over time. However, if you plan to start painting 3D models, we suggest checking out Sonic Mighty 8K!
Check the video to watch him went through the whole thing:

