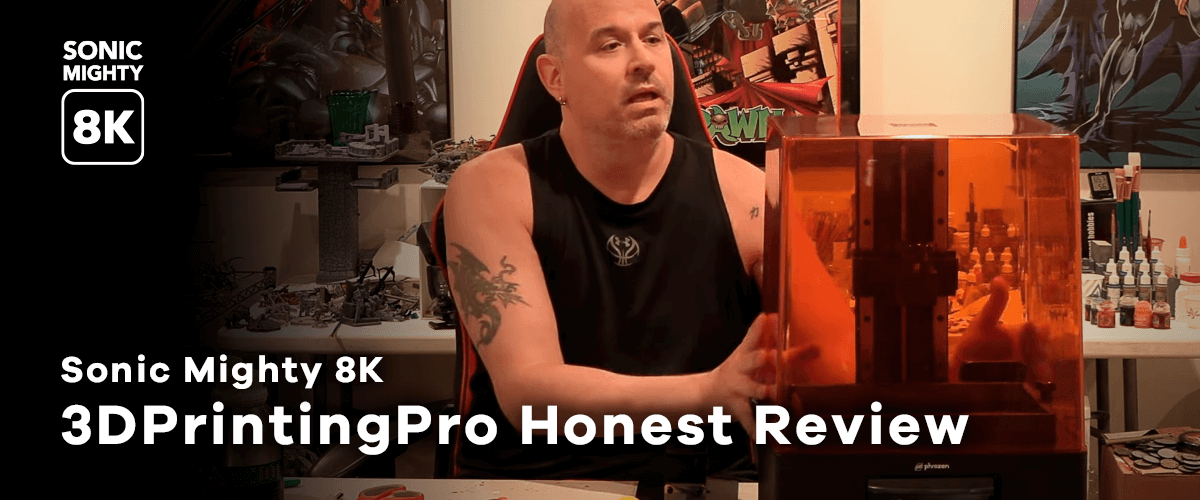
If you are a loyal member of the Phrozen community, you must be familiar with the name Dennys Wang. As one of the significant contributors across Phrozen's 3D printing Facebook group, Dennys helps Facebook users in the group to troubleshoot their issues by offering suggestions and 3D printing tips and tricks.
But do you know that Dennys has a YouTube channel where he shares in-depth reviews, tutorials, and even more 3D printing tips? Well, now you do!
In one of his videos, Dennys did an unboxing and in-depth review of Phrozen's collaboration with MadWorks: Phrozen Sonic Saber the Ultrasonic Cutter! Keep reading to see what he thinks about this awesome machine!

As someone who does custom action figures or kitbash like Dennys, you might have considered getting an ultrasonic cutter at some point in your work. It helps you to achieve precise modifications with the power of ultrasonic vibration, so you don't need to exert much force and risk damaging your work in the process.
And, of course, if you are a resin 3D printing enthusiast like most of us here in Phrozen, the ultrasonic cutter will make the post-processing of your 3D printed resin models a breeze. You can use Sonic Saber to gently remove supports without leaving support marks on your 3D printed resin models, add and sculpt details, or refine your prints! You can also use this versatile ultrasonic cutter to cut materials like PVC, foam, duplex board, and even balsa wood!
So without further ado, let's review Sonic Saber—the Ultrasonic Cutter with Dennys Wang!
- Unboxing the Sonic Saber
- Testing the ultrasonic cutter on various materials
- Testing the ultrasonic cutter on 3D printed resin model
- Enhance your workflow with Sonic Saber—the Ultrasonic Cutter
Unboxing the Sonic Saber

Upon opening the box, the first thing you'll see are warning stickers, reminding you not to touch the blade in any circumstances as it could get very hot and cause burns. On top of that, you are also advised to wear cut-resistant gloves when handling the device.
Alongside the machine itself, you can find a pair of level 5 cut resistance gloves, a user manual, a warranty card, Allen keys, extra bolts, and some spare blades included in the box.
The power button is located in the front of the machine brick, while the power plug is in the rear. The knife holder on the right side of the machine is adjustable, so you can set it to your preferred angle.

Now, does it cut?
Sonic Saber Cutting Test on Other Materials
Before getting into how the ultrasonic cutter would work on a 3D printed resin model, Dennys first tried it on various materials that are often used by 3D printing enthusiasts to customize their creations. These include fabric, leather, acrylic pipe, bamboo stick, and ice cream stick. For the purpose of the test, Dennys will see how the Sonic Saber would compare to regular art and craft or utility knives commonly used by artists.

Fabric: The first thing Dennys tried to cut with the ultrasonic cutter is fabric because he often makes small clothes for his action figures. However, both the normal utility knife and the Sonic Saber failed to cut the fabric.

Leather: A normal utility knife will immediately cut through the leather, while the Sonic Saber creates a deep slice without tearing it through. This could be beneficial if you are trying to create some incision details on your leather.

Acrylic: As expected, a normal utility knife failed to cut through the acrylic tube. While the Sonic Saber's vibration will easily melt the acrylic and cut it through. Definitely an advantage that cannot be achieved with your usual craft knife.

Bamboo Stick: To demonstrate how it will cut on a bamboo stick, Dennys used a single-used chopstick you'll typically get from Chinese takeout. The utility knife barely leaves any mark on the chopstick. And even though the Sonic Saber can't cut the stick in a single slash, it immediately leaves a really deep cut mark on the stick. Like leather, this might be a great advantage if you want to add some detailing to your wooden crafts. Or go over the same spot several times with the Sonic Saber to cut it in two.

Ice Cream Stick: It may require some time to get used to handling the Sonic Saber and finding the right angle to get the result you want. To cut through an ice cream stick, make sure to get the right angle and start slowly from the edge. Don't make a direct cut. Instead, move slowly along the place you want to cut it.

PLA Plate: Similar to the ice cream stick, cutting through the PLA plate with Sonic Saber mighty also require some getting used to. It's easier to do it with the right angle, and you'd want to start slowly from the edge. But what's interesting is that you can use the ultrasonic cutter to gently carve on the PLA plate to add some textures or extra detailing.
Testing the Sonic Saber on 3D Printed Resin Models
After seeing how the Sonic Saber could perform on other materials, Dennys went deep into the heart of it all: How the ultrasonic cutter performs on 3D printed resin models that we are all familiar with.

First, he tried to remove support with the Sonic Saber. Although you can also use a clipper for this purpose, the clipper might not be able to get as deep into narrow crevices as the Sonic Saber can. This means a clipper won't be your best tool when you are cleaning up supports from small miniature or 3D printed resin models with lots of protruding details.

He also found that you can easily scrape the surface of your 3D printed resin model to smoothen out support marks and get rid of unwanted details. Of course, people might argue that you can do the same thing with mere sandpaper, but it's definitely easier to do a more precise cleanup with an ultrasonic cutter.
In addition, you can use the ultrasonic cutter to carve details into 3D printed resin models. This would be beneficial when you want to add extra details to your prints or when the details of your models got lost during the cleanup and post-processing.

If you have accidentally overexposed your bottom layers and ended up with an elephant foot, the ultrasonic cutter can easily remove the foot. Just slice along the edge of your 3D printed resin models and scrape the leftover marks away.
Lastly, it's great to improve the fit of attachment joints. Even though designers did their best to create exact fitting joints, different printing conditions, parameter settings, and resin options might have affected the accuracy of those joint attachments, causing inaccuracy in the attachment's fit. With the ultrasonic cutter, you can slightly scrape the socket to adjust the fits.
What Dennys Thinks About Sonic Saber the Ultrasonic Cutter?
Overall, the Sonic Saber is very beneficial for post-processing your prints. It helps you to do a faster cleanup with an effortless surface smoothing process. At the same time, you can use it for quick touchups like refining and resculpting your 3D printed resin models.

For him, the Sonic Saber is a total two-in-one post-processing gear for cutting and scraping. And he likes how it speeds up his work. Of course, you can use other tools to achieve the same results, but the Sonic Saber will definitely save you a lot of time and energy. And as Dennys said, time is money. So it's a useful tool to have as it enhances his whole post-processing workflow.
Protip: If you've been doing some airbrushing works for your 3D printed resin models, you'll quickly adjust to the ultrasonic cutter. The Sonic Saber was designed with an intuitive pen shape body and a button at the top that you'd generally press with a forefinger. Just like an airbrush gun, but thicker!
If you like Dennys's style of in-depth review and tests, make sure to check his video below!
———
Dennys Wang is an entrepreneur with his own 3D printing business. He makes lots of things with his 3D printers, including custom action figures. He also owns a Youtube channel where he shares in-depth reviews about the latest 3D printing technology, resin 3D printing tips and tricks, as well as painting tutorials. You can also join his Patreon to get special monthly releases of STL miniatures.

