After test printing with the Sonic Mega 8K, it’s time for some exclusive tips and tricks to slice your 3D models! Let’s get right into it:
- Key Notes
- Tips to Slicing Your 3D Models
Key Notes

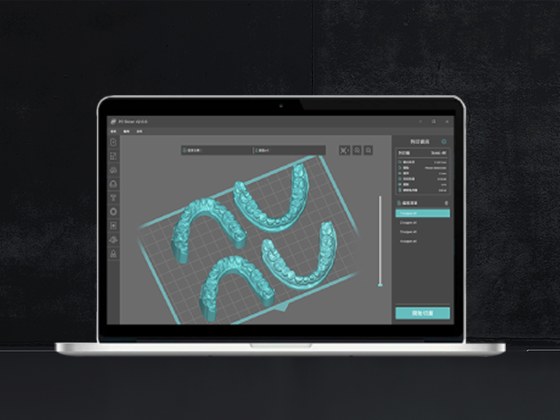
Let’s first open up CHITUBOX Slicer Software so that we can get to slicing our STL files before we start printing. Make sure you are using CHITUBOX Slicer Software V1.9.0 or above. You can also use any other slicer software if you prefer to do so.

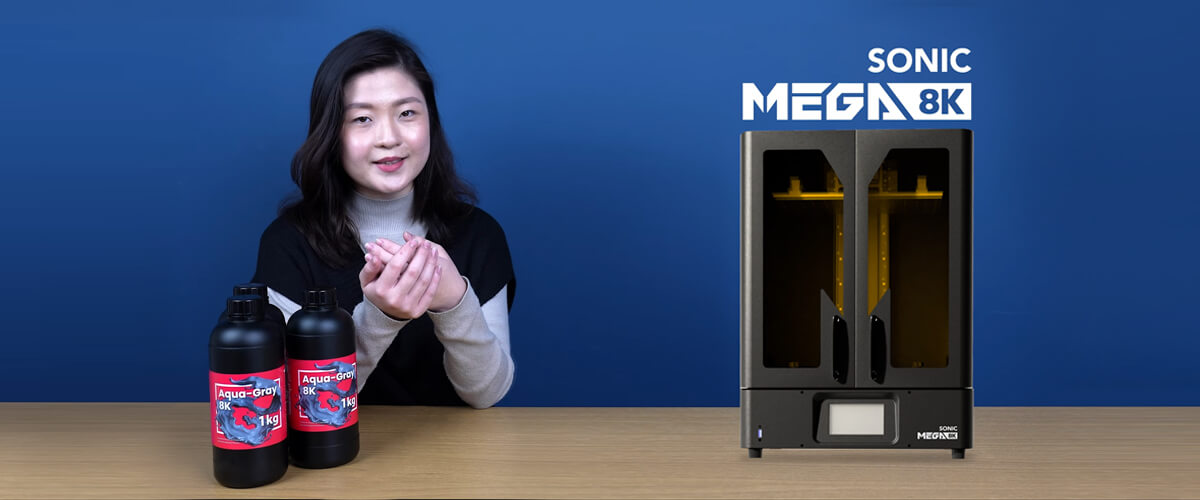
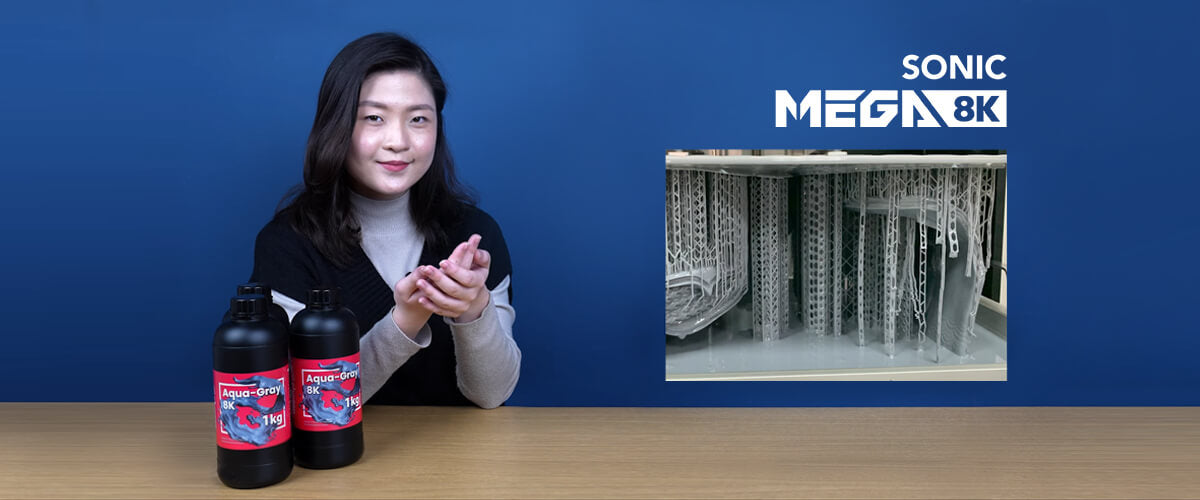
Import your file(s) into the slicer software and place them inside the blue square. This resembles the size of Sonic Mega 8K’s building plate. Before printing, please make sure to prepare an adequate amount of resin. We recommend preparing 3 bottles of Aqua-Gray 8K resin as a large-scale model printed with the Sonic Mega 8K tends to be on the heavier side (roughly 1 KG in weight).
Don’t forget to use the Phrozen XP Finder to find the best resin parameters. Click here to learn more.
Tips to Slicing Your 3D Models

Here are a few slicing tips to prevent printing failures:
First, hollow the 3D model to reduce the weight of the model. This will also save precious resin so that you can use it to create your next 3D print.
Next, add some holes onto the bottom of the 3D model. You can also add holes on the sides or any place that doesn’t directly impact the appearance of the 3D print.

Third, tilt the model and add supports onto its back. Try to avoid adding supports onto the front part of the model so that its appearance isn’t affected.
Fourth, examine the 3D model and check to see if you need to add any additional supports. This is to make sure that the supports are able to properly support the weight of the model.

Fifth, add a raft. When adding a raft, make sure to select “Cube” as its shape. In comparison to a Skate-shaped raft, Cube-shaped rafts allow resin to flow easily and evenly through Sonic Mega 8K’s holed building plate. It’s also more likely to speed up the entire printing process.


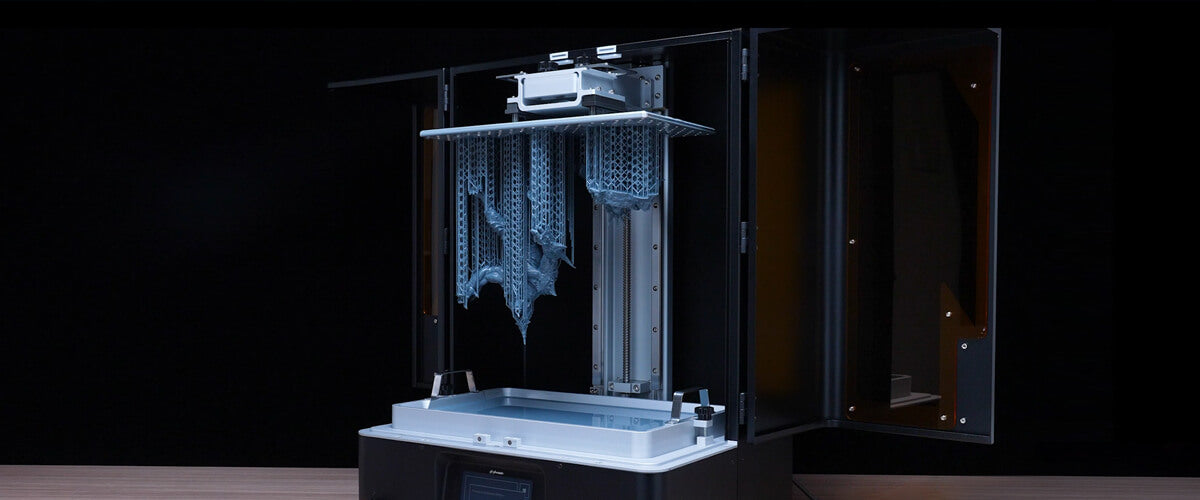
After you’re done slicing your file, you can then send it over to the Sonic Mega 8K via Network Sending or directly save it onto your USB drive. Connect your USB drive to the Sonic Mega 8K to begin printing.
Note: If using the same resin as you did when conducting the test print, make sure to use the same resin parameters as well.
Note: When printing larger models, please note that you’ll need to increase the exposure time for best results. For instance, if the model is 3 times larger than its original size, you’ll have to increase exposure time for the bottom layer in 3 second increments, while the normal layer exposure time will have to be increased by 0.3 second increments.
After you’re done, it’s time to move onto Sonic Mega 8K: 3D Printing Tips & Tricks.
Click here to view the entire Sonic Mega 8K Starter Guide.