After setting up your Sonic Mega 8K 3D Printer, it’s time to test it out. In this blog post, we’ll be showing you what you need to prepare beforehand and the resources you’ll need before you begin printing. Let’s get started:
- Printing Environment
- What You Need to Prepare Beforehand
- Suiting Up
- Fill the Vat with Resin
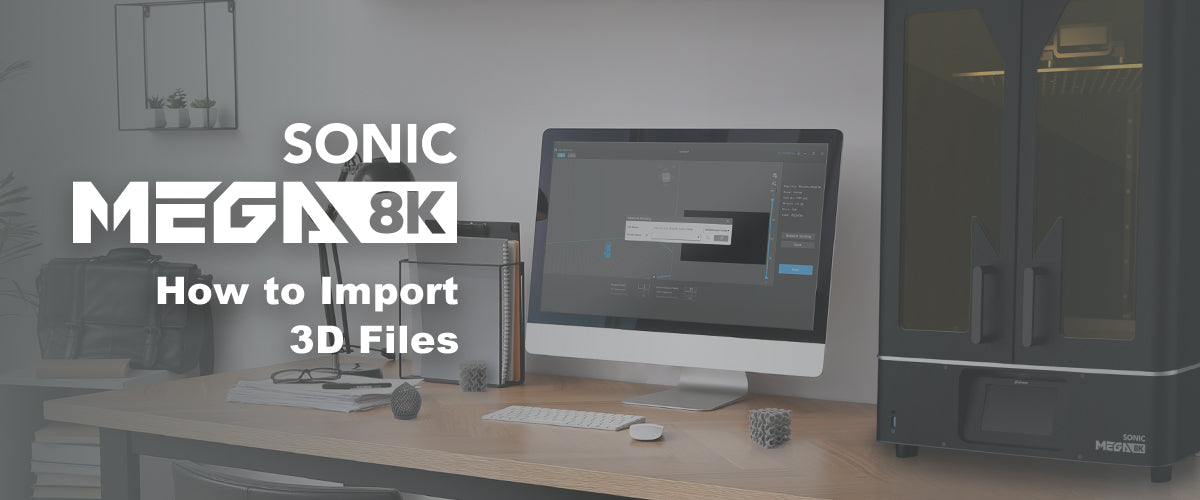
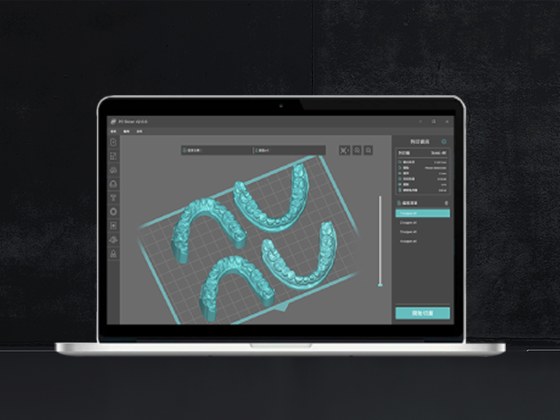
- How to Transfer your File
- Printing with the Sonic Mega 8K
Resources
Phrozen XP Finder
Phrozen Rook
Print Parameters Form
Learn About the Printing Environment

Before you begin printing, make sure your printing space is well ventilated. We recommend that the room temperature should be roughly 22°C or 71.6°F. This is to ensure that the 3D prints can be created successfully with adequate air flow, in case of any resin fumes.
What You Need to Prepare Beforehand
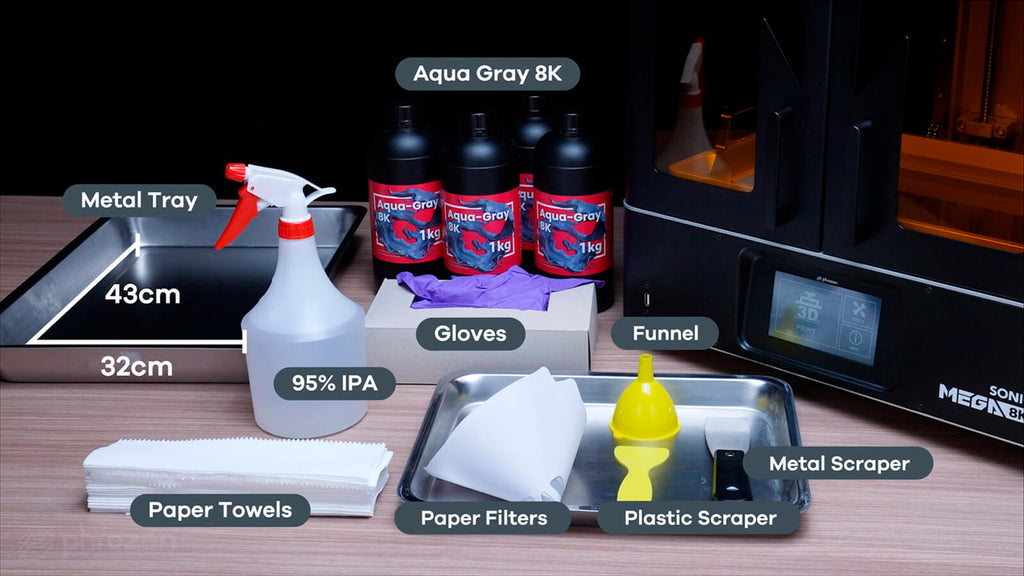
Make sure the Sonic Mega 8K 3D printer is placed on a sturdy platform and avoid direct sunlight. Here’s what you’ll need to prepare:
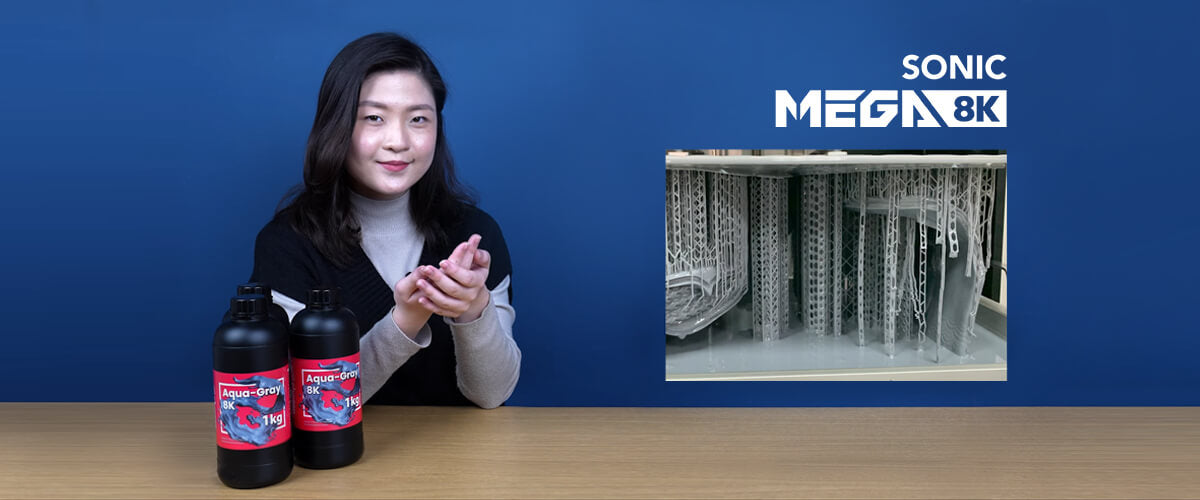
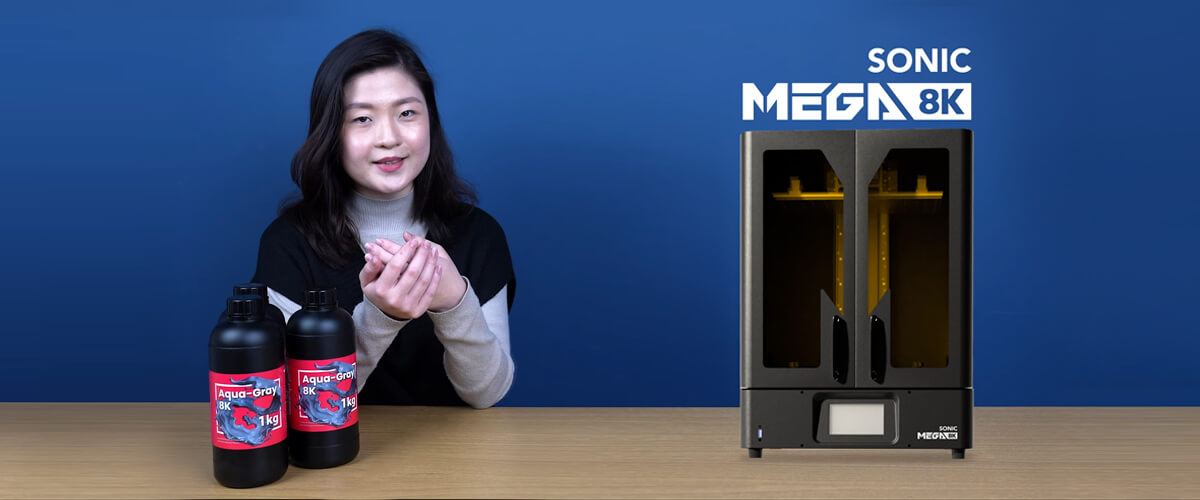
Aqua-Gray 8K Resin
Prepare 3-4 bottles of Aqua-Gray 8K resin to make sure that there’s enough resin for the entire printing process.
95% IPA
Prepare 95% IPA in order to thoroughly clean the 3D models after they’ve been printed.
Paper Towels
Prepare paper towels to clean up the building plate and surrounding area after you’re done printing.
Gloves
In order to avoid direct contact with resin, we recommend wearing PPE (Personal Protective Equipment) such as gloves when working with resin.
Clean Metal Tray (43x32x6cm)
Prepare a clean metal tray to collect the 3D model once it has been printed, as it can be quite heavy.
Scraper Set
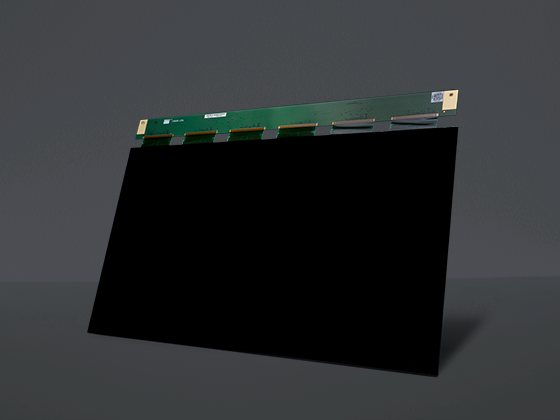
The metal scraper is used for removing models from the building plate after printing. The plastic scraper is for cleaning the resin vat after printing or removing cured resin that is stuck on the FEP film or LCD screen.
*Important: DO NOT use the metal scraper to remove cured resin stuck on the FEP film.
Funnel + Paper Filter
Prepare a funnel and add a paper filter so that you can recycle the leftover resin for your next print after this print is ready.
Suiting Up

As direct contact with resin may cause allergic reactions, we recommend wearing PPE (Personal Protective Equipment) such as masks, goggles, and gloves while printing.
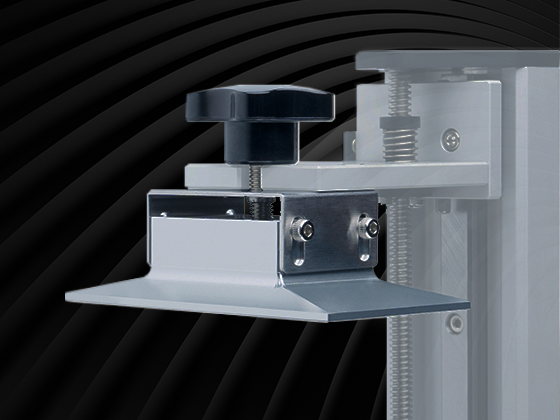
Fill the Vat with Resin

Shake the Aqua-Gray 8K resin evenly for approximately 30 seconds to 1 minute before pouring the resin into the vat. When pouring resin, make sure it does not exceed the maximum fill line on the resin vat. You’ll need to pour approximately 1 and a half bottle(s) of resin.
How to Transfer your 3D File
There are two ways to transfer 3D files onto your Sonic Mega 8K: via USB or Ethernet. Please download the Phrozen XP Finder or the Phrozen Rook. After slicing your 3D model via CHITUBOX slicing software or any other slicing software of your choice, save it onto your USB drive or transfer it over to Sonic Mega 8K via Ethernet.
Printing with the Sonic Mega 8K

On the touch panel, click on PRINT, select your .ctb file, and then click on Go. Make sure that the chamber door has been shut properly to prevent other light sources from distorting your 3D model during the print session.
Finish Printing
After the printing process is complete, the building plate will retract to the top. Wait until the resin has drained completely before proceeding onto the next step: post-processing.
Click here for tips and tricks for slicing with the Sonic Mega 8K!
Click here to view the entire Sonic Mega 8K Starter Guide.