

Z-axis calibration is essential for every 3D printer. Run this test to make sure that the building plate is leveled to the LCD screen. This is to ensure that models and prints will adhere to the building plate.
We will guide you through the steps of calibrating your Sonic Mighty 4K LCD 3D printer by using a piece of A4 paper:
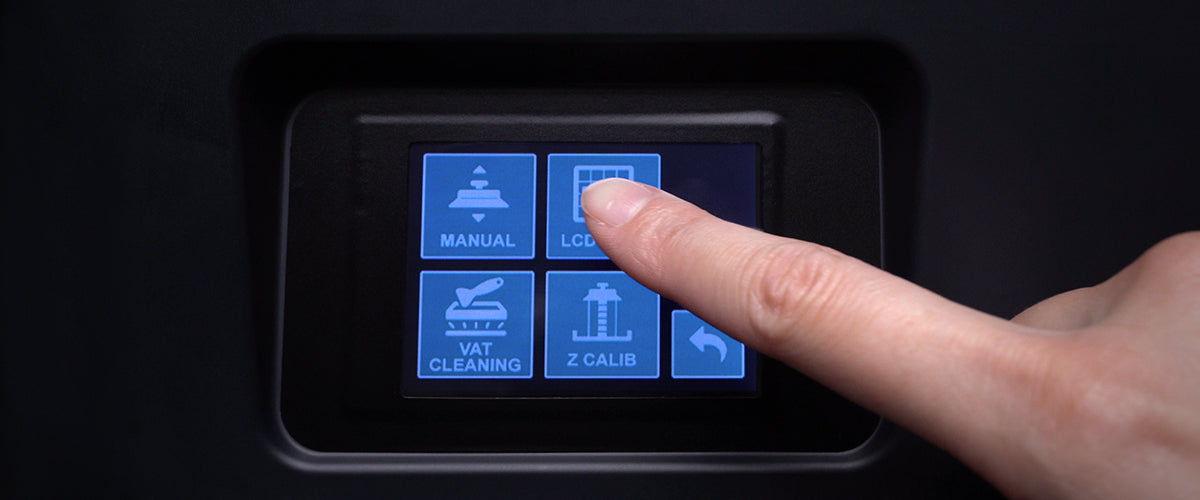
Step 1: Settings
On the touch panel, click TOOLS, then click Z CALIB on your touch panel to begin the calibration process.
Before clicking NEXT, please complete steps 2 - 4.


Step 2: Remove the Resin Vat
Remove the resin vat and make sure to remove any objects present on the machine's platform.

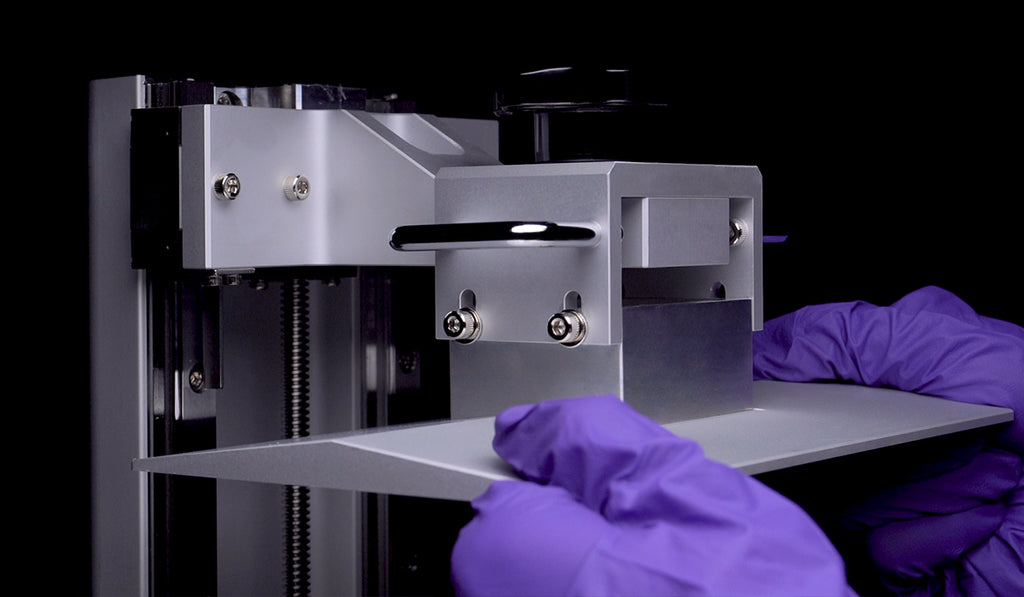
Step 3: Install the Building Plate
Attach the building plate to the printer. Screw and tighten the building plate.


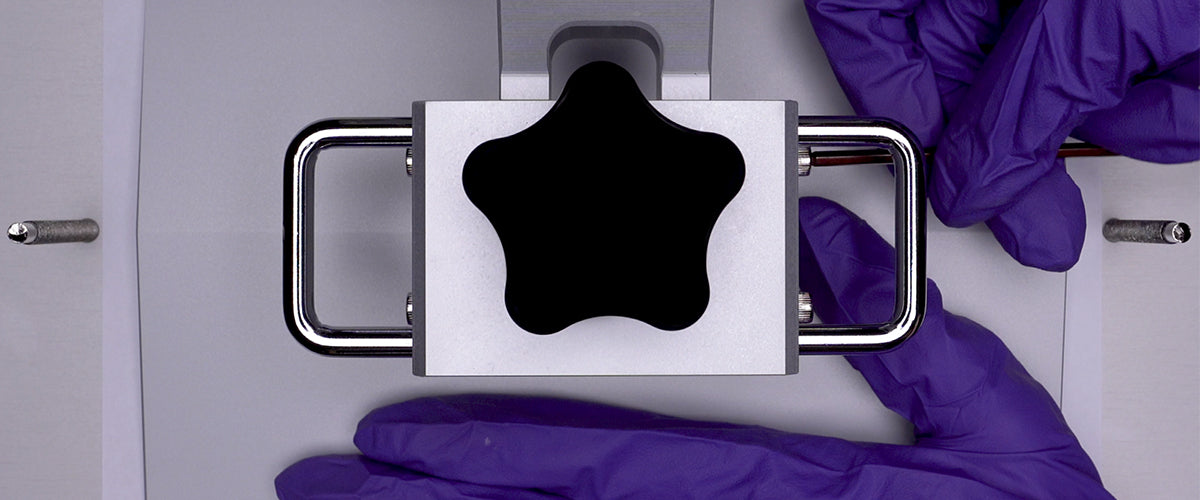
Step 4: Loosen the Screws
Use the Allen wrench included in the toolbox to loosen all 4 screws on the sides of the building plate in a counterclockwise direction. After loosening it, double-check to see if the plate is loose and movable.
*Note: While loosening the building plate, DO NOT remove the 4 screws present on the sides.

Step 5: Place a piece of paper on the LCD
Prepare a piece of A4 paper (roughly 0.07-0.10 mm) and lay it flat on the LCD screen. This piece of paper will be used for leveling the building plate. Click NEXT and wait for 1-2 minutes as the building plate extends to the LCD screen.
*Note: Make sure the A4 paper is large enough to cover the entire LCD screen.


Step 6: Apply Pressure on the Building Plate
Once the building plate has touched down, apply pressure and press down firmly on the sides of the building plate. Pull on the piece of paper to make sure the building plate is laying tight against it.
*Note: Make sure your device makes a beeping sound before moving onto the next step.

Step 7: Set all Screws in a Cross Pattern Order
Once you have successfully adjusted the building plate, set all four screws on the sides of the building plate in a clockwise direction while pressing down on the building plate with the other hand, in a cross pattern order, e.g., top-right, lower-left, top-left, and lower-right. Make sure to not tighten the screws completely.

Step 8: Tighten all Screws in a Cross Pattern Order
After setting all screws, tighten all 4 screws on the building plate in a clockwise direction while pressing down with the other hand in a cross pattern order (as stated above) so that the building plate is securely fastened.

Step 9: Double-Check Z-axis Calibration
Tug on all four corners of the A4 paper to check for pressure intensity. If it is tight, please proceed onto the next step. If it isn’t, please perform the Z-axis Calibration test again.

Step 10: DONE
Click DONE on the touch panel and wait for the building plate to retract. Once the plate has retracted, remove the A4 paper.

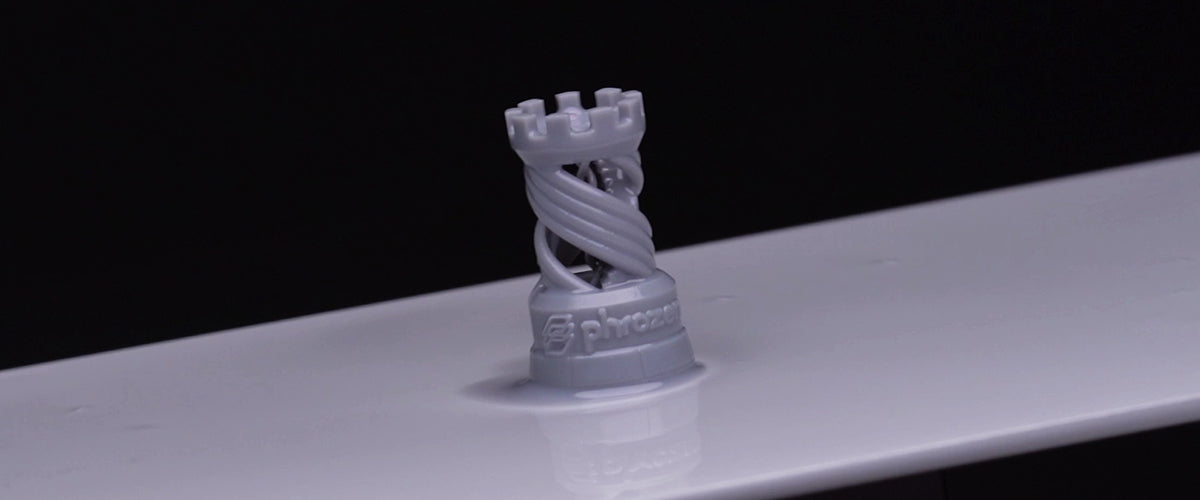
You’re ready to begin your 3D printing journey! Click here for a tutorial on printing out Phrozen's test file.